
Can GenAnywhere model overpasses? What the limits are
No deck, no piers, no span. What the platform gives a bridge study is the ground, the surroundings and an editable site.
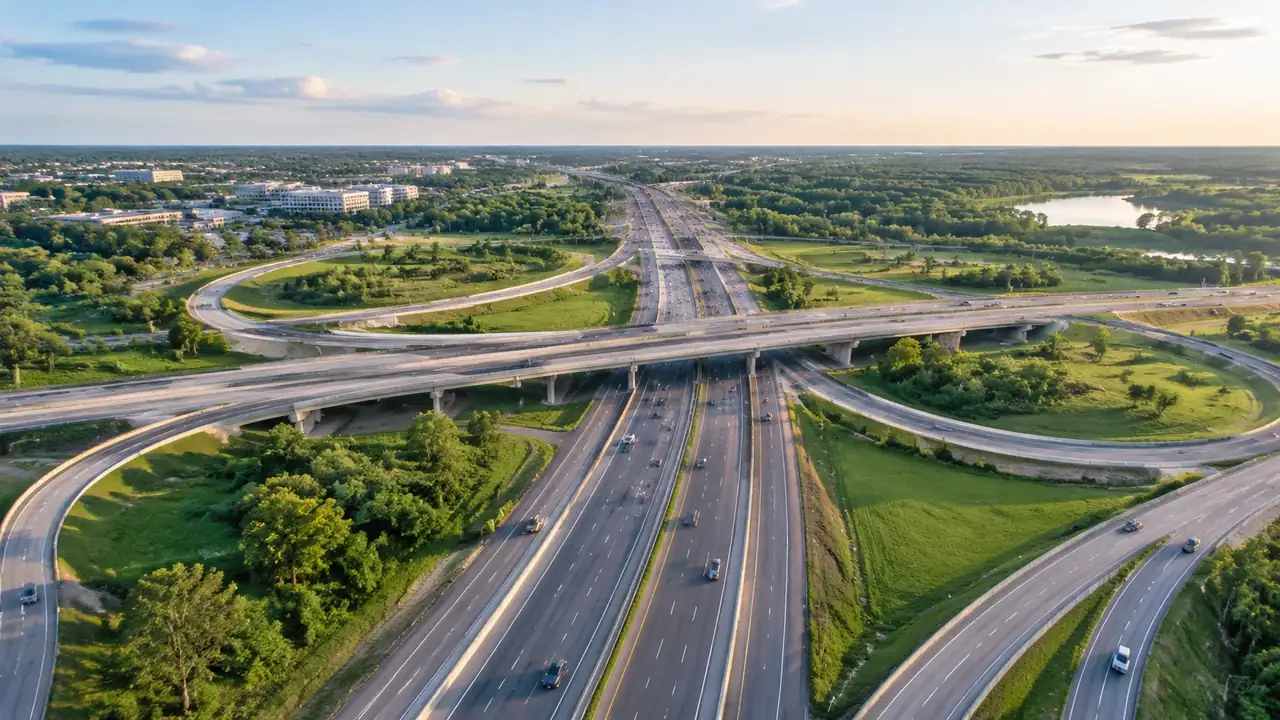
No. An overpass is a structure, and the platform does not generate structures of that kind. It generates the site an overpass crosses: terrain, buildings, vegetation and water, all editable and all exportable. A bridge team can use that site to test land take, approach routes and visual effect, and it has to bring the structure itself from its own design model.
1 The answer in two parts
1.1 No deck, no piers, no span
Bridge geometry is absent from the generated scene. There is no deck surface, no pier, no abutment, no girder and no parapet, and the editing controls do not create one. That is not a gap in the generator; it is the boundary between a site model and a design model. Understanding it early saves a team from hunting through menus for a bridge tool that was never there, and it sets the right expectation for what an opening review can show. The absence is consistent, which matters more than it sounds: nothing in the scene pretends to be a structure.
1.2 Yes to the ground and the setting
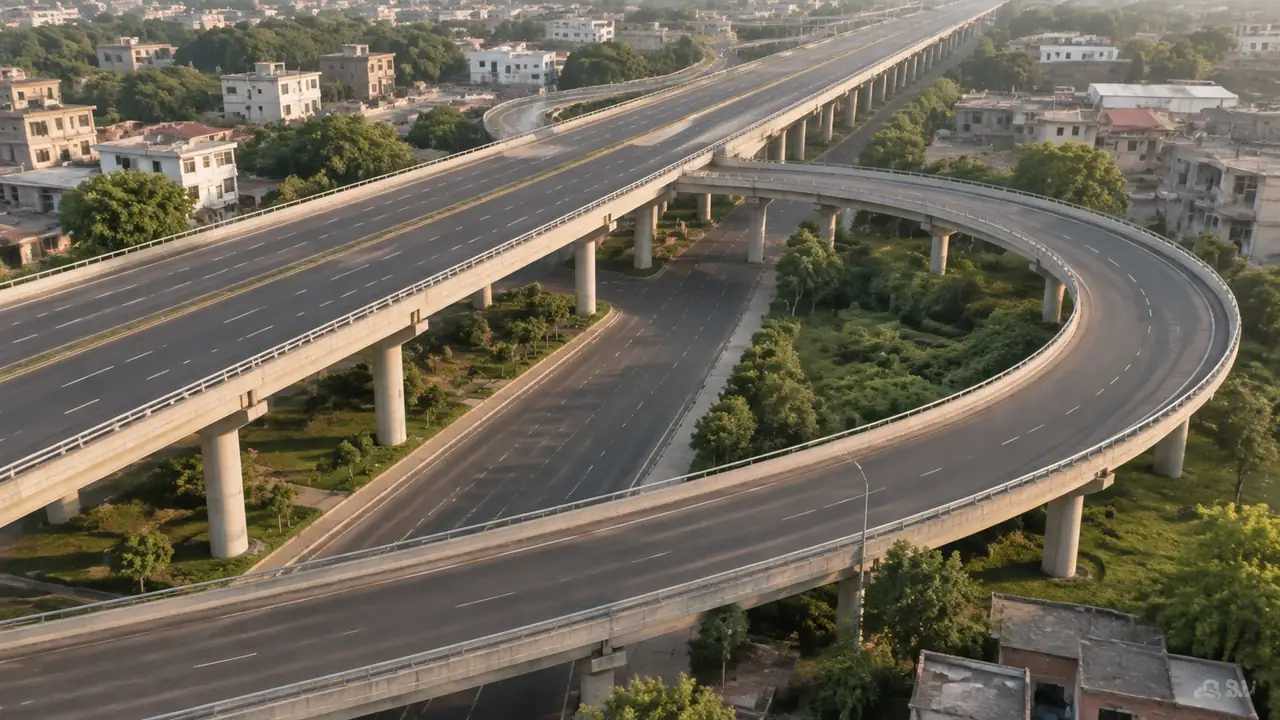
The ground is generated, and it is the part a bridge has to fit. Terrain shows where a valley runs, where a road sits relative to a ridge and where an approach would have to climb. Buildings show what the structure would pass over or beside. Vegetation shows the screen that a community may be relying on. Those four things answer more early questions than a deck outline would, because they are the constraints rather than the proposal. Where the review concerns a single span, the ground question still decides whether the option is worth drawing.
2 The questions a bridge team asks
2.1 Land, access and approach
Where does the approach land, what does it cut through, and how much ground does the works area need? The generated site answers all three at a glance, and the building edits let a team test a variation without redrawing anything. Removing a shed to open a haul route takes seconds. Raising a block to see whether it would sit inside the works area takes the same. None of that is design, and all of it shortens the argument about which option to design. Working at a coarse level is a feature here, since options are discarded quickly and extra detail would slow that down.
2.2 Appearance from the places people use
A bridge is judged from the road below, from the houses beside it and from the footpath that crosses under it. The scene can be read from any of those positions, and a screenshot from eye level often says more than a plan. Move the camera to the places people actually stand, then compare the options from the same spot. That practice keeps a review honest, because a view that works from above sometimes fails at ground level. Take those frames before the meeting, because they are slow to produce live and easy to forget under pressure.
3 Limits in detail
3.1 Geometry, span and pier positions
Span lengths, pier positions, abutment design and vertical profile belong to the bridge designer. The scene does not set them and does not check them. If an option needs a three span arrangement with a pier in a car park, that arrangement is drawn in the design tool and placed against the exported ground. The site model's contribution is to show what the pier would land on, which is a real question and a different one from the design itself. Ask the designer which ground surface the alignment was set against, and whether the export matches it.
3.2 Structural, clearance and rating checks
Nothing here calculates load capacity, fatigue, settlement, headroom or vehicle incursion risk. Those are engineering checks with standards and software behind them. Imagery source and date also matter for a bridge study, and organisations such as ASPRS publish material on the geospatial practice behind that imagery. Keep the calculations with the engineers and the imagery provenance with the site model, and do not let one stand in for the other. A site picture that has passed through a structural discussion is a picture that has been misunderstood.
4 Using the scene anyway
4.1 Comparing options with blocks
A simple block in the shape of a deck, placed in the receiving tool, is enough to compare two alignments for land take and visual bulk. The block is obviously not a design, which is an advantage: nobody argues about its details. Teams that use blocks early reach a shortlist faster than teams that wait for a full model. Label the blocks as blocks in the caption, and nobody will mistake them for a proposal. Once the shortlist exists, the detailed design work has a target, and the blocks can be discarded.
4.2 Handing over to the bridge designer
The export carries ground, buildings and vegetation into 3D, BIM, GIS and game engine workflows. The bridge designer can then place an alignment against the actual ground and see where it lands. Say which buildings were edited and what the imagery date is, since both change how the ground should be read. A designer who knows the file's limits will use it well, and one who does not will ask it for answers it cannot give. Ask for the design's ground surface in return, so both files can be compared in the same frame.
5 Review practice
5.1 A short sequence
Show the crossing in its landscape, then the ground under the structure, then the option under discussion. Three frames, each with a caption stating the extent and the camera position. If the audience includes residents or a planning committee, add a frame from the place they know, such as the road below or the end of a street. That frame does more for the argument than a wide aerial, because it is the view they will check. Number the frames and keep them in the deck, so a later meeting can return to the same view without rebuilding it.
5.2 Exporting and testing
Preview the scene and export a GLB once the review is settled. Test the file in the receiving tool before anyone depends on it, since import behaviour differs between 3D, BIM and GIS applications. Note the edits and the date, and say whether the file is a base to design against or a record of a discussion. Those two uses lead to different expectations, and the note is what keeps them apart. A file that has never been opened in the target tool is a file with unknown behaviour.
6 Before you export
6.1 Scope
Choose the extent around the crossing rather than along a whole route. A bridge study needs the ground under the structure and the approaches on both sides, and it rarely needs the entire corridor. A tight extent keeps the export manageable and keeps the audience focused. If the route context matters, take a second frame rather than stretching that one. A crossing site is usually compact, and a compact extent exports quickly.
6.2 Missing assets
The deck, piers, parapets, signage, lighting and any temporary works are all design items. List them with an owner and say which tool will place them. If the reviewer is a planning audience, describe the items in plain terms rather than by product name. The list is also the answer to the most common question at a bridge review, which is why the bridge is not in the picture. Written down beforehand, it takes ten seconds to answer; improvised, it derails the discussion.
Open the GenAnywhere app and frame an overpass site
6.3 Purpose
Say what the file is for: a land take comparison, a visual check from a specific viewpoint, a base for design, a scene for an engine. Purpose decides the extent, the corrections and the assets the receiver prepares. A file sent without a purpose is usually read as more than it is, which is how a site picture ends up quoted as a design statement. One line prevents that. It also decides how much of the scene the receiver keeps when the file is trimmed for a smaller use.
7 FAQ
FAQ-1 Can GenAnywhere model an overpass?
No. It models the site the overpass crosses. Terrain, buildings, vegetation and water are generated and editable, and bridge geometry is not. The structure comes from a design model and is placed downstream. That split is workable for early reviews, where the questions are about land, access and appearance rather than about the structure itself. Say so at the start of the session, and the questions will follow the boundary.
FAQ-2 Can I set span or pier positions?
No. Alignment, span and pier layout are design decisions made in bridge software. The scene does not offer those controls and does not check the result. It shows the ground a pier would land on and the buildings a deck would pass over, which is the site side of the question. Take the layout to the design model for anything that has to be built.
FAQ-3 Can it check headroom under the bridge?
No. Vertical clearance and structure gauge are engineering values, and the scene holds no structure to measure against. A headroom question needs the design model, the road profile and the standards that apply. Keep those together in the design package. A site model can show where a low point might be, and that is the extent of its contribution.
FAQ-4 What do I get at the end?
A previewable 3D scene and a GLB of ground, buildings and vegetation for 3D, BIM, GIS or game engine workflows, including the building edits you made. The structure itself is not included. Test the file in the receiving application, record the imagery date, and list the design assets still to be added before the file is passed to another team.
See how a crossing site moves into a GLB workflow
Content and technical notes
This article was prepared by the GenAnywhere team with AI-assisted drafting and human review.
Product features, formats, and availability change as the platform evolves; refer to the official GenAnywhere website for current details.
For technical questions or corrections, contact support@genanywhere.com.
Last reviewed: 2026-11-13.