
Lifting plans: how GenAnywhere sets the base scene
The scene gives a lift its ground, its neighbours and its viewpoints; the crane, the load and the checks stay with the planning team.
A lifting plan needs a crane, a load, a radius and a set of site rules, and GenAnywhere supplies none of those four. What it supplies is the ground the lift happens on, seen from the angles a planning meeting uses. That makes the generated site a background for the discussion rather than an input to the calculation. Read it as the setting and it does useful work; read it as the plan and it misleads.
1 What the base scene contains
1.1 Ground, buildings and neighbours
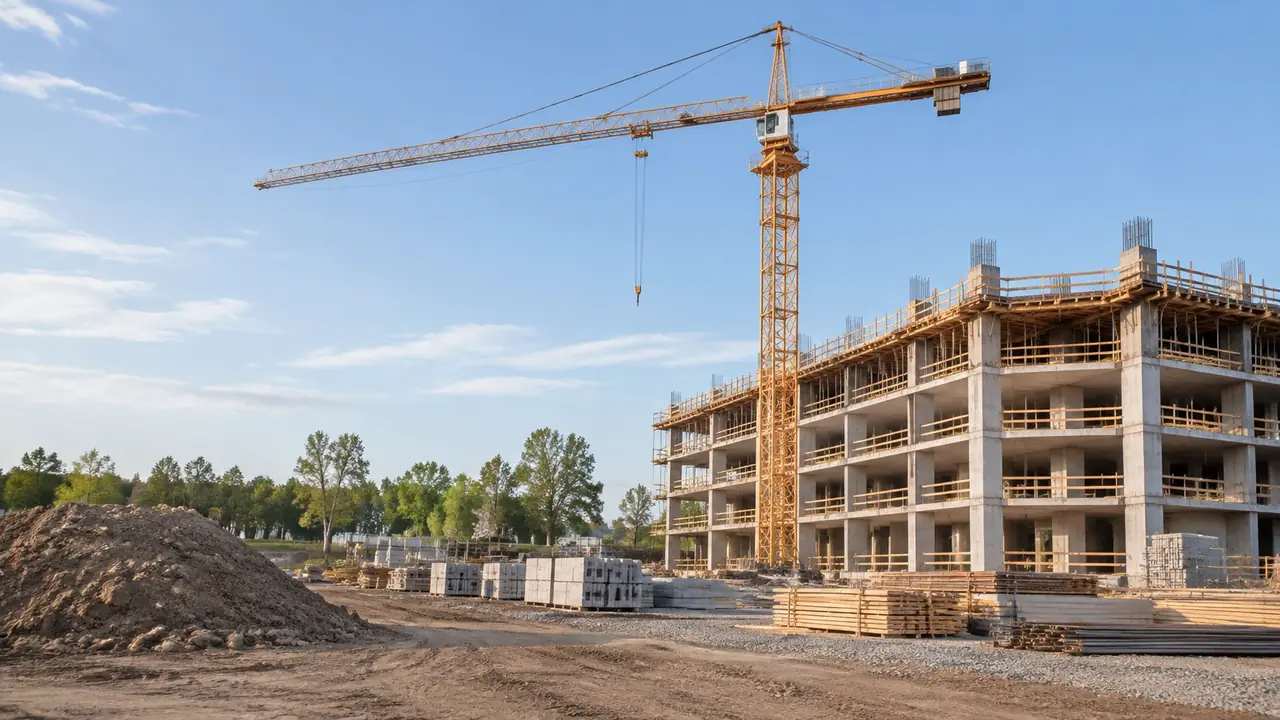
Terrain comes through as a surface, buildings as volumes with estimated heights and inferred types, vegetation as a layer over the ground. Around a plant, that means the yard, the sheds, the office block and the treeline are all present as context. Anything tall and thin that a crane would need to avoid is probably absent, because towers, stacks and masts are equipment. The scene shows the neighbourhood a lift happens in, not an inventory of things to miss. Walk it once from the gate before the meeting and you will spot the two or three features the plan has to respect.
1.2 Access, laydown and the space between
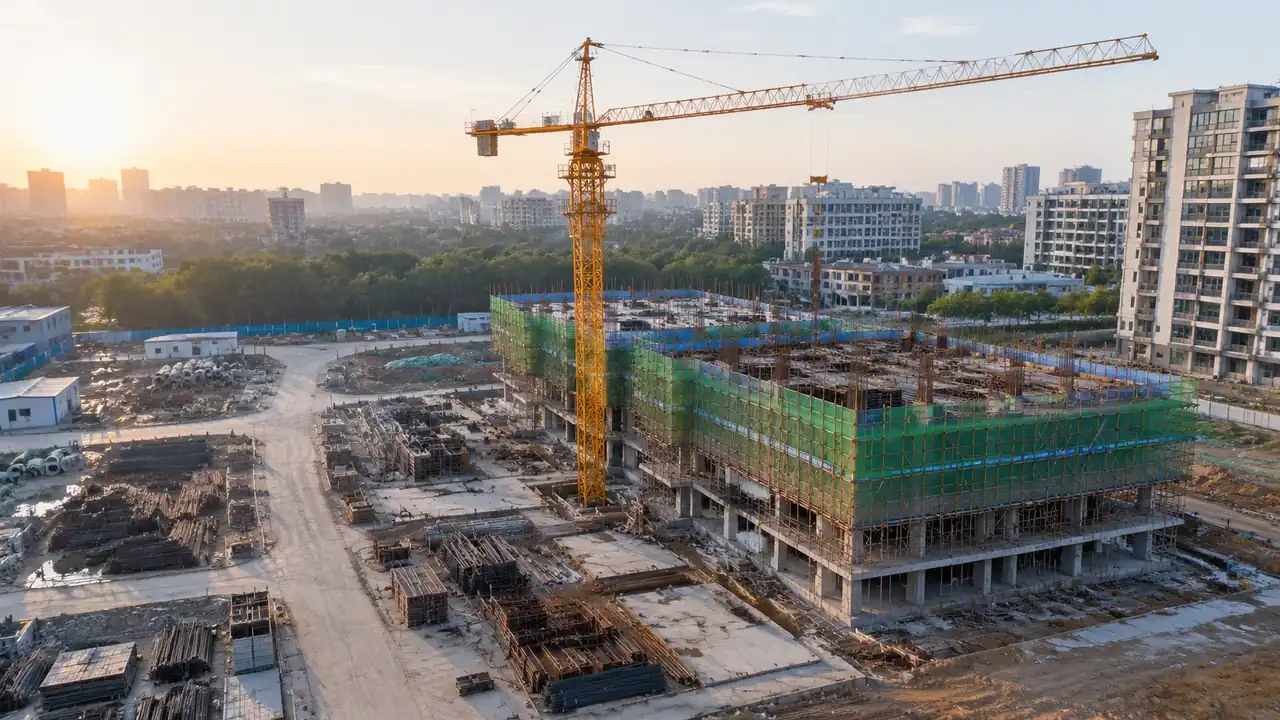
A lift plan lives in the gaps: the route a mobile crane arrives on, the hardstanding it sets up on, the area kept clear for the load. A generated site shows those places as ground, which lets a meeting discuss where a crane could stand without arguing about which drawing shows it. The surface is not a pavement design, so it says nothing about what the ground can carry. Agree a location here, then check it with the people who know the slab. That order keeps the discussion moving without turning the scene into a claim about hardstanding.
2 What the scene does not hold
2.1 Crane and rigging as assets
Cranes, rigging, spreader beams and the load itself are equipment, and the generated scene does not include them. Teams bring a crane model from an asset library or represent it as a simple mass in a diagram. A blocky crane at roughly the right height is often enough to start a conversation about where it stands and what it reaches over. No setting in the platform will give it a boom length or a counterweight. If the mass is wrong, correct it in the tool that holds it, where the model can be replaced with the right machine later.
2.2 Loads, radii and rules
Capacity tables, radius limits, wind rules and permit conditions belong to the lift plan and to the people who sign it. None of that sits in the site model. If a review starts from the scene, state that the crane data comes from the plan and the plan from the equipment and the site rules. The separation matters because a polished view can make an unchecked idea look settled. Keep the numbers in the document that carries a signature. Standards bodies such as ISO publish the crane classifications that a plan refers back to.
3 Using the scene in a planning meeting
3.1 Views that answer setup questions
A site view answers the questions that stall a meeting: which side the crane comes in from, whether the boom would pass in front of the office windows, whether the laydown area is visible from the gate. Those are questions about arrangement, and the scene is good at arrangement. It is not good at whether the arrangement is safe, which needs the plan. Framing the view at eye height rather than from above often answers more of them. Stand where the driver would stand and the route stops being abstract.
3.2 Comparing two positions
Two crane positions can be discussed against one scene by exporting the frame twice or by describing each position in the note. Neither is a simulation. The point is to give the room a shared picture of what changes when the crane moves ten metres along the yard, and to let the planner say what that shift does to the radius. The model holds the yard; the planner holds the consequence. Put both frames side by side on one sheet, and the difference becomes a talking point rather than a debate.
4 Where the scene stops
4.1 No clearance or capacity checking
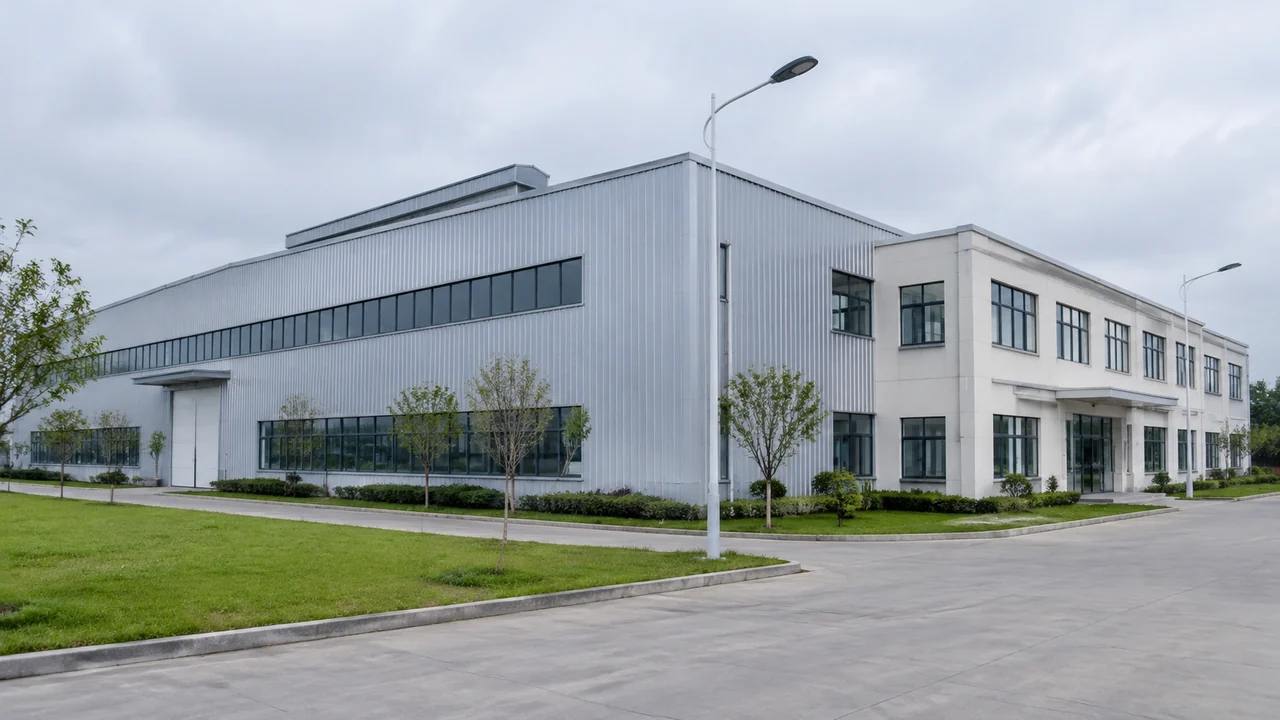
The scene does not check clearances, lift heights, boom deflection or capacity. It cannot tell you whether a load will clear a roof, because it holds neither the load nor the configuration. Those checks belong to lift planning software and to a competent person. Say this before the image goes on screen, or someone will ask whether the crane reaches and assume the answer is in the picture. A caption takes a moment and prevents that. If the review has no competent person present, the clearance question is not ready to be answered at all.
4.2 No ground bearing or temporary works
Ground bearing pressure, crane mat design, excavation support and temporary works sit outside the model too. A flat-looking yard says nothing about a slab, a basement beneath it or a drain crossing. The people who design the temporary works need geotechnical information and drawings, not a surface. Treat the ground in the scene as a shape that helps a discussion about position, and nothing more than that. If a crane mat has to be designed, that work starts from a geotechnical report and a layout drawing.
5 Moving the scene into the lift workflow
5.1 Export and overlay
Preview the scene, export a GLB, and place the crane asset in the application that holds it. The file carries terrain, buildings and vegetation plus your edits, which gives a lighting or layout review a consistent base. Formats and import behaviour differ by tool, so open the file before you build a meeting around it. The platform overview lists the workflows the export is meant to feed.
5.2 The handover note
Attach a short note: the area covered, the date the scene was built, and a line saying the file holds site context with no crane, no load and no analysis. That sentence does more for the plan than a longer description of the tool. It also tells the next reader which parts of the picture to trust and which to replace. Files travel further than the conversations that produced them. Keep the note with the file in the project folder, not in a message thread that will be archived.
6 A working routine
6.1 Fix the frame before the meeting
Choose the frame in advance and keep it across sessions. A lift discussion moves quickly, and a view that jumps between angles makes people lose track of which side the crane comes in from. Two frames are usually enough: one from above for the yard, one from eye height for what the neighbours see. Write both descriptions in the note so the next session opens the same way. A saved viewpoint helps, and a written description survives a change of tool or a new laptop.
6.2 Label what is background
Put a caption on the image saying what the scene is: site context with equipment added from a library. It takes one sentence and prevents the most common misunderstanding in this kind of review. Reviewers who know the crane is an illustration ask better questions about the crane. Reviewers who think it came from data ask whether it was measured. A five-word caption settles which kind of reviewer you are talking to.
6.3 Close the loop afterwards
After the lift, note what the scene got wrong: a shed that was not there, a gate in the wrong place, a yard that turned out to be gravel. That feedback is the cheapest improvement a site model gets. It also builds a habit of checking before the next review rather than during it. Every use makes the next one better documented.
Open the GenAnywhere app and frame a plant yard for a lift review
7 FAQ
FAQ-1 Does GenAnywhere plan lifts?
No. It generates a site model from map and satellite data, and a lift plan needs crane data, load data, radii, ground information and a competent person. The scene can support the meeting where the plan is discussed, and that is the whole of its role. The plan belongs in the tool and with the team that owns it. Keeping the two apart protects both: the plan keeps its checks, the scene keeps its purpose.
FAQ-2 Can I place a crane in the scene?
Not as generated content, because cranes are equipment rather than site. Teams add a crane model from an asset library after export, in a 3D application, a BIM package or a game engine. A simple mass at roughly the right size is often enough for a layout discussion. If the crane has to be dimensionally right, use a manufacturer model inside the planning workflow and keep the site file apart.
FAQ-3 Can the scene show a crane radius?
No, because the scene holds no crane configuration. A radius can be drawn as a flat circle in a diagram or added as geometry in the downstream tool, but it will be an illustration of a value taken from the plan. Do not read a circle in a picture as a checked reach. Put the value and its source in the caption so nobody confuses the drawing with the calculation.
FAQ-4 What does the export contain?
A GLB with terrain, buildings, vegetation and any edits you made, which covers the site a lift happens in. It does not contain cranes, loads, rigging or analysis. Check it in the receiving application, note that the equipment came from outside the platform, and keep the plan as a separate document with its own version. The review gets a base and the plan keeps its authority.
See how a generated site moves into a GLB workflow
Content and technical notes
This article was prepared by the GenAnywhere team with AI-assisted drafting and human review.
Product features, formats, and availability change as the platform evolves; refer to the official GenAnywhere website for current details.
For technical questions or corrections, contact support@genanywhere.com.
Last reviewed: 2026-11-13.