
Can GenAnywhere model solar panels? What it needs
No. The panels are equipment. What the platform generates is the ground, the neighbours and the building masses an array has to fit around.
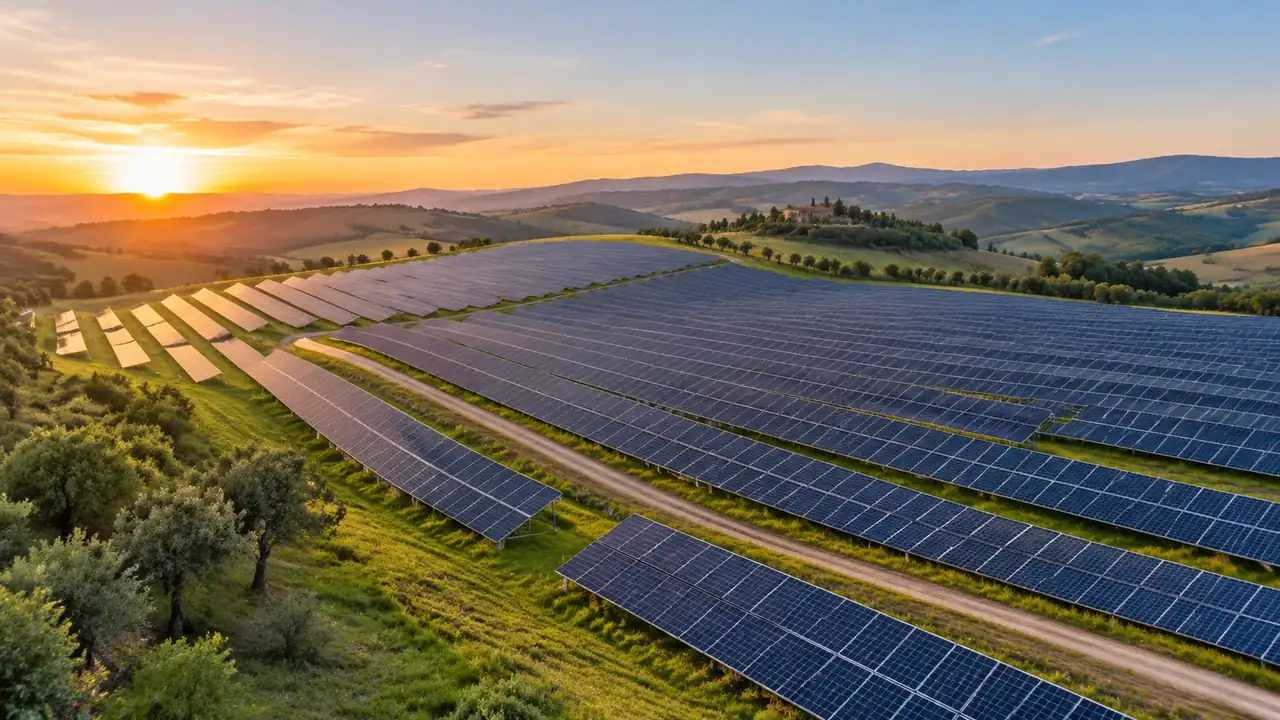
No, it does not model panels. GenAnywhere generates the site a PV array occupies: terrain, water, vegetation and building masses read from map data. Modules, racks, trackers, inverters and transformer skids are equipment assets, supplied by a design model or an asset library and placed in a downstream tool. What the platform hands you is the ground under the array, the context around it, and a GLB that carries both into that tool.
1 Where panel geometry comes from
1.1 Equipment is an asset, not a generation result
A module is a manufactured product with a datasheet, a mounting system and a string layout. None of that can be read from a satellite image, and the platform does not attempt it. Panel geometry arrives from a manufacturer file, an internal asset library or a design model built in CAD. The generated scene holds the ground and the structures around it. The array itself is added later, in whichever tool the design team already runs, which keeps the equipment data where it is maintained. A rack with a known row pitch is a modelling task for that tool, not a reading task for this one.
1.2 What the ground does tell you
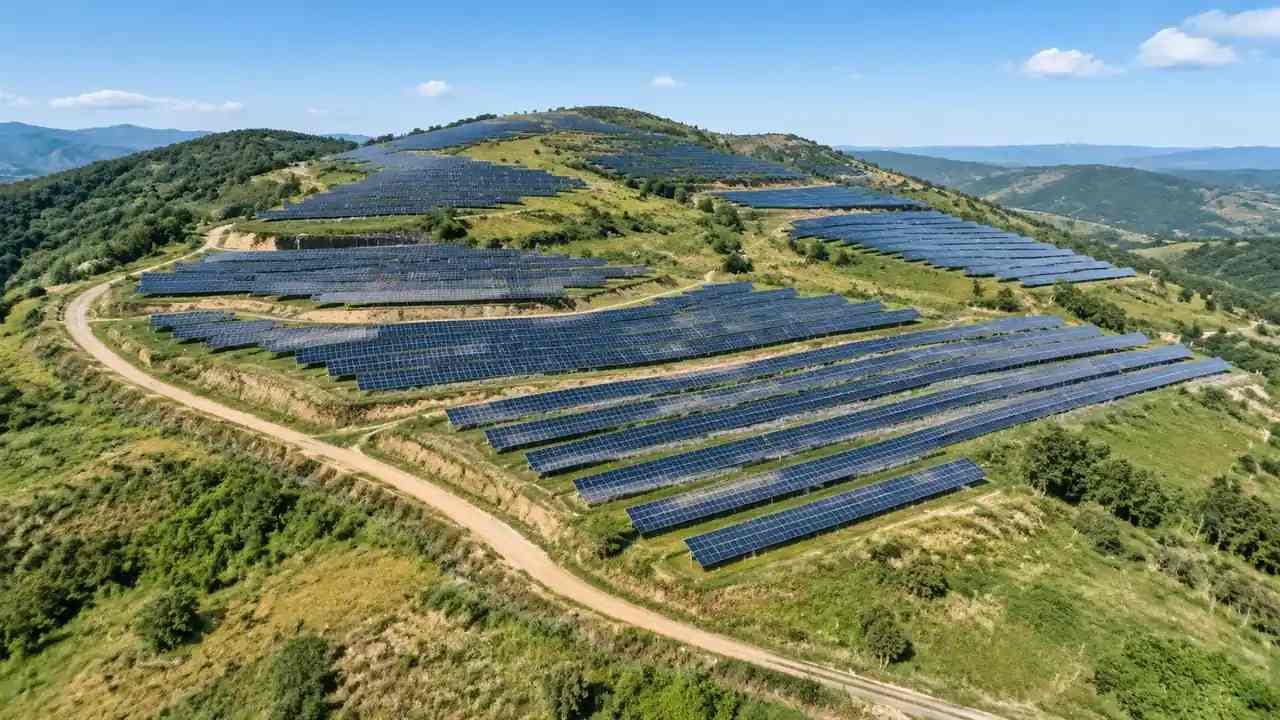
Terrain in the scene shows which way the land falls, where it flattens, and where a slope breaks into a bank. Ground cover appears as vegetation, so a cropped field, a scrub strip and a tree line read differently at a glance. Existing buildings sit where they sit, at their mapped height. Those four things settle more of an early layout argument than the module type does, and all of them are there when you open the scene. A scene that gets the bank on the north edge right is more useful at this stage than one that gets the module right.
2 Site facts that shape a layout
2.1 Boundary, access and neighbours
A fenced boundary, a lane along one edge and a farmstead on the other side are visible in the generated scene without anyone tracing them. That matters when the argument is about setbacks and screening rather than about row spacing. Read the edges before the middle: the constraint that kills a layout is usually next door, not in the centre of the plot. Note which boundary features are mapped and which are merely visible as ground cover. Mark both in the scene notes so the next reader knows which lines came from data and which came from your own reading of the ground.
2.2 Water, vegetation and built context
A drainage channel, a pond or a river bend appears as a water surface in the scene, and vegetation appears as a layer you can switch on or off. Both help a reviewer see why a corner of the site is awkward. Tree lines cast no analysis, but their extent is visible, which is enough to ask whether a row would sit under them. Buildings next to the plot give the scale that a bare field never gives. If a water surface looks wrong along one edge, check whether the imagery was taken after heavy rain, since ponds widen then and the outline follows the water it saw.
3 Edits worth making before a layout meeting
3.1 Remove a building, extend a yard
Buildings can be replaced, moved, rotated and adjusted in height or type, so a shed that is coming down can come down in the scene, and an extension can be tried on open ground. Do that before the meeting rather than during it. A reviewer who sees the site as it will be argues about the real constraint. Keep a note of every change, because the scene will not tell the next person which masses are original. Removing a shed that is still standing in the imagery is a fair correction, as long as the note says so and the reviewer is told which picture to trust.
3.2 Layer views for a clean read
Buildings, terrain and vegetation can be toggled as layers. Hiding vegetation shows the ground shape under a tree belt; hiding buildings shows the plot as open land. Switch between those views while you are preparing, not while someone is talking. The layer controls are also the quickest way to check whether a mass you moved is still standing on the terrain or floating above it. Do that check with the vegetation hidden, because a tree belt can hide a gap at the base of a wall that is obvious from the other side.
4 Limits a PV review runs into
4.1 No shading, yield or structural checks
The platform does not calculate shading, yield, soiling, wind loading or mounting design. Those studies belong to dedicated tools and to the engineering standards the industry works to, such as the material published by IEEE. In the scene, a panel is a rectangle someone else supplies; the ground beneath it is what this tool knows. Keeping the two roles apart prevents a good massing session from being mistaken for an energy study. If the meeting needs numbers, invite the study, and let the scene do the job it was built for: showing where the ground rises, where the fence runs and what stands next door.
4.2 Imagery date and newly built arrays
Map data carries a date, and a PV site can change in a season. A phase that was bare ground when the imagery was taken may already be in operation. The scene will show the older condition, and that is not a fault, it is a boundary. Say the date when you present. If the difference matters, correct the masses you know about and leave a note on the ones you do not. Check whether an existing array is even visible in the source before concluding that the site is empty.
5 Handing the scene to the design team
5.1 Export and the asset overlay
Preview the scene, then export a GLB. The file carries terrain, water, vegetation and building masses into 3D, BIM, GIS and game engine workflows, where module geometry and racking are added on top. The platform overview sets out what the export contains. Test the file in the receiving application before a meeting depends on it, since import behaviour differs between tools and a scene that looks right in one can arrive rotated in another. Check the up axis and the scale on a known building, then write down what you had to fix so the next export starts from a better place.
5.2 Naming and version notes
Name the scene after the site and the decision it supports, not after the date you happened to make it. A short version note listing the buildings you moved and the extent you framed saves the next person a round of guessing. If two array options are being compared, export two scenes rather than one with both drawn in. Two files are easier to explain than one that mixes existing fabric with proposals on the same ground. Give each file a one-line description in the same place every time, so a colleague opening the folder in a month can find the right scene without asking.
Open the GenAnywhere app and frame a solar site
6 What to gather before you open the map
6.1 A short list of known changes
Write down what has changed since the imagery was captured: a barn removed, a hedge cut back, a new access lane. Five lines is usually enough, and each line turns into an edit you can make in minutes. The list also protects you, because a scene that was corrected deliberately is easier to defend than one that was corrected from memory in front of an audience. Keep the list beside the export, not in your head, and date it against the source imagery so the two can be read together.
6.2 The extent you actually need
A single field shows slope and boundary clearly; a whole estate shows how the site sits in the landscape but loses the edge detail. Pick the extent that matches the question on the table. If the question is about a grid connection route, the wider view earns its place. If it is about row spacing, the narrow one does. Framing too wide is the more common mistake, because a wide view flatters the scene and hides the awkward corner. Frame, look, then pull back one step at a time until the question is answered, rather than starting from the estate boundary.
6.3 Questions the scene cannot answer
Anything about energy, glare, noise, ecology or ground conditions is outside the model, and it is worth saying so before someone asks. Naming the gaps early makes the scene look honest rather than thin. It also tells the audience what to bring next time: a shading study, a ground survey, a grid offer. A short list of those items is a better close than another camera move. Whoever owns each item should be named in the meeting, because an unnamed gap tends to reappear at the next review with the same question attached to it.
7 FAQ
FAQ-1 Does GenAnywhere generate solar panels?
No. It generates the site: terrain, water, vegetation and building masses. Panels and racking are equipment assets that come from a manufacturer file or an internal library and are placed in a downstream tool such as Blender, Revit or a game engine. The scene gives those assets a correct setting, and the export carries that setting with them. A panel count in a slide is a claim about a design, not a reading from the map.
FAQ-2 Can I still use the scene to test an array layout?
Yes, at the level of massing and setting. You can see slope direction, boundaries, tree lines, water and neighbouring buildings, and you can move or resize existing masses to test a change. What you cannot do is check shading, yield or structural behaviour. Treat the scene as the setting for a layout, not as the layout itself. Bring the layout as a separate model and let the two sit together in the same viewing tool.
FAQ-3 What if the array is already built and not in the map?
The generated scene follows the source data, so a recently built array may be missing or partial. Correct the buildings you know about and note the gap in the scene description. For the array itself, place the equipment model from your library so the picture matches the site you are discussing. Say which parts came from imagery and which came from your own data, and the scene stays useful as a record rather than a claim.
FAQ-4 What file do I get?
An exported GLB containing the site context and your edits, usable in 3D, BIM, GIS and game engine workflows. Formats vary with the receiving tool, so check the import before you rely on it. The export is licensed for permanent commercial use, but the raw files are not for resale and not for AI training. Read the authorization statement if the terms matter to your project.
See how a solar site becomes a working scene
Content and technical notes
This article was prepared by the GenAnywhere team with AI-assisted drafting and human review.
Product features, formats, and availability change as the platform evolves; refer to the official GenAnywhere website for current details.
For technical questions or corrections, contact support@genanywhere.com.
Last reviewed: 2026-11-13.