
Water effects: what GenAnywhere lets teams adjust
Water arrives as site geometry, so what a team adjusts is the scene around it rather than the water itself.
The adjustable parts of a water scene are the view, the buildings on the bank, the layers you choose to show and the frame you hand over. Water follows the map and satellite data that built the site, so level, course and velocity are not settings in the platform. Teams that need those numbers take the geometry into a hydraulic tool. The rest of this article separates what the scene can do from what people assume it does.
1 What the scene means by water
1.1 Water as a mapped surface
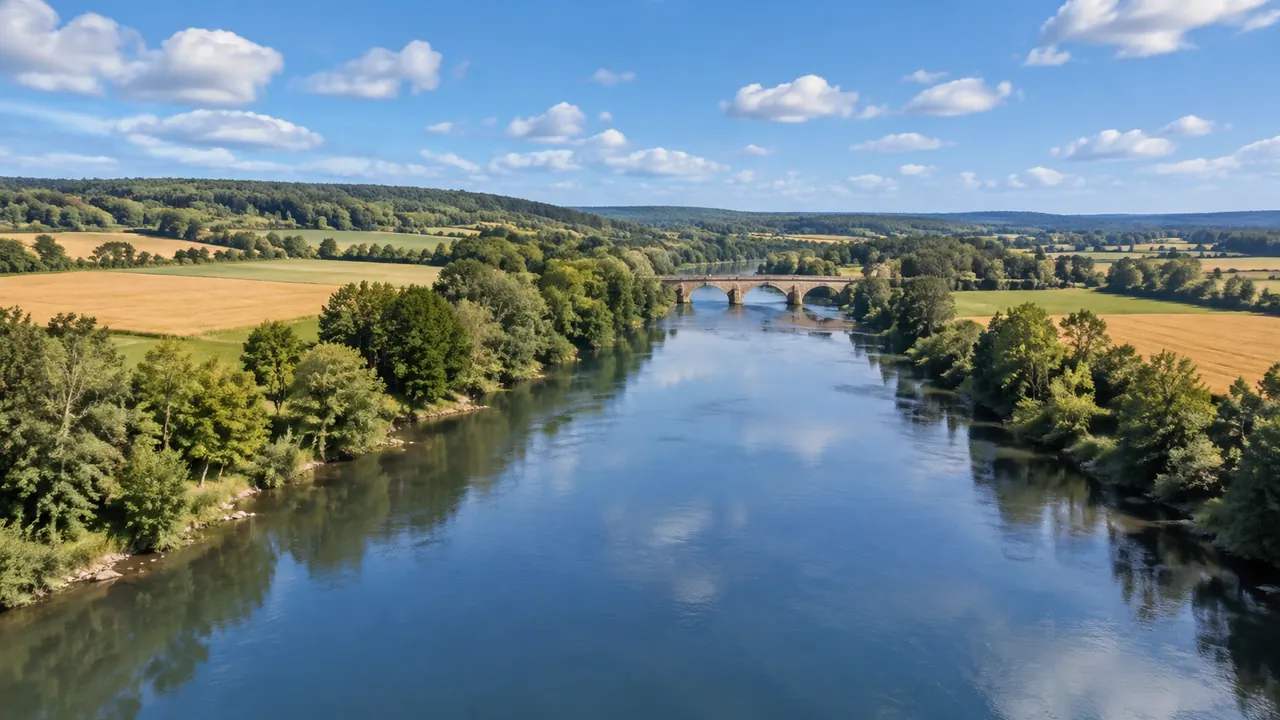
The scene treats open water the way it treats a road: a mapped feature that becomes geometry. A river, canal, reservoir or harbour edge is drawn where the source data places it, and the surface sits flat at whatever level the data implies. Nothing in the model knows the difference between a river in spate and the same river in a dry month, because the surface is a shape rather than a record. Check the water body you plan to discuss against a dated map before the review starts. Where a berth or a channel has been dredged since the imagery, the scene will show the older line.
1.2 What a change of view reveals
Orbit the camera and the water keeps its shape, which helps you spot where the surface sits above or below the bank. From above, a quay edge looks clean. From water level, the same edge can look like a step in the ground. Neither view is wrong, and the pair is more honest than one of them alone. Walk the scene at eye height when the discussion involves anything a person would see from a boat or a riverside path. A saved viewpoint is worth keeping for the next session.
2 The controls teams actually have
2.1 Buildings along the edge
Buildings near water can be replaced, moved, rotated, and their height and type adjusted after generation. That covers most of what a riverside review argues about: a shed that will go, a taller block that will arrive, a warehouse labelled as an office. Edits apply to the building itself. If a scheme pushes the bank out into the water, that change belongs to design geometry in another tool, not to the site model.
2.2 Layers and visibility
Water, terrain and vegetation can be managed as layers, so a reviewer can hide the water and look at the bed the terrain describes, or switch off planting to see a hard edge. This is a reading aid rather than an edit, and it is worth agreeing on a layer set before a workshop. Two people looking at different combinations will describe two different sites. Put the layer choice in the minutes and the argument shrinks. A water-off view is also the quickest way to show a drained basin to someone who expects to see one.
3 Reading a waterline in a review
3.1 Banks, walls and vertical faces
Where a mapped shoreline meets terrain, the join becomes a continuous edge. On soft ground it reads as a beach or a muddy bank; against a quay or a revetment it is simplified into a vertical face. That face carries no wall detail, no fenders and no coping. If a review depends on the profile of the edge, use a survey section for the profile and the scene for the setting. Saying which is which keeps a discussion about a wall from becoming a discussion about a picture.
3.2 Ponds and basins on industrial land
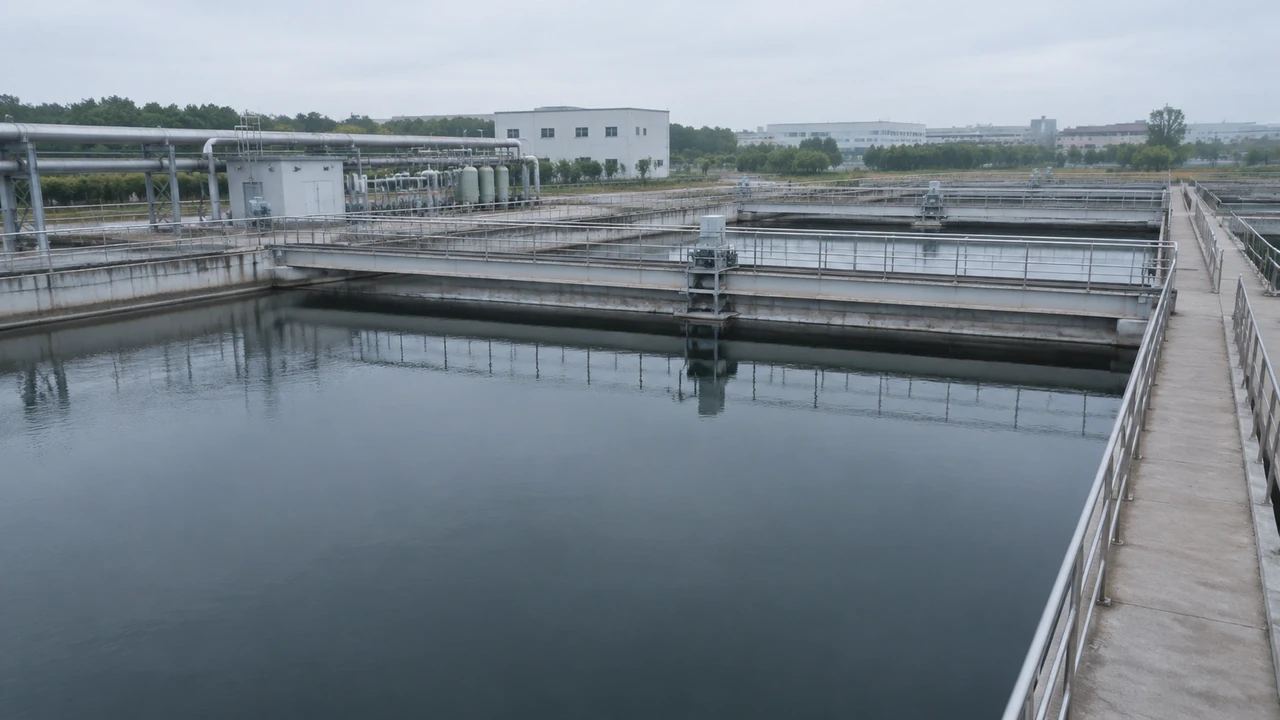
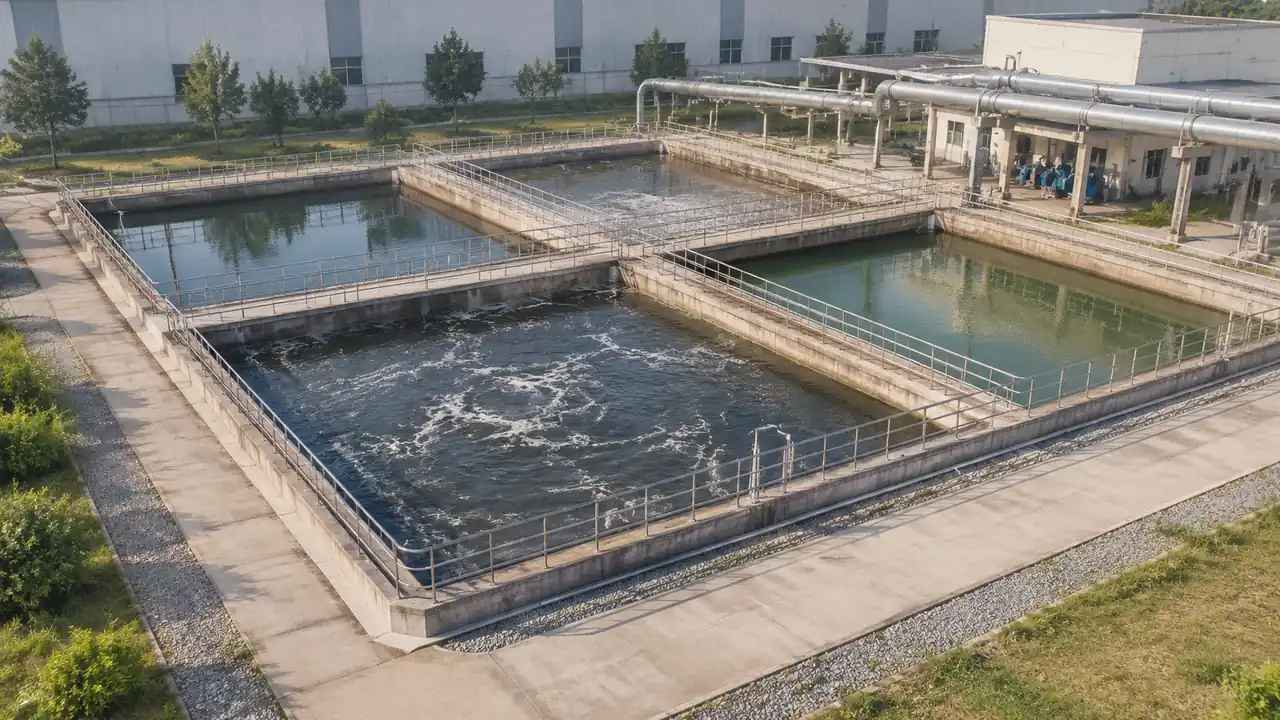
Settling ponds, cooling basins and lagoons appear if the source data shows open water inside the site boundary. They arrive as shapes with a water surface, sized by what the map records. Small tanks, covered basins and anything built after the imagery was captured may be missing entirely. For a plant review that matters more than it sounds, because a pond absent from the scene will be absent from the conversation too. Walk the boundary in the scene and list what is missing before the meeting.
4 Where the boundary sits
4.1 No level, flow or velocity control
There is no slider for water level and no setting for direction or speed. Flow, velocity, tide and discharge are outside the model, which holds geometry and nothing about behaviour. A team that needs to test a high water case does that in a hydraulic package with current survey data. The scene can show where the bank is and sit beside the study as context. It cannot answer what happens when the level rises two metres. That limit is worth naming before a client asks for a flood view.
4.2 No hydraulic or water quality work
Water quality, sediment, salinity and mixing are outside the scope as well. Those questions belong to specialist models and to people qualified to run them. The risk here is presentational: a tidy image of a river invites the assumption that someone has checked the hydraulics. When the image goes up, say what it is. One sentence at the start of a slide saves a longer correction later, and it protects the specialist work from being second-guessed by a picture. Bodies such as PIANC publish the kind of waterway guidance that a hydraulic study would draw on. Keep that reading separate from the image, and both stay credible.
5 Passing the scene to a specialist
5.1 Export and what travels
Preview the scene and export a GLB when the review needs to move. The file carries site context into 3D, BIM, GIS and game engine workflows, where the water surface can sit beside design geometry. Import behaviour varies by application, so open the file in the receiving tool before you circulate it. Treat the water in the export as context geometry and keep any analysis in a separate document with its own version.
5.2 A note that prevents mistakes
Write down the water body, the imagery date if you can establish it, and the fact that no level or flow assumptions are included. A short note attached to the file travels further than a verbal caveat in a meeting. It also gives the receiving team a way to judge whether the water in the scene is the water they care about. Most bad conclusions about a site model start with a file that arrived without a sentence of explanation. Two lines are usually enough, and they cost nothing to write.
6 Framing a water review
6.1 Choose the stretch of interest
Pick the length of bank or shoreline the decision concerns and frame the scene around it. A whole estuary hides the corner where the argument lives; a tight view of one bend shows it. The frame is a communication choice, so choose the extent that supports the decision rather than the extent that looks impressive. Write the extent into the note and the next session starts from the same place.
6.2 Agree what adjust means
In a mixed meeting, adjust can mean four different things: change the camera, change the buildings, change the water level, change the design. Sorting those out takes a minute and prevents an hour of confusion. The platform changes the opening two and the layers. The others happen in design or analysis tools, with the people who own them. Ask which one the room means before promising anything.
6.3 Set the next step
Decide who receives the scene and what they will do with it. A landscape team may want terrain and planting, a hydraulic team may want the bank line as a starting surface, a planning team may want the view from the opposite bank. Naming the next step keeps the export purposeful. If no next step is clear, the review probably needs a question before it needs a model. Ask what decision the scene supports and who makes it.
Open the GenAnywhere app and frame a river or reservoir scene
7 FAQ
FAQ-1 Can I change the water level?
No. The water surface follows the source map and satellite data, and there is no level control in the site model. If a design depends on a different level, treat the generated surface as context and test the level in the tool that holds your design geometry. Record the assumption in the handover note so nobody mistakes the difference for an error. For anything involving depth or volume, use a hydraulic package.
FAQ-2 Does the platform simulate flow?
No. Flow, velocity, direction and tide are outside the model, which carries geometry alone. A scene can show a channel and its banks, and that is the extent of it. Teams that need behaviour take the geometry into a specialist tool, with current survey data and a qualified analyst. Keep the two outputs labelled, because a still image of water does not show whether anyone checked the hydraulics.
FAQ-3 Can I hide the water to see the bed?
Water, terrain and vegetation are managed as layers, so the water can be switched off while the terrain underneath stays visible. That is useful when a review needs to discuss the bed, a dredged area or the shape of a basin. It is a viewing aid, not a claim about depth. The ground under the water comes from the same source data as everything else, so treat it as shape rather than survey. A platform overview explains the layer model in shorter form.
FAQ-4 Does the export carry water separately?
The export is a GLB carrying the site as geometry, and the water travels as part of that surface rather than as a hydraulic model. Whether your receiving application keeps it as a distinct object depends on the tool and on how the file is imported. Check the object list after import. If the water needs to be separate for a study, split it downstream and document the step.
See how a generated site moves into a GLB workflow
Content and technical notes
This article was prepared by the GenAnywhere team with AI-assisted drafting and human review.
Product features, formats, and availability change as the platform evolves; refer to the official GenAnywhere website for current details.
For technical questions or corrections, contact support@genanywhere.com.
Last reviewed: 2026-11-13.