
Solar panel export: does GenAnywhere support GLB?
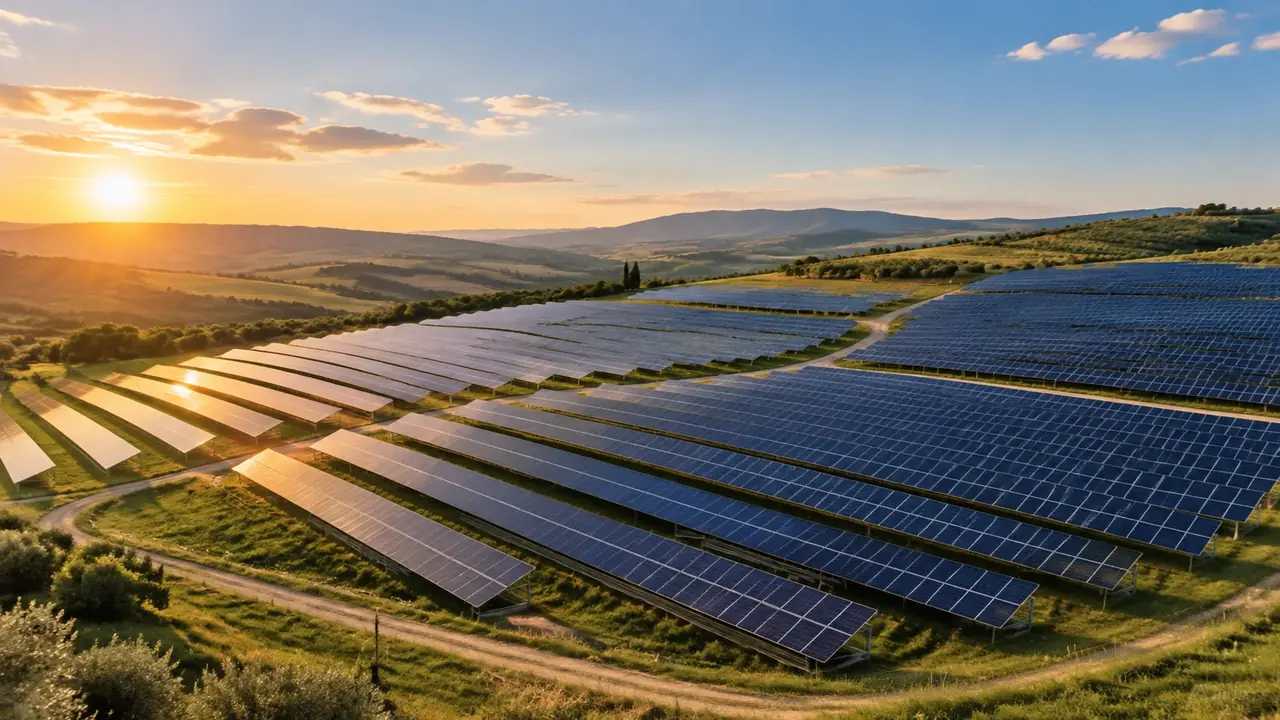
Yes, a solar site can be generated and exported as GLB. The file carries the ground and the buildings, while the panel rows come from the photovoltaic design model.
GenAnywhere supports GLB export for a solar site, and the export behaves like any other generated scene on the platform. You frame the area on the map, generate terrain, water, vegetation and building masses, check the result in preview, then export. The panel tables, inverters, transformers and cabling are not in the file. They are design assets, placed on the exported ground in the tool that does the array layout. That division is the whole answer, and the rest of this page explains it.
1 The export in plain terms
1.1 What the file holds
The GLB holds a generated site: the terrain surface, any open water, vegetation coverage and the building masses in the extent you chose. It also holds the edits you made before preview, such as a barn replaced or a shed removed. That is a scene, not a solar design. Anything that belongs to the array is supplied later by the design team, which keeps the ground stable while the layout changes. The same site can carry three layout options without being rebuilt.
1.2 What it deliberately leaves out
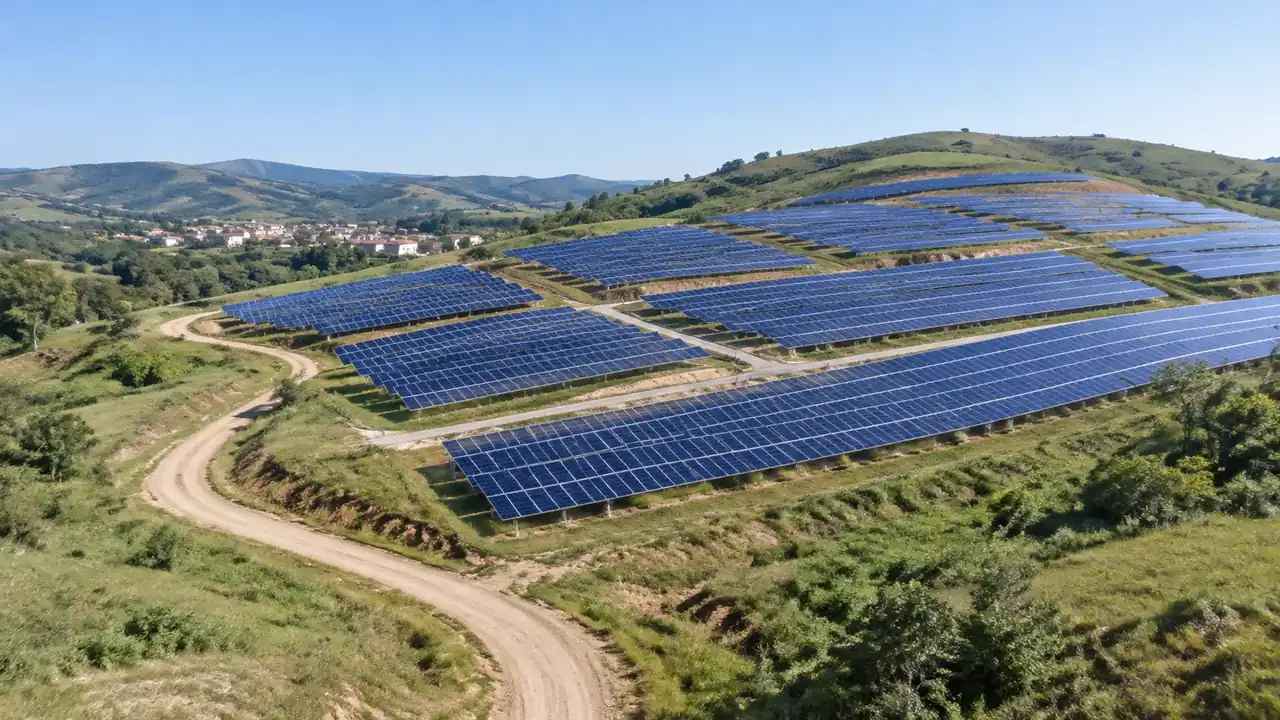
Panel tables, mounting structures, inverters, combiner boxes, transformers, fencing and access tracks are design and procurement items. None of them is generated, and none appears in the export. A solar scene without panels looks like a field, which is accurate and occasionally confusing. Say what the file is before it is opened, and the confusion costs one sentence instead of one meeting. A one page note is enough if it is clear about the split.
2 What the ground tells a solar team
2.1 Slope and aspect
A field that looks flat on a plan can fall away enough to change a row spacing or a mounting choice. The generated terrain shows slope across the site, and orbiting the scene shows which way the ground faces. That is useful context for a siting discussion, and it is visible before anyone commissions a topographic survey. The terrain is a reading of map and satellite data, so treat it as a starting look and not as a substitute for measured ground. If the slope looks marginal, that is a question for the survey rather than for the scene.
2.2 Buildings, vegetation and boundaries
Buildings inside the extent arrive as masses, which helps when a site includes a farmyard, a substation building or a row of houses along the boundary. Vegetation shows where a hedge or a wood stands, which matters for how a site reads from the road. The boundary itself is usually visible as a change in ground cover rather than as a drawn line. Add the fence in the design model if the review depends on it. Fences, gates and tracks are the features audiences ask about and the ones a scene rarely shows.
3 Where the export goes
3.1 Design tools and GIS
Photovoltaic design software and GIS applications are the usual destinations, with behaviour that depends on the product. A GIS team may overlay the site on existing layers such as land use or grid connections; a design team may use it as the base for the array layout. Both need the ground in the right place and at the right scale. Open Geospatial Consortium standards, published at OGC, describe how such layers are shared between systems, which is why the receiving team often has a preferred route. Ask which one before choosing how to hand the file over.
3.2 Visual sessions with stakeholders
A generated site also works for the kind of meeting where the question is what a solar farm would look like from a road or a neighbouring property. The scene gives the ground, the hedges and the nearby buildings, and the design team adds the rows. That combination is enough to discuss screening and orientation without pretending to be a photomontage. Keep the camera at eye level for those views, because that is where the argument usually lives. A second view from the boundary often answers the screening question.
4 Where the scene stops
4.1 No yield, irradiance or shading study
The scene does not calculate energy yield, irradiance, shading losses, soiling or grid capacity. Those come from solar design software with weather data, module specifications and a layout. A generated hedge can show where a shadow might fall, and that is a visual observation rather than a result. Presenting the scene as an energy study is a quick way to lose an audience that knows the difference. Keep the claims modest and the scene keeps its credibility.
4.2 Imagery date and ground cover
Fields change with the season and with the rotation, and imagery captures one moment in that cycle. A ploughed field, a pasture and a young crop all read differently, and none of them tells you what the ground is like under the surface. Check the imagery date before a review treats the scene as the current condition. The same caution applies to hedges, tracks and buildings added since the capture. Seasons matter more than most people expect on a farmland site.
5 Preparing the scene
5.1 Extent and orientation
Frame the site with the boundary inside the view and enough surrounding land to show the context. A solar site is usually reviewed against its neighbours and its access, so a tight crop around the array area hides the two things that matter. North is fixed by the scene, so check orientation once and then leave it alone. If the site is large, consider two scenes rather than one very wide one. Name each scene by the area it covers so the set stays usable.
5.2 Export checks
Open the GLB in the receiving tool before the team does, and check scale against a known length such as a field boundary or a barn. Confirm the origin if the target project uses a coordinate frame. The platform overview lists what the generated scene contains, and that list is the quickest answer to a question about missing panels. Keep the reviewed file until the layout is agreed. A dated export note is the cheapest version history a project can keep.
Open the GenAnywhere app and frame a solar site
6 Before you export
6.1 Agree the design side
Decide which tool holds the array, who owns the layout and how the two files will be combined. A solar project usually has a design model, a landownership plan and a grid connection study, and none of them lives in the scene. Naming those sources early prevents the scene from being asked to do a job it cannot. It also tells the audience what they are looking at, and stops the scene being blamed for a layout decision made elsewhere.
6.2 Note the gaps
Write down what the file does not contain: panels, mounting, inverters, cabling, fencing, access tracks and any survey data. Add the imagery date and the extent. Two short paragraphs attached to the file are more useful than a long explanation in a call, because they survive forwarding. The note also protects the next person who opens the scene from drawing a conclusion it cannot support. Keep the note with the file, not in a separate email thread.
6.3 Next step
Name the decision the scene supports. A land screening exercise, a layout review and a community session use the same fields in different ways, and each wants a different extent and camera. If the next step is a layout review, the design team needs the export early enough to place the array. If it is a community session, the scene needs more of the surrounding landscape. Writing the audience on the file note saves the next reader a phone call.
7 FAQ
FAQ-1 Are the solar panels included in the export?
No. Panels and all the balance of system equipment are design assets from the photovoltaic model. The export holds terrain, water, vegetation and building masses. Place the array on the exported ground in the design tool, then review the combination. Keeping them apart means the site can be reused when the layout changes, which on a solar project happens often. Name the design tool in the note so nobody has to hunt for it.
FAQ-2 Can I check shading in the scene?
You can see where a hedge, a building or a tree line sits relative to the ground, and that is a visual observation. You cannot calculate shading losses, because the scene has no sun path study, no module layout and no yield model. Those results come from solar design software. Use the scene to agree on the setting and the design tool to answer the energy question. Two different questions, and two different tools.
FAQ-3 Does this work for rooftop projects?
Partly. Buildings arrive as masses with estimated heights, and roofs are not modelled in detail, so a rooftop layout belongs in the design model. A rooftop array is a design problem above all, and a context problem second. The scene is more useful for the site around the building: the yard, the access, the neighbouring structures and the ground the building stands on. Treat rooftop work as a design task with a site context.
FAQ-4 Can I export a large site?
Yes, although a very wide extent produces a heavier file and less detail where the decisions are. Two or three scenes covering the parts under review usually work better than one scene covering everything. Keep the camera height consistent between them so the views can be compared, and name each file by the area it covers. A wide scene also takes longer to open on a laptop, which is where these reviews usually happen.
See how a generated solar site moves into a GLB workflow
Content and technical notes
This article was prepared by the GenAnywhere team with AI-assisted drafting and human review.
Product features, formats, and availability change as the platform evolves; refer to the official GenAnywhere website for current details.
For technical questions or corrections, contact support@genanywhere.com.
Last reviewed: 2026-11-13.