
Floodplain permits: how do you compare sites in GenAnywhere?
Comparing mapped flood exposure in a 3D scene, with the decision left where it belongs
Two sites can carry the same flood zone label and behave very differently on the ground. One has a low corner where water collects, and the other has a bank that keeps it out. A 3D scene will not settle a permit, but it can show those differences side by side before an application exists. GenAnywhere builds that scene from a map selection so a team can compare options in one place.
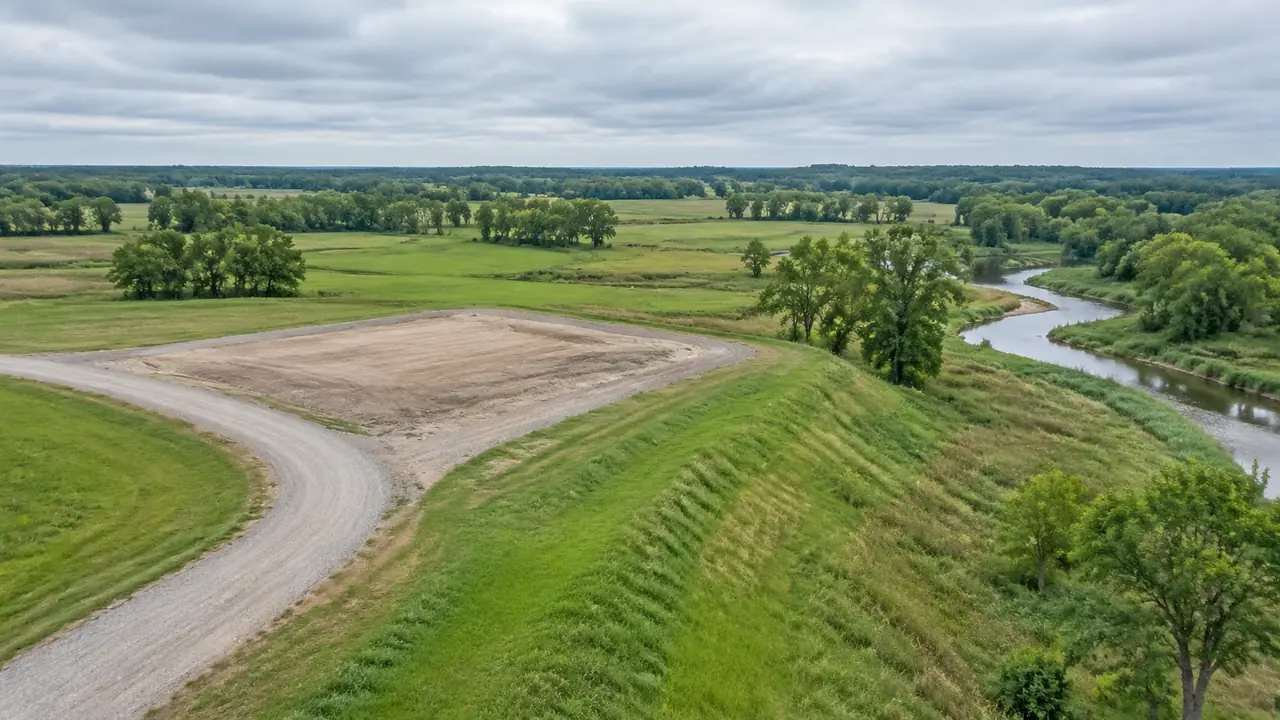
1 What a permit comparison really involves
1.1 The map, the ground, and the gap between them
A regulatory flood map is drawn at a scale that suits regulation, not construction. It identifies zones and boundaries, and it says little about a particular loading dock or the slope of a driveway. The applicant still has to show how a proposal meets the local requirements.
That gap is where a site scene helps. It does not produce a flood study, and it does not replace the map. It puts the map's message next to the physical site, so the team can see which parts of a proposal sit close to a boundary and which parts sit well inside a zone. That comparison starts a conversation rather than ending one.
1.2 Why two sites in the same zone can differ
Two parcels in the same zone can differ in the depth of the low ground, the length of the route to high ground, and the amount of fill already placed. They can also differ in where the access road crosses. A third may sit beside a culvert that decides where water leaves the neighborhood. A permit review cares about those details because they affect how a building is protected and how people leave.
A scene shows the differences without pretending to measure them. You can see that one site has a shallow ditch along the rear boundary and the other has a broad depression behind the pad. That observation shapes the questions you take to the engineer.
2 Setting up a comparison scene
2.1 Drawing the boundary around the mapped flood area
Select an area that covers the parcel, the mapped flood boundary, and the nearest high ground. If the boundary stops at the property line, the access route disappears from the view. In GenAnywhere, the map selection generates an editable site model with buildings, terrain, water, and vegetation already in place.
Check the view from the road before you change anything. The existing condition is the baseline, and a comparison that starts from a modified scene loses its reference point. If the existing trees hide the ditch, turn the vegetation layer off and look again.
2.2 Placing buildings and access where options differ
Put the proposed footprint in each candidate location. Keep the massing simple: a block for the building, a pad for the parking, a line for the access road. GenAnywhere lets you replace a building, move or rotate it, and change its height and type, which is enough to test a shift of twenty meters or a different orientation.
The point is not to design the building twice. The point is to see which option keeps the access route on higher ground and which one puts the loading area in the wet corner. Small moves at this stage cost nothing and reveal a lot.
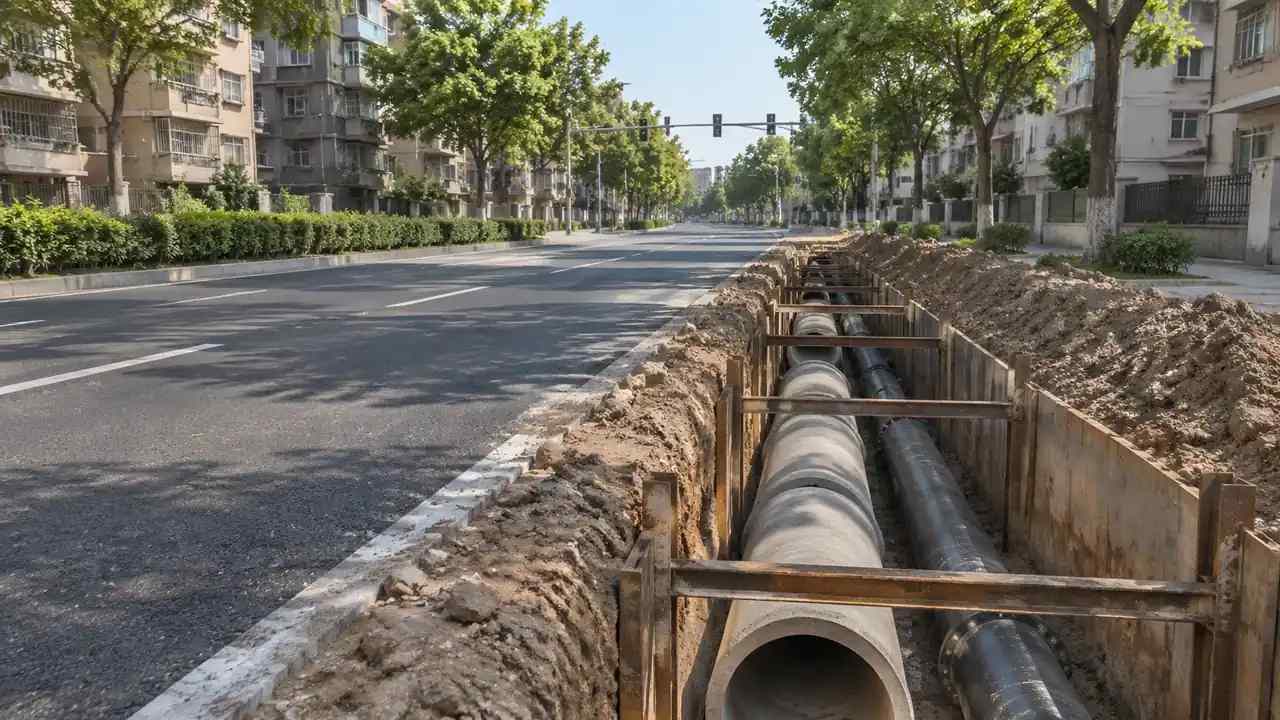
3 Reading the scene against the regulatory map
3.1 Edge conditions and access routes
Most practical questions sit at the edges. Where does the driveway leave the public road? Does it cross a low point? Is there a second route out if the main one floods? A plan can answer these in the abstract. A scene answers them in relation to the buildings and the trees.
Walk the route at eye level. Slopes that look gentle from above can read as a dip from a car, and a dip is what a reviewer will ask about. Better to find that dip in a scene than in a site plan review.
3.2 What a 3D view adds to a flat map
A flat map compresses elevation into color bands. A 3D view restores the shape of the ground, which is how most people understand a site. It also shows continuity: the ditch that runs behind three parcels, the ridge that separates two drainage areas, the culvert that carries water under the road.
That continuity is useful in a public meeting. Residents tend to describe water by where it goes, not by zone labels. A scene lets the team follow the same path the residents describe. Seen from above, it also explains why a neighbor worries about the corner lot.
4 Where the scene must stop
4.1 The permit decision is not in the model
Floodplain permits turn on hydrology, elevation data, local ordinance, and the reviewing authority's judgment. A site scene contains none of those. It is a context model built from map data, and its building heights and vegetation are inferred rather than surveyed. Those inputs come from specialists, and they carry a weight a rendering cannot.
Treat the scene as a briefing tool. It helps a team decide which option to study and which questions to ask. It does not establish whether a proposal is allowed, and it should not be filed as if it did.
4.2 Language that keeps the review honest
Say that the scene shows rather than that the site meets. Describe the model as context and name the source of the ground data. When a stakeholder asks for a flood elevation, point to the flood study and the local map, not to the model.
That discipline protects everyone in the room. The engineer is not asked to defend a rendering, and the applicant is not asked to rely on one. It also makes the model easier to defend when someone asks how it was built.
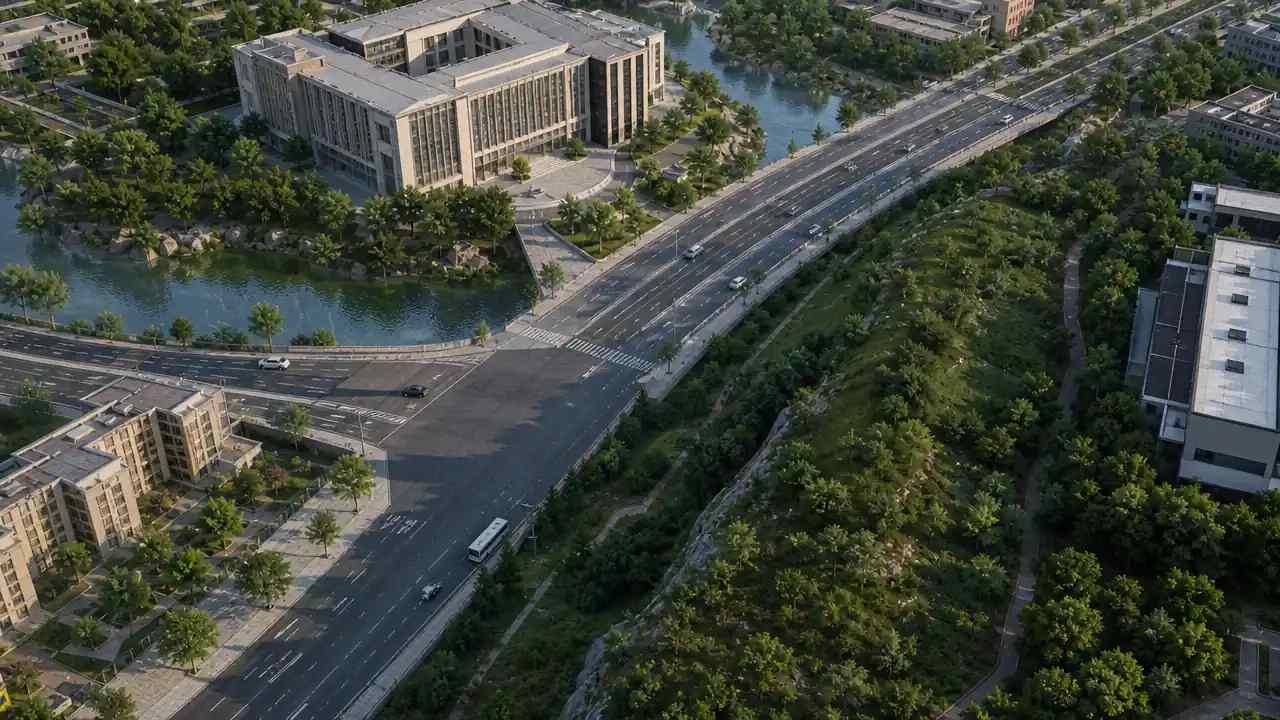
5 Sharing the comparison
5.1 Exporting for engineers and reviewers
GenAnywhere exports a general GLB that opens in Unreal Engine, Unity, Blender, Revit, Rhino, SketchUp, ArcGIS Pro, and similar tools. An engineer can bring the scene into a design environment and compare it with survey and hydrology work. The official tutorials cover several of those paths. The team can then compare the scene against the study without redrawing the site.
The export carries the terrain and the massing, not a flood surface. Anyone who needs the regulatory boundary should bring it in from the map source and label it clearly.
5.2 Running a meeting with the map open
Put the regulatory map and the scene side by side. Start with the map, because that is the document under review. Then move to the scene to show what the map cannot: the bank, the ditch, the route out.
End with the open questions. A meeting that finishes with three named questions for the engineer is more useful than one that finishes with a preferred option and no evidence behind it. Assign an owner to each question before the room empties.
6 Where this fits
6.1 Teams that benefit
Applicants comparing two parcels, consultants preparing a pre-application meeting, and planning staff who need to explain a site to a board all get value from a shared view.
6.2 When a flood map alone is enough
If the question is whether a parcel sits inside a mapped zone, the map answers it. If the site is flat and the proposal is simple, a scene adds little. The scene earns its place when access, edge conditions, or two competing sites are part of the question. A scene is a poor stand-in for a document that already answers the question directly.
6.3 A short checklist
Confirm the mapped boundary, note the high ground and the access routes, and list the local submittal requirements. Build both options at the same scene scale so the comparison is fair. Then write down what the model does not include before anyone opens it. Keep the file small enough to open on a laptop during the meeting.
You can build a comparison at the GenAnywhere app and read how scenes move into review on the workflow pages. For the regulatory map itself, start with FEMA's flood map service.
7 FAQ
FAQ-1 Can the model show whether a site is in the floodplain?
It can show where the mapped boundary falls relative to the buildings if you bring the boundary in as a reference. It does not calculate flood zones, and it is not a substitute for the regulatory map. Check the official map for the zone, then use the scene to understand what the zone means on the ground. Keep the two documents separate in the conversation.
FAQ-2 Does the scene include base flood elevation?
No. Base flood elevation comes from the flood study and the local map, not from a site model built on map imagery. You can annotate a scene with reference points from the study, but the number belongs to the study. Mixing the two invites a mistake that is hard to undo later.
FAQ-3 Can two sites be compared in one scene?
Yes, if they are close enough to share a view. Otherwise build two scenes at the same scale with the same viewpoints, then compare them side by side. Consistency matters more than putting everything in one file, and separate scenes are easier to edit when one option changes. Name the files so the pair stays together after the meeting.
FAQ-4 Is the model acceptable as a permit exhibit?
Ask the reviewing authority what it accepts. A context model is not a survey, a hydrology study, or a certified exhibit, and the jurisdiction sets its own submittal requirements. Use the scene to prepare questions and brief the team, then follow the local checklist for what to file. That order also keeps the scene from being mistaken for evidence it cannot provide.
Content and technical notes
This article was prepared by the GenAnywhere team with AI-assisted drafting and human review.
Product features, formats, and availability change as the platform evolves; refer to the official GenAnywhere website for current details.
For technical questions or corrections, contact support@genanywhere.com.
Last reviewed: 2026-11-13.