
Wind farm layers: how teams review them in GenAnywhere
Three layers, three passes, and a straight statement that the machines are not one of them.
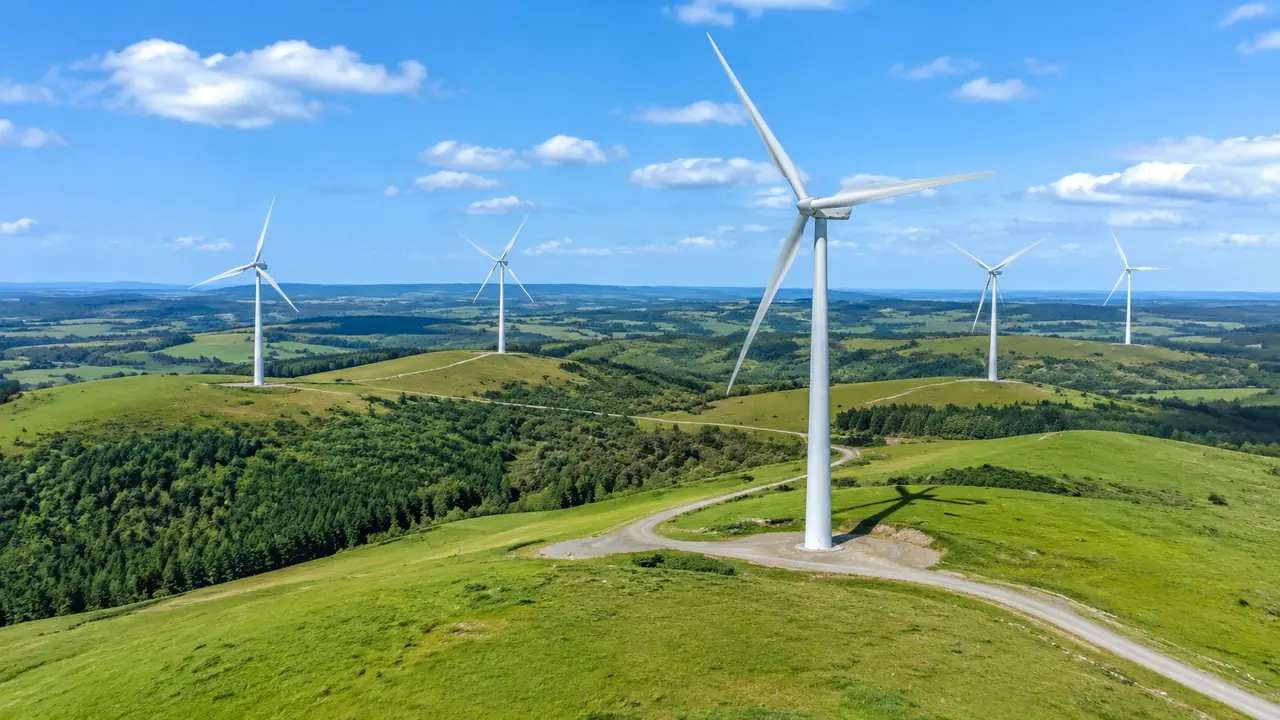
Reviews on a wind site run on three layers: buildings, terrain and vegetation. Each can be shown, hidden, edited and managed on its own, and moving between them is how a team reads a ridge without rebuilding the scene. The machines are not in that set. Turbine geometry comes from a vendor or a library, and it is placed on the ground in a downstream tool.
1 The layer set
1.1 What each layer holds
Terrain carries the landform: the ridge line, the shoulders, the saddles and the ground beneath the forest. Buildings carry the few structures a wind site has, which are usually steadings, a substation compound, a control building and the huts left from earlier surveying. Vegetation carries the forest blocks, the shelter belts and the scrub, generated from an analysis of what the imagery shows. Three groups, each answering a different question about where a machine could stand. Nothing else is in the panel, and that short list is worth reading out before anyone starts looking for more.
1.2 Why the machines are absent
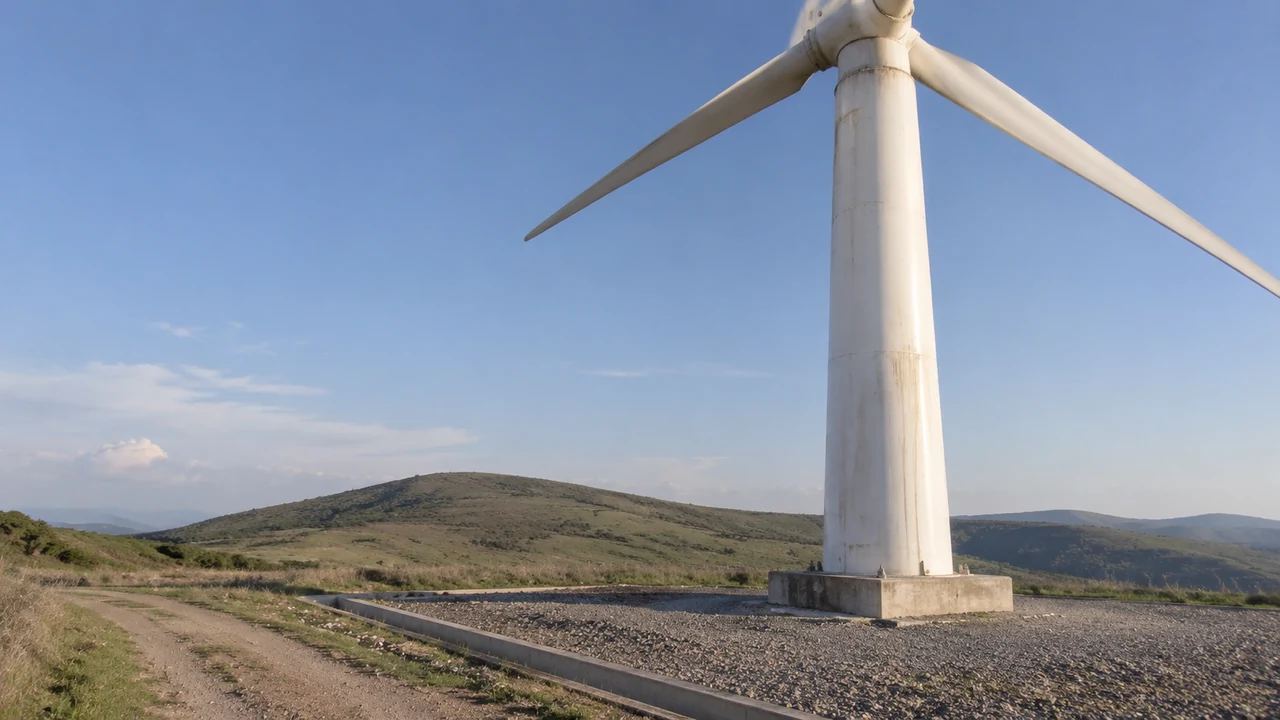
Turbines are equipment. Tower, nacelle and blade geometry belong to the manufacturer, and the platform does not generate them, so there is no turbine layer to find. Teams lose time on this when nobody says it early, particularly a team that has used other site tools with an equipment catalogue built in. Put the point on the opening slide, then show what the layers do carry. The absence becomes a non-issue once it is named, and the review gets to the ground sooner.
2 Pass one: read the landform
2.1 Vegetation off, ground visible
Start with vegetation hidden. A forest block reads as a soft green mass and hides the shape underneath, and on a wind site the shape underneath is the subject. With planting switched off, the ridge line, the steep face and the shoulder where a hardstanding might sit become visible at a glance. Keep the view wide, wider than the development area, because the landform that decides a layout usually runs past the site boundary. Capture this state before anything else is discussed. One bare-ground image, wide enough to include the next valley, will do more for a layout conversation than a dozen aerial photographs of the forest.
2.2 Terrain is a shape, not a surface
The generated ground is a reading of mapped elevation and imagery, and it is coarse. It is good at telling you where a slope steepens, where a saddle sits and which side of a ridge falls away. It is not a surface to set foundation levels on, and it does not carry the survey that a foundation design needs. Say this when the landform view goes up, because a clean slope invites a question about bearing capacity that the scene cannot answer. Keep that work with the ground investigation. Its value is showing which slopes deserve attention before anyone books a rig, a scheduling gain rather than a design one.
3 Pass two: what already stands there
3.1 Buildings as constraints
Wind sites have few buildings, so the ones that exist matter. A steading at the end of an access road, a substation compound on the single flat shelf of ground, a hut beside a met mast: each of them shapes where a machine can go and where a cable route has to run. Footprints come from map data with heights estimated, and corrections take a moment. Raise a shed to test how it screens a machine from a road, or remove one that has been demolished since the imagery. Small corrections of this kind are cheap, and they stop a review from arguing about a building that no longer exists.
3.2 Vegetation back on
Bring the planting back for the second half of the pass, because by then the question has changed from where the ground allows a machine to what has to be cleared. The edge of the standing crop, the shape of a block between two positions, the strip of trees along a boundary: all of it reads at once. Keep the two states side by side in the pack. One shows the constraint, the other shows what removal would change.
4 Layer states under a layout
4.1 Labelled markers
Once the layers are understood, a layout can be tested over them. Markers at hub height, or simple blocks at the right footprint, are enough to show spacing and position, and they are quick to place in the receiving tool. Label them as placeholders and say where the dimensions came from. A marker that looks like a machine will be read as a machine, and a spacing conversation then turns into an argument about a model nobody has bought yet.
4.2 Keep the states constant
Comparison works when the layer state holds. Two images of the same ridge, one with vegetation hidden and one with it visible, cannot be compared for position, because the ground reads differently in each. Fix the layer state, the camera height and the extent before the options are captured, and write those settings into the file names. When a reviewer asks why the second option looks darker, the answer should not be that the trees came back.
5 A site made of several scenes
5.1 A layer log per scene
Long sites usually end up as two or three scenes, and each has its own layer history: which buildings were corrected, which block was hidden, which version of the extent was used. Keep a short log per scene rather than one log for the project. When the northern scene is presented a month later, the log is what lets someone rebuild the view instead of describing it from memory. One page per scene is enough, and it can live in the same folder as the export.
5.2 Overlap and matched states
Frame neighbouring scenes with a shared landmark in the overlap, and use the same layer state in both. A ridge presented with trees in one half and bare ground in the other looks like two different sites, and the audience will ask which one is real. Matching states also makes the join easier to check when the files are combined later. Two scenes that agree at the seam are worth more than one oversized scene that agrees with nothing.
Open the GenAnywhere app and frame a wind site for review
6 Limits and handover
6.1 No visibility, wind or shadow study
The layers show what is there. They do not compute wind resource, wake losses, energy yield, shadow flicker, aviation lighting or the zone a turbine would be visible from. Those studies need measurement, machine data and specialist software, and standards bodies such as the OGC publish the kind of spatial data conventions that such work depends on. Use the layer views to brief those studies and to agree the viewpoints they should cover. That sequence keeps the expensive analysis tied to a decision rather than to a hunch.
6.2 What the export keeps
Preview the scene and export a GLB, and the file carries the site content as it stands, including the edits made to buildings. The layer state at export is worth checking, since a file exported with vegetation hidden may arrive with less than the receiving team expects. Test the import, note which parts arrived as separate objects, and say whether the receivers can toggle them. The platform overview describes the content set in shorter form.
6.3 Naming and purpose
Name each export for the site, the extent, the layer state and the date, and add one line about what it is for. A layout comparison, a landscape image and a base for access design all want different things from the same ground, and a file named for the site alone serves none of them well. Send the note with the file. Teams that skip this step end up re-exporting the same ridge three times.
7 FAQ
FAQ-1 Is there a turbine layer?
No. The layers are buildings, terrain and vegetation, and the machines sit outside all three because they are equipment. Turbine geometry arrives from a vendor or a library and is placed in the receiving tool. Hiding vegetation gets a reviewer closer to the bare ground that a layout needs, which is often what the request for a turbine layer was really about. Say so at the start of the session.
FAQ-2 Which layer do I turn off?
Vegetation, and early. Forest cover hides the landform that decides where machines can stand, and it makes access routes hard to follow. Switch it back on when the discussion turns to felling, screening or what a neighbour sees. Two states cover most wind reviews, and the pair is easier to present than a camera that keeps moving. Capture both from the same spot and the difference is the point. Caption each image with the state it shows.
FAQ-3 Can the layers be compared with a map?
Yes. The scene and any map you already trust can be looked at side by side, and the layer views make that comparison easier because the ground can be isolated. Use the comparison to catch what the imagery missed: a track cut since capture, a compound extended, a block felled. Then correct the buildings and note the imagery date. The layers help you find the gap, not measure it.
FAQ-4 What do the layers not tell you?
Anything about behaviour. The scene holds no wind data, no visibility map, no noise contour and no shadow prediction, and the layer states change nothing about that. Those answers come from measurement and specialist studies, with machine data attached. A bare-ground view with markers on it is a way to agree positions, not a way to test whether a position works for the project.
See how a wind site moves into a shared review workflow
Content and technical notes
This article was prepared by the GenAnywhere team with AI-assisted drafting and human review.
Product features, formats, and availability change as the platform evolves; refer to the official GenAnywhere website for current details.
For technical questions or corrections, contact support@genanywhere.com.
Last reviewed: 2026-11-13.