
Water and terrain: how GenAnywhere joins the two
Rivers, reservoirs and shorelines share one surface in the generated site model, and that join is worth checking before export.
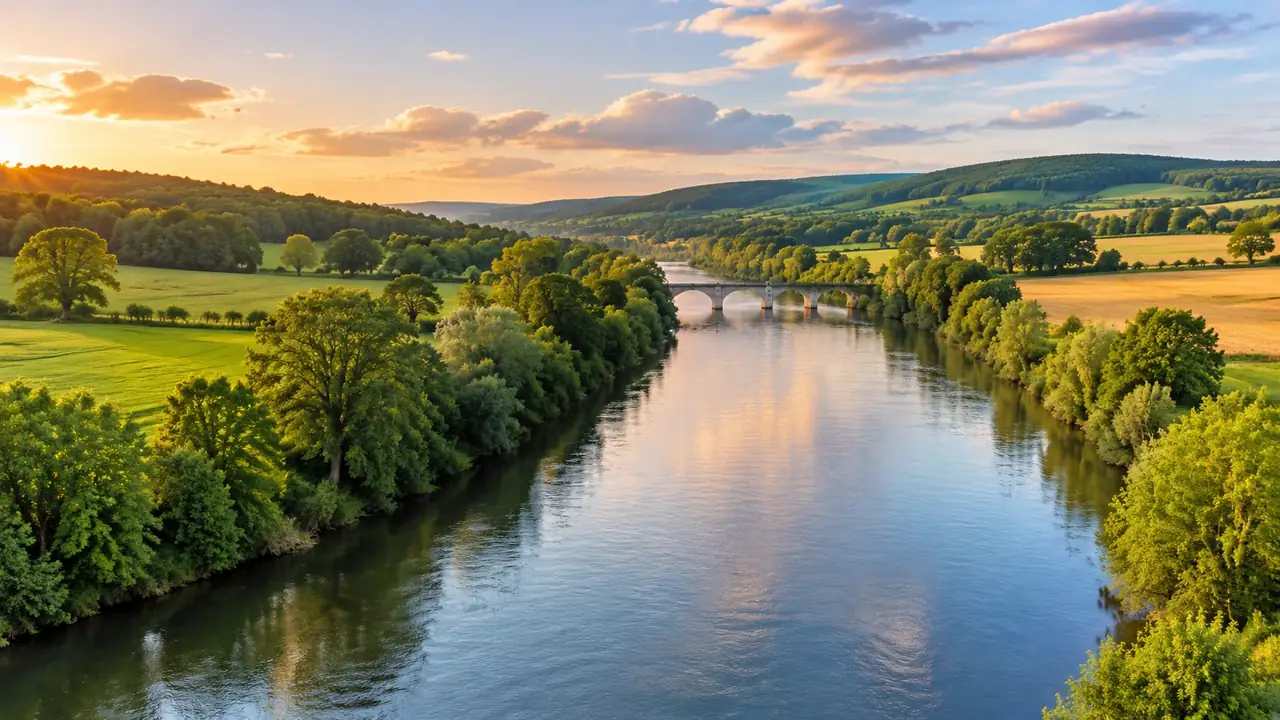
GenAnywhere builds a 3D site model from map and satellite data, and water arrives as part of that surface instead of a separate sheet laid over it. Rivers, lakes and coastal edges follow the same terrain as the land around them. What matters in a review is whether that join still reads correctly when you change the angle, cut a section or move the file into another tool.
1 What the generated surface includes
1.1 Which water bodies appear in a scene
Open water in the source imagery is carried into the scene: rivers, canals, reservoirs, lakes and the shallow edge of a coast. Width and alignment follow the map data rather than a surveyed channel, so a narrow ditch, a seasonal pond or a berth dredged last year may be missing. The generated surface is a reading of what the map shows, not a record of what the water does on a given day. Check the specific body you plan to discuss before you build an argument on it, and note anything the scene leaves out.
1.2 How the bank meets the land
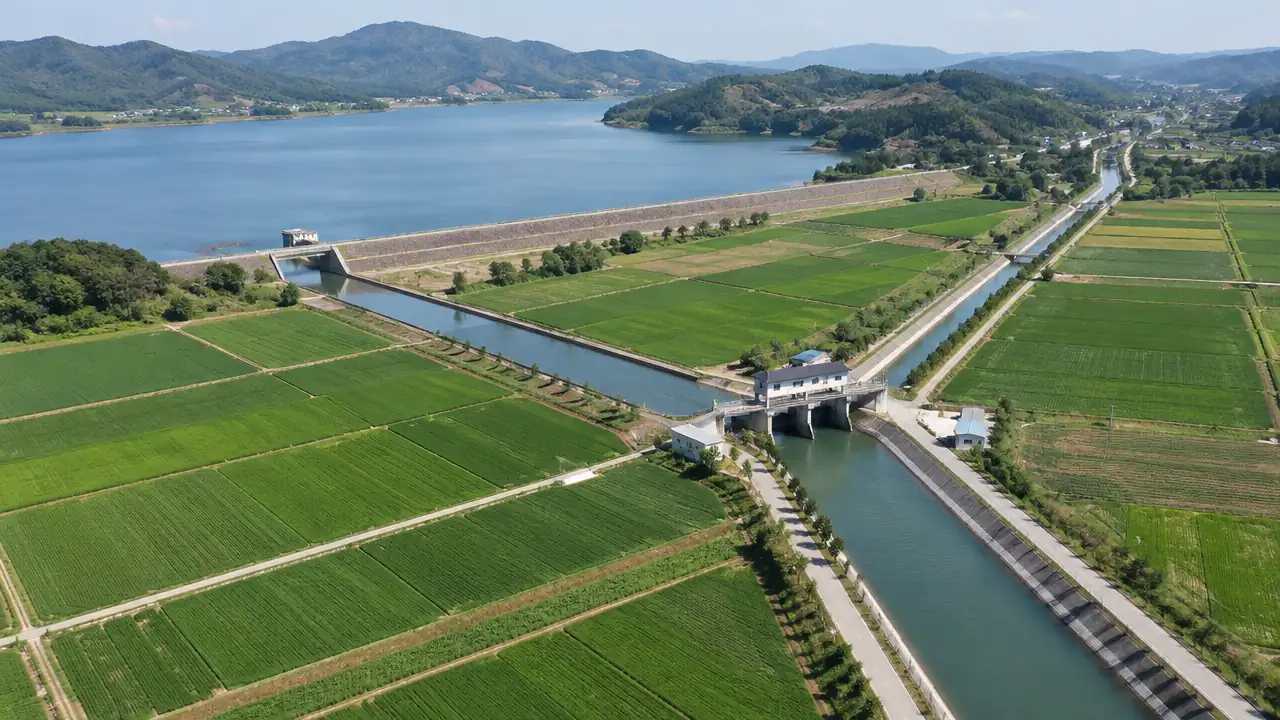
The shoreline appears where the water polygon meets the terrain, which produces a continuous edge instead of a gap between two meshes. On gentle ground the join reads as a beach or a muddy bank; where a quay wall or a revetment stands, the step is simplified into a vertical face. That simplification is worth flagging when a review depends on the profile of the edge, because a vertical face says little about the wall behind it. The model shows the shape of the site, not the construction of the wall.
2 How terrain carries the water
2.1 Slopes, valleys and basins
Terrain is generated to match the surrounding ground, and water sits inside the low points that the source data describes. A reservoir in a valley reads correctly from above, and a river crossing a floodplain keeps its course across the scene. Steep gorges and narrow channels are harder, because the model may soften the walls or widen the water slightly. Walk the scene at eye level before you trust a slope, and compare it with a map you already know; the difference between a plausible surface and a correct one is often a single ridge. If the review turns on a valley floor, spend a minute on the view from the water rather than the view from above.
2.2 Flat ground near the waterline
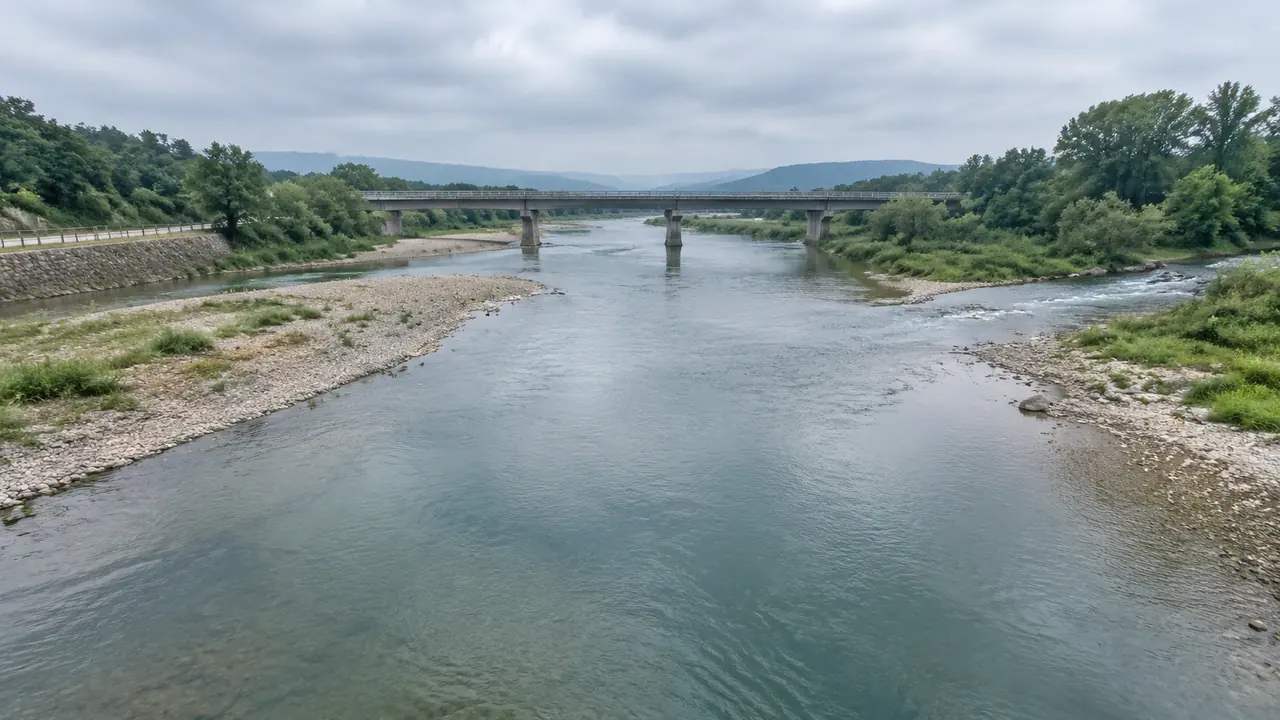
Flat sites are where the join is easiest to misread. A small height difference between bank and water can look like a wall from one angle and like nothing from another, and the same geometry can suggest a problem that is not there. Orbit the camera, then look from the direction your audience will use in the meeting. If the difference matters, write it into the review notes instead of assuming the geometry carries the message; a sentence in the margin is cheaper than an argument about a shadow.
3 What teams usually change after generation
3.1 Buildings close to a bank
Buildings close to the water can be replaced, moved or rotated, and their height and type can be adjusted after generation. That helps when a riverside block is scheduled for demolition or when a new shed will change the skyline above a quay. Edits apply to the building, not to the water: the shoreline stays where the source data placed it. If a scheme moves the bank itself, the change belongs in design geometry downstream, where it can be measured against the scheme rather than against a photograph. Keep the two kinds of change separate in the notes, or the next reader will assume the model already shows the design.
3.2 Layers for water, terrain and vegetation
Water, terrain and vegetation can be previewed and managed as separate layers in the scene. Turning vegetation off makes a bank easier to read; turning water off shows the bed that the terrain describes underneath. Reviewers use this to compare a green edge with a hard edge without rebuilding anything. It is a reading aid, and it is worth showing the layer choice in a workshop so nobody argues about a view they did not see. Small habit, fewer disputes.
4 Where the model stops
4.1 No flow, flood or water quality analysis
The scene is geometry, not a hydraulic study. It does not compute flow, depth over time, sediment transport or water quality, and it should not be presented as a flood map. Teams that need those answers take the geometry into a specialist tool and run the study there, with current survey data and a qualified analyst. GenAnywhere supplies the context around the water, not the behaviour of the water. The distinction is easy to lose in a polished image, so say it out loud in the meeting. A viewer who understands the boundary will ask better questions about the scheme.
4.2 Currency of the source imagery
Satellite and map data carry a date, and that date is not always visible in the scene. A reservoir drawn at a low level, a river in its dry season or a coastline captured before reclamation will all look plausible and all be wrong for your purpose. Confirm the vintage of the imagery for the area, and state it in the review before anyone treats the waterline as current. A dated view is still useful; an undated one invites the wrong conclusion.
5 How this fits a review
5.1 Riverfront and reservoir schemes
A riverfront masterplan, a reservoir crossing or a coastal park all benefit from one scene where water, bank and surrounding buildings share a frame. The value is orientation: everyone sees the same bend, the same bridge and the same row of buildings. Disagreements about the scheme become easier to locate when the setting is stable and visible. That is a modest gain, but it saves a lot of pointing at different drawings and describing what is not on them. It also gives newcomers a way into the discussion without reading three reports in advance.
5.2 Passing the scene downstream
When the review moves to another team, preview the scene and export a GLB. The file carries site context into 3D, BIM, GIS and game engine workflows, where the water surface can be compared with design geometry. Formats and import behaviour vary, so confirm what the receiving tool expects before you send anything. A short note listing what the file contains is more useful than a long one listing what it might do. The platform overview is a better starting point than a forwarded file with no explanation.
Open the GenAnywhere app and frame a riverfront scene
6 Before you export
6.1 Agree the stretch of bank under review
Pick the length of bank the review actually concerns and frame the scene around it. A whole catchment in one view hides the detail that matters at the edge, while a tight view of one bend shows it clearly. The scene is a communication device, so choose the extent that supports the decision rather than the extent that looks impressive. Write the extent into the meeting note so the next session starts in the same place. A saved view is useful, but a written description survives a change of tool.
6.2 Record what the file does not contain
Write the limits down while they are fresh: no flow analysis, no construction detail at the wall, no assurance that the imagery is current. A short note in the handover stops the next team from reading more into the model than it holds. It also keeps the conversation on the design rather than on the tool. Nobody enjoys discovering a caveat after a decision has been made, and a paragraph now prevents that conversation later.
6.3 Set the next step
Decide who receives the scene and what they will do with it. A landscape team may want terrain and vegetation; an engineering team may want the bank profile checked against survey. Naming the next step keeps the export purposeful and stops the model from becoming a file nobody opens. If no next step is clear, the review needs a question before it needs a model. Ask what decision the scene is meant to support and who makes it.
7 FAQ
FAQ-1 Does GenAnywhere generate rivers and lakes?
Yes, where the source map data shows open water. Rivers, canals, reservoirs, lakes and coastal edges appear as part of the generated surface, and they follow the terrain rather than floating above it. Narrow ditches, seasonal ponds and very recent changes may not be present, so check the specific water body before you rely on it. If the missing water matters to the review, say so early rather than discovering it during a presentation.
FAQ-2 Can I raise or lower the water level?
The generated surface follows the source data; there is no water-level control in the site model. If a design depends on a different level, treat the surface as context and test the level in the downstream tool that holds your design geometry. Record the assumption in the handover so the difference is not mistaken for an error. For anything that depends on depth or volume, use a hydraulic tool rather than the scene.
FAQ-3 Is this suitable for flood or drainage studies?
No. The model shows terrain and water as geometry and does not simulate flow, depth or drainage. Flood studies need specialist hydraulic tools, current survey data and a qualified analyst. GenAnywhere can supply the surrounding context for a presentation, but the analysis and its conclusions belong in the appropriate software. The USGS Water Resources programme is one place to start reading about the methods involved.
FAQ-4 What do I get at the end?
A previewable 3D scene and an exported GLB for use in 3D, BIM, GIS or game engine workflows. The export carries the site context, not a hydraulic model or a survey deliverable. Check the file in the receiving application before you circulate it, because import behaviour differs between tools. If the receiving team needs design geometry, plan how the two files will be combined before the meeting starts.
See how a generated site moves into a GLB workflow
Content and technical notes
This article was prepared by the GenAnywhere team with AI-assisted drafting and human review.
Product features, formats, and availability change as the platform evolves; refer to the official GenAnywhere website for current details.
For technical questions or corrections, contact support@genanywhere.com.
Last reviewed: 2026-11-13.