
Flood map gaps: how should planners test a site in GenAnywhere?
A short method for reading the ground between the mapped zones, the drainage record, and the terrain in front of you.
A flood map has edges, dates, and places it never covered. Testing a site means reading the effective map with those limits in view, then comparing it against terrain, drainage, and local records. A three-dimensional view can hold the physical setting, but it cannot fill a map gap or settle a risk question.
1 What a flood map gap actually means
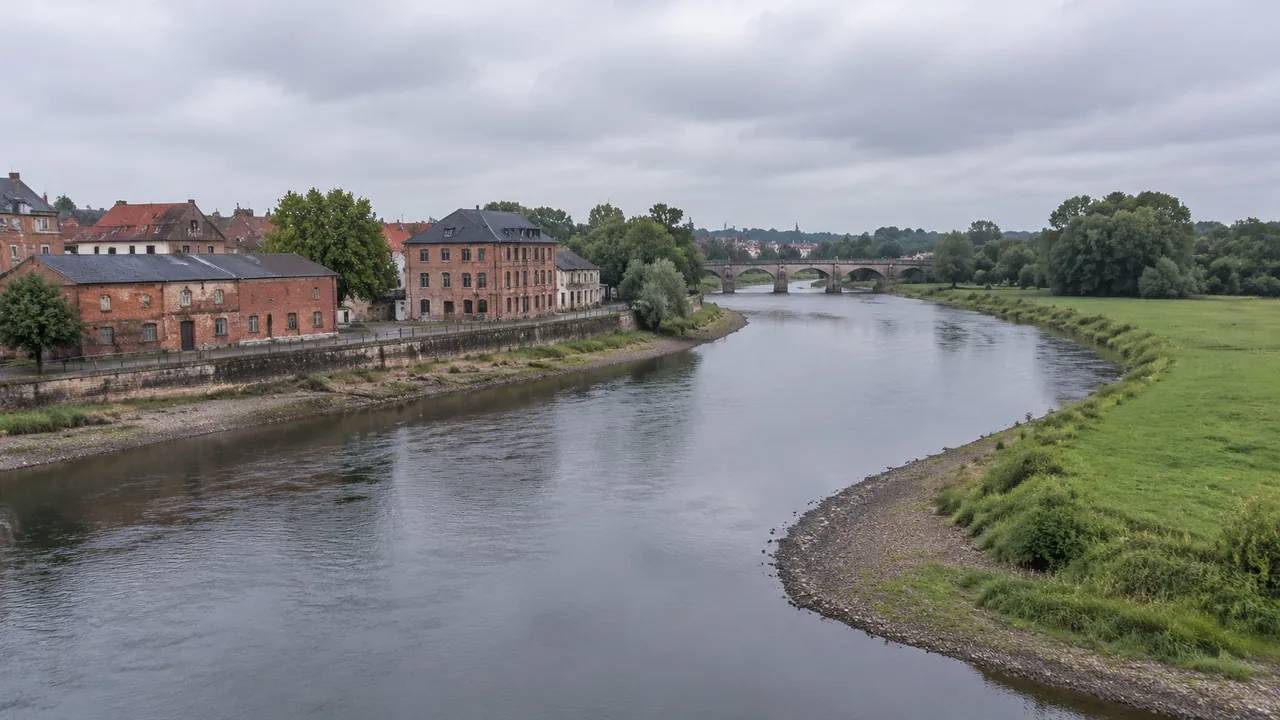
A gap is not a blank spot on a printed sheet. It can be an unmapped stream, a panel drawn before a subdivision existed, or an area where the study used coarse ground data. The practical effect is the same: the map says less about the site than a reader might assume.
1.1 Where the gaps come from
Flood studies are expensive and periodic, so they trail development. A culvert added after a study, a new detention pond, or a changed ditch can move water in ways the effective panel does not describe. Approximate zones, often shown with shading rather than detailed lines, carry less ground work than studied zones. Older panels may also use a different datum, which complicates comparison with current survey records. None of this makes the map useless. It means the map needs a companion.
1.2 What a gap does not excuse
A gap is not permission to assume the site is dry. Planners who treat unknown areas as low risk invite the same error as planners who treat every parcel as flooded. The workable position is to name the uncertainty, gather what local records exist, and describe what still needs a professional look. That posture keeps a screening exercise honest and gives the next reviewer something to act on.
2 Read the effective map before the model
Start with the adopted map, not with a rendering. The effective panel carries the zone, the base flood elevation where studied, and a date that tells you how current the picture is. Those details frame everything that follows.
2.1 Note the zone, the panel, and the date
Copy the zone label, the panel number, and the effective date into your notes before opening a 3D view. If the site sits near a panel boundary, note that too, because the line may reflect a study limit rather than a change in ground. When a later comparison shows water pooling where the map is silent, the date and panel tell you whether the map predates a change on the ground.
2.2 Separate approximate zones from studied ones
Approximate zones are a prompt to look closer, not a final answer. They often rely on less detailed terrain and may not reflect local drainage structures. Studied zones with published elevations support a more specific conversation, yet they still describe a modeled event rather than the next storm. Label each zone by type in your notes so a reader can see how much weight the map can carry.
3 Test the terrain the map cannot show
Terrain is where a map gap becomes visible. A site can sit outside a shaded zone and still hold a low corner that collects water, or sit inside a zone on ground that rises quickly. The 3D view makes those shapes easier to discuss.
3.1 Follow the low ground and the drainage
Look for the low corner, the swale behind the building, and the path water would take toward a stream or storm drain. Reading the terrain and water layers from several angles makes a berm or a ditch stand out against the surrounding ground. Mapped imagery will not show a blocked culvert, but it often shows the ditch, the berm, and the road crown that steer flow. Mark those features on the view and check them against the municipality's drainage records. Where the two disagree, the disagreement is the finding.
3.2 Compare the site at the property edge
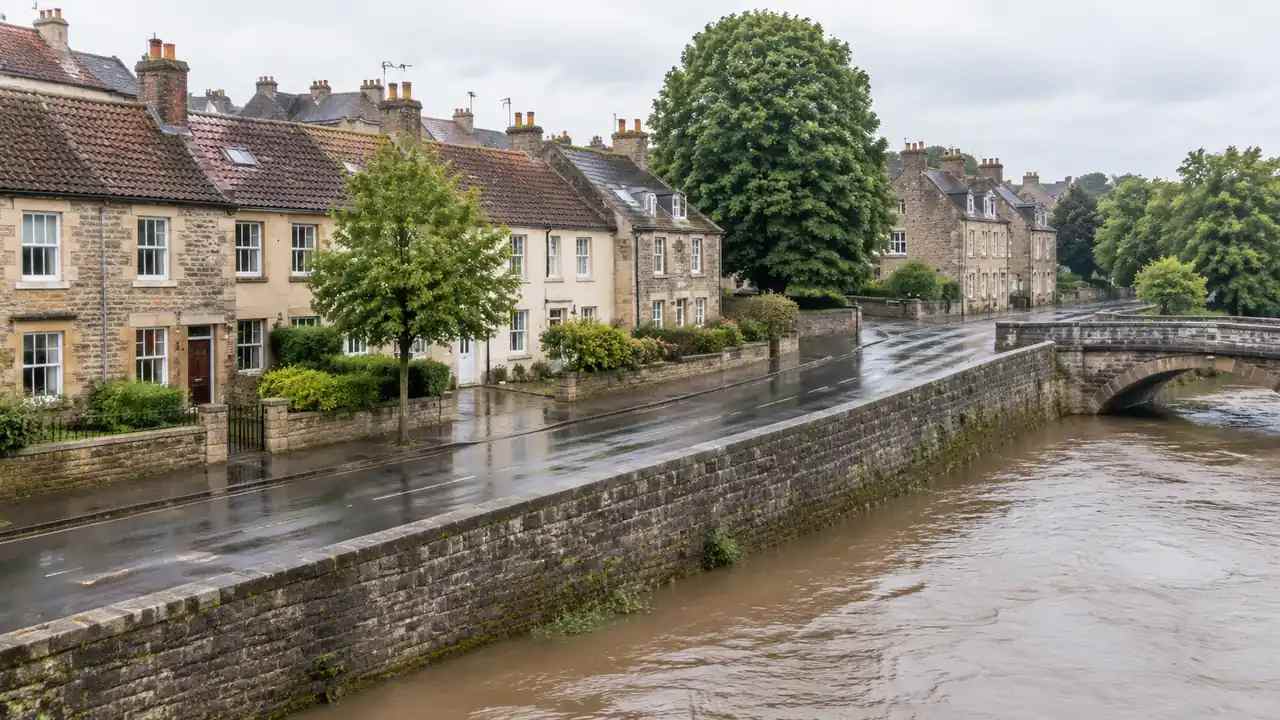
Water does not stop at a parcel line. Check what sits uphill and downstream of the site, including parking lots, fields, and new construction that may change runoff. A view that stops at the property edge can hide the reason a low corner floods. Widen the area before you judge the parcel, then note which off-site features you included and which you left out.
4 Put the scene to work without overclaiming
A 3D scene helps a team see the ground and the buildings together. It does not run hydrology, and it should not be presented as if it did. The value lies in framing questions for the people who do.
4.1 Screening sites for a closer look
With GenAnywhere, a planner selects an area on the map and generates an editable 3D site model from satellite and map data. Buildings, terrain, water, and vegetation arrive as separate layers, so a low corner or a blocked outfall is easier to point at than on a flat map. A site that shows several conflicts can be set aside or sent for a closer look. A site that reads cleanly still needs the map and drainage records checked before anyone calls it dry.
4.2 Handing terrain context to the team
When a site moves to the next stage, the scene can go with it. GenAnywhere previews the model before export and produces a general GLB for 3D, BIM, GIS, and game engine workflows, including Unreal Engine, Unity, Blender, Revit, Rhino, SketchUp, ArcGIS Pro, GISBox, and Wings Engine. Buildings can be replaced or adjusted so a team can test a different layout on the same ground. The export carries a permanent commercial license, while raw files stay off resale and AI training use, and the receiving team checks its own data rights.
5 Record the test so others can repeat it
A site test is useful to the extent that its notes are. A colleague should be able to repeat the steps and reach a similar view of the uncertainty, even if the conclusion differs.
5.1 Keep a source list in plain text
List the map panel, the drainage record, the imagery date, and any local study you used. Add a line for the terrain view and the area it covered. Plain text beats a screenshot because it survives a change of software. When a panel is revised, the list makes it obvious which conclusions need another look and which ones rest on unchanged ground.
5.2 State the limits at the end
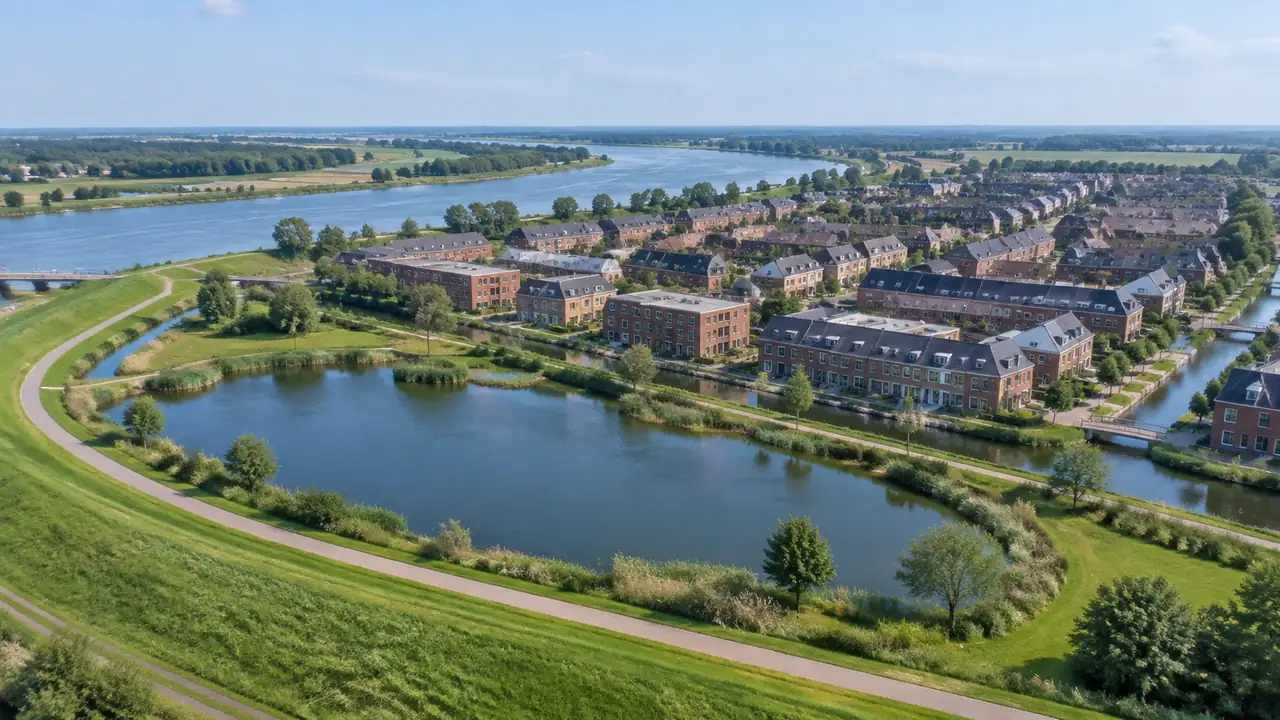
Close the note with what was not done: no hydrology, no survey, no permit review, no confirmation of culvert condition. Readers trust a review that names its edges. They also know where to send the next question. A short limits paragraph prevents a screening note from being recycled later as a flood determination, which it was never meant to be.
6 Bringing a site test together
The sequence below keeps a map review short and leaves a clear record. It works for a single parcel or a short list of options.
6.1 Frame the question in one line
Write down what the test must answer, such as whether a proposed building pad sits above the low corner or inside a shaded zone. One sentence keeps the map reading, the terrain view, and the local records pointed at the same question. It also stops the exercise from expanding into a general study that nobody asked for. The site workflow overview shows where mapping, review, and export sit in that sequence.
6.2 Walk the edge with the map open
Take the effective map and the terrain view to the site edge. Compare the shaded zone with the ditch, the berm, and the direction of the road. Check the FEMA flood map service for the current panel and any revision, then ask the local floodplain administrator which records sit outside the federal map. The gap between those sources is usually where the useful question lives.
6.3 Stop when a decision needs a professional
Screening ends where a permit, an elevation certificate, or a design decision begins. At that point, hand the question to a licensed surveyor, engineer, or floodplain administrator with the notes you gathered. The GenAnywhere scene is initial site context built from mapped imagery, not a survey product and not an approval document, and it should be described that way in any handoff. Knowing when to stop is part of the method.
Open the GenAnywhere workspace to map a site and read its terrain before the next meeting.
See how the site workflow fits together when the scene moves toward design.
7 FAQ
FAQ-1 Does a gap in the flood map mean a site is safe?
No. A gap means the map does not describe the site in detail, not that water avoids it. Unmapped streams, older panels, and approximate zones all leave room for conditions the map does not show. Treat the gap as a reason to gather local records and visit the ground. A licensed professional should make any determination that affects permits, insurance, or design.
FAQ-2 Can GenAnywhere model flooding?
No. The platform builds a 3D site scene from satellite and map data and does not run hydrology, elevation certification, or flood modeling. It shows terrain, buildings, water, and vegetation so a team can discuss the setting. Flood depths, velocities, and regulatory zones come from the adopted map and from technical studies prepared by qualified professionals.
FAQ-3 Which flood source should a planner open at the start?
Start with the effective flood insurance rate map for the parcel, then check whether a revision or letter of map change applies. After that, ask the local floodplain administrator about drainage studies, culvert records, and any local ordinance that adds requirements. The federal map is a baseline, not a complete picture, and local records often explain the conditions a panel cannot show.
FAQ-4 What belongs in a short site note?
Record the map panel and date, the zone type, the imagery date, the area reviewed, and the local records consulted. Add one view of the terrain and a sentence on what was not tested. Keep the note short enough to read in a meeting and specific enough that a colleague can repeat the steps. The limits paragraph matters as much as the findings.
Content and technical notes
This article was prepared by the GenAnywhere team with AI-assisted drafting and human review.
Product features, formats, and availability change as the platform evolves; refer to the official GenAnywhere website for current details.
For technical questions or corrections, contact support@genanywhere.com.
Last reviewed: 2026-11-09.