
New FEMA flood map review: where GenAnywhere adds value
A site-level method for reading a map change without overstating what it decides
A new FEMA flood map review often starts with a simple question from an owner or a board: what changed, and what does it mean for this site? The map answers part of that question. The rest depends on the ground, the buildings, and the way the site is used. A shared scene helps a team put the new panel beside the parcel and talk about the difference in plain terms.
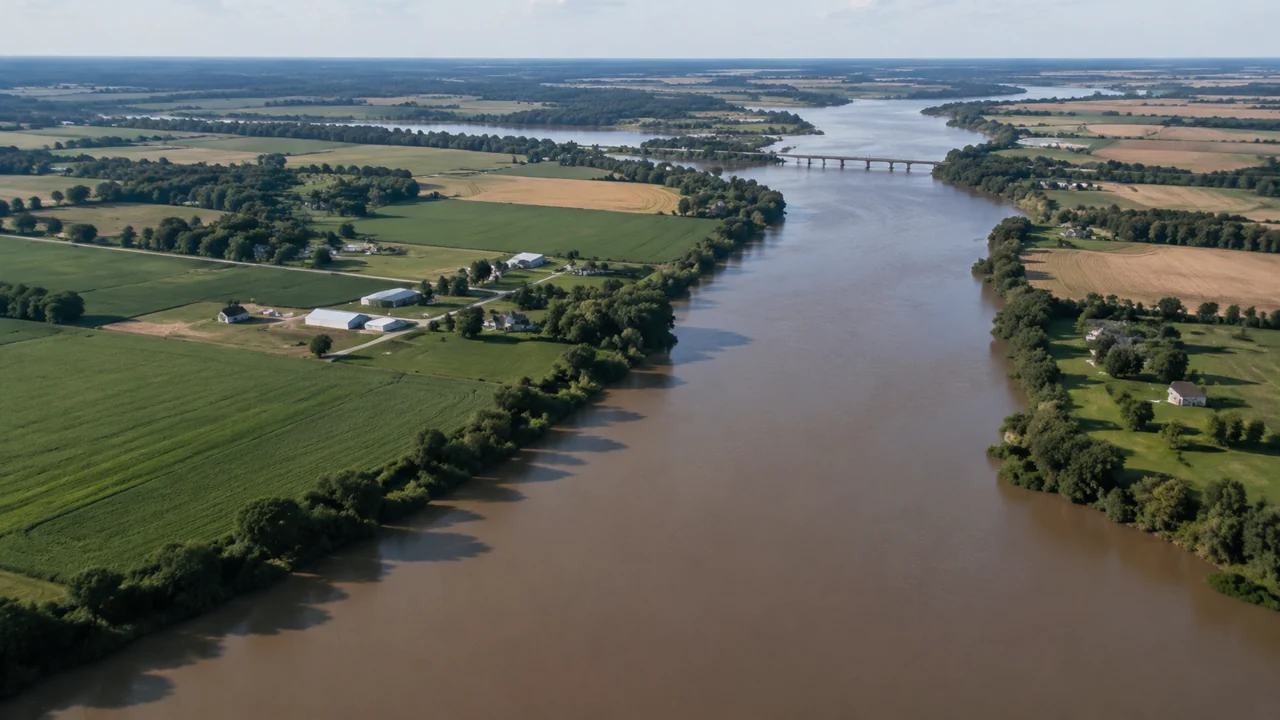
1 Read the change between the maps
A map revision is a comparison. The new panel matters because it differs from the old one, and the difference is what triggers the questions. Start by putting the two versions side by side and finding the lines that moved.
1.1 Compare the old and new panels
Print or display the old and new panels at the same scale and trace the zone boundaries. Look for areas that moved from a lower risk zone into a higher one, and for areas that moved the other way. Note the base flood elevation and the date of the new panel. A change that looks small on the county map can cover several blocks at the parcel scale, which is why the comparison needs both views.
1.2 Find the properties that changed
List the parcels that cross the new line or sit inside a changed zone. Add the buildings, driveways, and utility areas that fall within the new boundary. That list is the practical output of the review, because it tells the owners and the local staff where the questions will come from. Keep the list in the same scene as the map so each address can be checked against the ground.
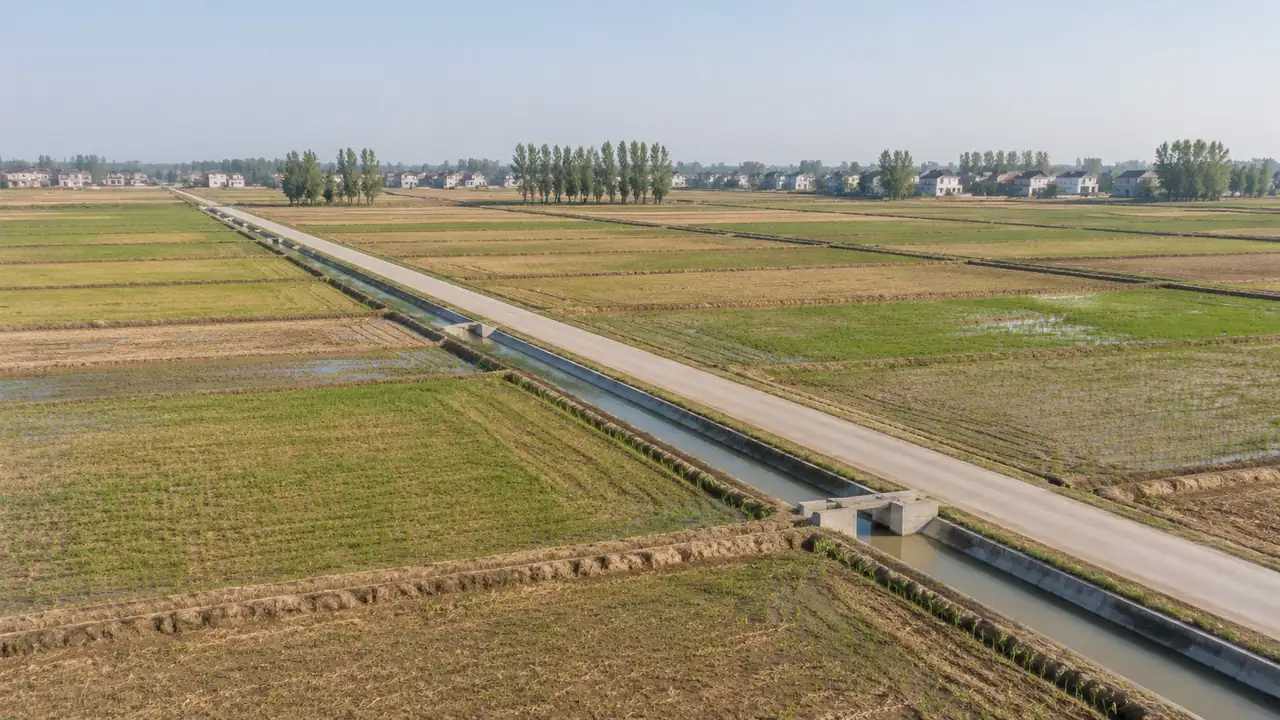
2 Put the map on the ground
The map is drawn at a scale that hides the site. A parcel that looks flat on the panel may have a bank, a ditch, or a raised pad that changes how water moves. The review has to connect the map to the actual ground.
2.1 Match the base map to the site
Load the site into a scene and compare the building footprints and the roads with the map. Old maps and new imagery often disagree about a building that was added or removed. Those differences matter when a property is close to the line. Note them and ask the local floodplain administrator which source the review should follow. Do not assume the newer image is the correct legal record.
2.2 Show the terrain the map implies
A flood zone boundary follows a ground elevation, even when the panel does not show a contour. Use the terrain in the scene to see where the low ground runs and how it connects to the river or the drain. A building on the edge of the zone may sit on a raised pad, while a lot across the street may be lower than it appears. The terrain view turns an abstract line into a shape that an owner can recognize.
GenAnywhere can build the site scene from satellite and map data. Select the area and the platform generates an editable model with buildings, terrain, water, and vegetation. The model is a discussion aid, not a flood determination, and it does not replace the effective map or the local administrator's review. Its value is in showing the relationship between the panel and the parcel.
3 Compare options near the line
Once the site is on the ground, the team can test a few responses. The options are usually about moving a building, raising a pad, or changing access. None of them settles the flood question, but each one changes how the site meets the map.
3.1 Test a building shift
Move a proposed building in GenAnywhere a short distance away from the new zone and look at what it does to the layout. A shift may preserve the parking or the yard, or it may create a new conflict with a buffer. Draw two versions and compare them in the same view. The exercise shows whether the line is a hard constraint or a design problem that can be solved with a modest change.
3.2 Test elevation and access
A raised pad can lift a building above the mapped elevation, but the access road still has to work during a flood. Test the driveway and the emergency route against the low ground. If the sole exit crosses the new zone, the building may be dry while the site is cut off. That distinction matters to a reviewer and to the people who will use the building.
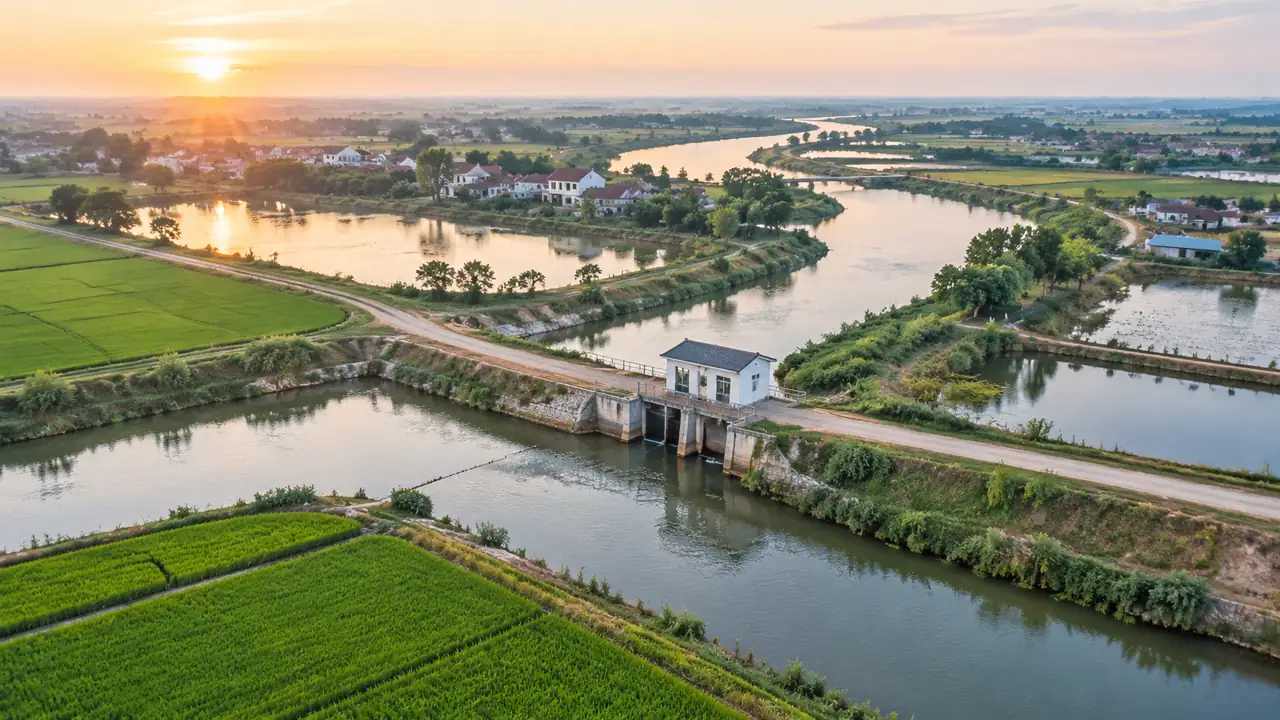
4 Separate the map question from the design question
A flood map review can drift into a design review, and the two have different rules. Keeping them apart makes the conversation clearer and protects the team from promising more than the map can support.
4.1 Know what the map decides
The effective map sets the zone and the base flood elevation for the purposes of the local floodplain ordinance. It does not decide whether a project is safe, insurable, or approvable in every respect. Those questions involve the building code, the insurer, and the lender. State the map's role at the start of the review so the audience knows which questions it can answer.
4.2 List what still needs an engineer
A site review cannot replace a hydrologic study, a hydraulic model, or a structural assessment. List the questions that need an engineer, such as the effect of a new fill area on nearby properties or the performance of a raised foundation. Keep that list next to the scene so the team does not confuse a visual comparison with an engineering answer.
5 Explain the change to owners and boards
Most of the people affected by a map revision are not floodplain specialists. They need a clear picture of what changed and what they can do next. The explanation should be short, consistent, and honest about uncertainty.
5.1 Use one view for the whole story
Choose a viewpoint in GenAnywhere that shows the parcel, the new line, and the nearest water. Use the same view for every property in the presentation so the audience can compare them. Add a simple label for the old zone and the new zone, and avoid colors that imply a safety judgment. Plain labels keep the conversation about the boundary.
5.2 Prepare for the questions people ask
Owners will ask about insurance, permits, and resale. The review team may not have those answers, but it can prepare a short list of who does. Have the local floodplain administrator, the insurer, and the building department ready as referrals. Acknowledging the limits of the map builds more trust than a confident answer that turns out to be wrong.
6 Package the review
A map review is easier to defend when the sources, the assumptions, and the next steps are in one place. The package does not need to be long, but it needs to be traceable.
6.1 Record the sources and dates
List the map panel, the effective date, the imagery date, and the local ordinance that applies. Note any differences between the imagery and the map, and say which source was used for the boundary. If a parcel is close to the line, record the method used to place it. That record is what allows a reviewer to check the work later.
6.2 Hand off a scene, not a screenshot
Preview the scene from the review angles, then export a GLB for the team that will continue the design. The file can open in Revit, Rhino, SketchUp, Blender, ArcGIS Pro, GISBox, Unity, Unreal Engine, or Wings Engine. Check the scale and the orientation in the receiving tool. The GenAnywhere app is where the scene is built, and the workflow page shows how the export fits into those tools. For the official map data, use the FEMA flood map service rather than a secondary copy.
6.3 Close with the next decision
End the review with the decision the group actually needs to make: whether to move a building, raise a pad, change access, or commission a study. A package that ends with a clear question is more useful than one that ends with a summary. The scene can support that decision, but the decision belongs to the owner and the local authority. Say so in the closing note.
7 FAQ
FAQ-1 What can a 3D site scene add to a flood map review?
It connects the map to the parcel. The scene shows the buildings, the low ground, the access road, and the water in one view, so a team can see how the new line falls across the site. It also makes it easier to compare a few responses, such as moving a building or raising a pad. The scene does not replace the effective map or the local review, and it should not be presented as a determination.
FAQ-2 Does the model show the official flood zone?
No. The official zone comes from the effective FEMA map and the local floodplain ordinance. The model can show a traced boundary for discussion, but that trace is no stronger than the source used to draw it. Keep the official panel beside the scene and label any traced line clearly. When the two disagree, the official map controls the regulatory question.
FAQ-3 Who should attend a map review meeting?
Include the owner or sponsor, the site designer, the local floodplain administrator, and someone who can speak to insurance and permits. Add the civil engineer if drainage or fill is part of the question. A small group with clear roles works better than a large audience without a decision. Send the scene and the source list before the meeting so people arrive with the same information.
FAQ-4 What happens after the review?
The group decides whether to revise the site plan, commission an engineering study, or proceed with the current layout. Record that decision and the reasons behind it. If the plan changes, update the scene and keep the earlier version for reference. If a study is needed, use the scene to define its scope. The review is useful when it leads to a next step, not when it ends with a set of images.
Content and technical notes
This article was prepared by the GenAnywhere team with AI-assisted drafting and human review.
Product features, formats, and availability change as the platform evolves; refer to the official GenAnywhere website for current details.
For technical questions or corrections, contact support@genanywhere.com.
Last reviewed: 2026-11-18.