
Overpass form: what GenAnywhere generates on a site
The site supplies the ground, the neighbouring buildings and the approaches; the span itself comes from your design model.
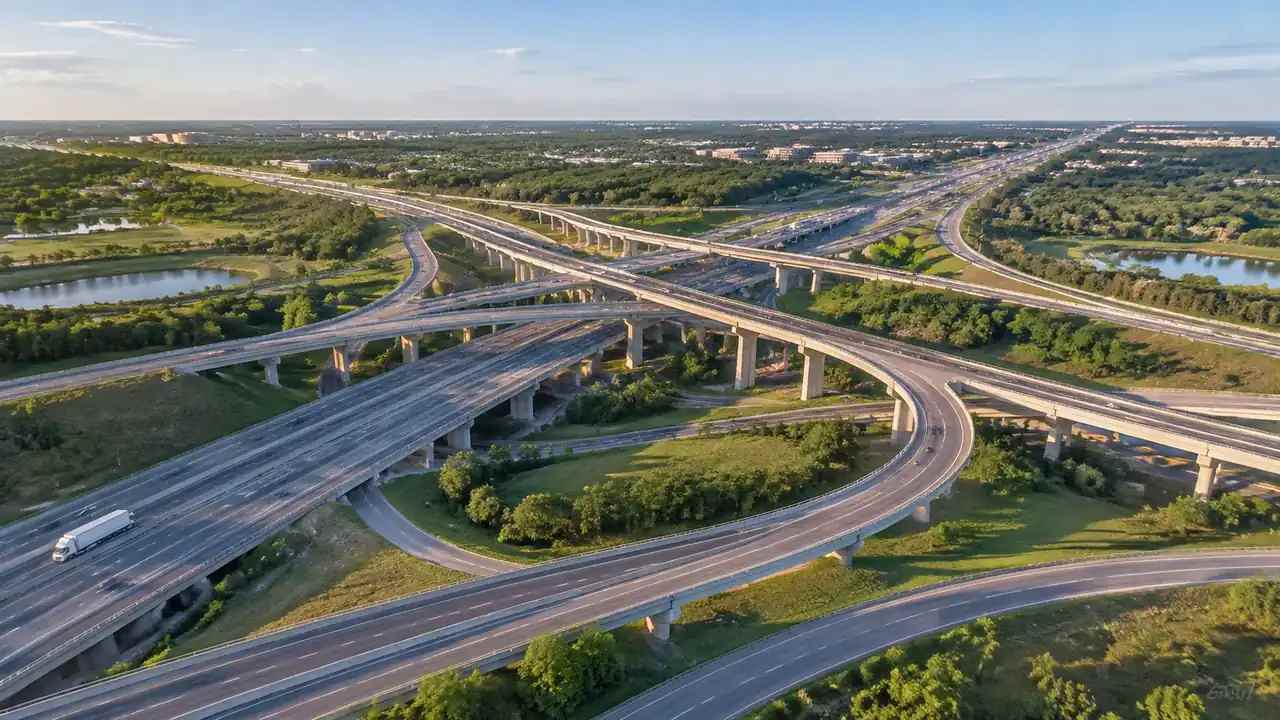
GenAnywhere generates the site: terrain, water, vegetation and building massing inside the area you select on the map. The overpass is a design asset, so its deck, piers and parapets arrive from your own model rather than from the generation step. The platform supplies the setting the structure has to fit, and that setting is where most early questions about an overpass actually sit.
1 What the site scene brings
1.1 Ground, water and vegetation
Terrain is generated to match the surface around the chosen area, so cuttings, embankments and the general lie of the land arrive with the site. Water bodies inside that area are generated too, which matters when a crossing sits above a river, a canal or a retention basin. Vegetation is placed from what the imagery shows, giving a canopy mass rather than individual trees. A row of poplars along a bank reads as a green strip, not as forty separate trunks. None of it is a survey: the ground you see is a shape to reason with, not a surface to set levels from.
1.2 Buildings along the corridor
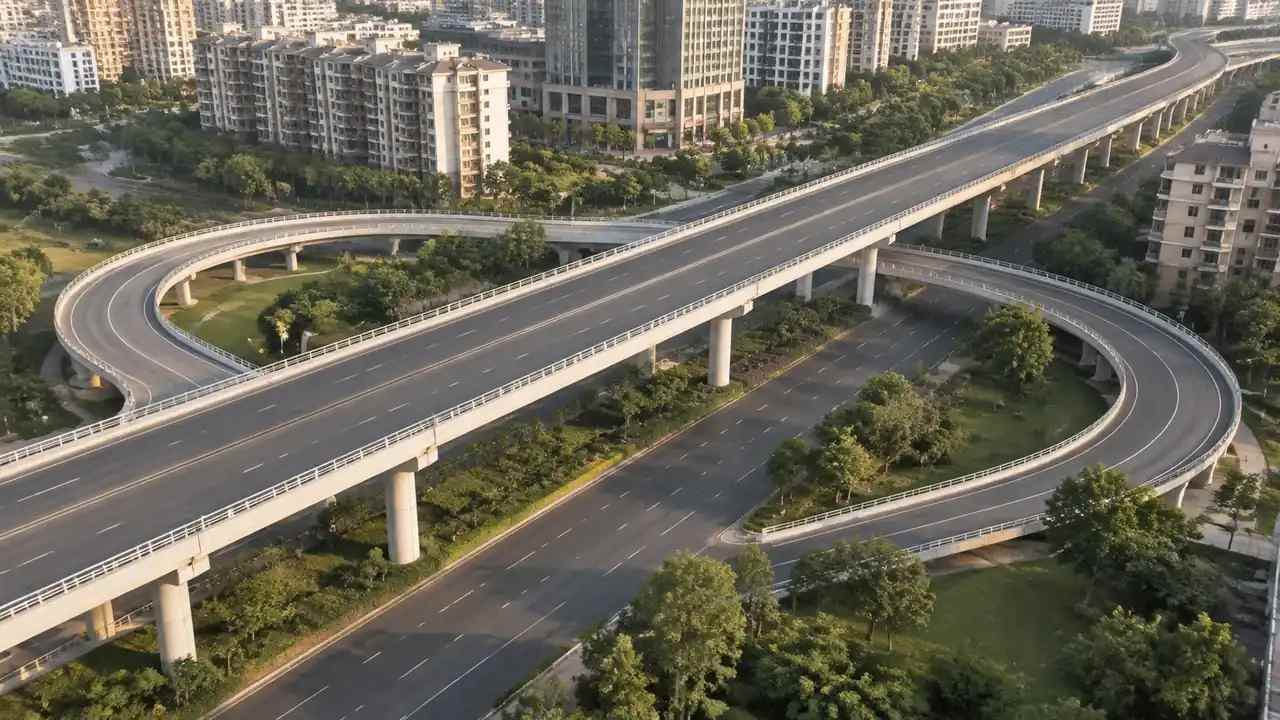
Buildings inside and beside the corridor are generated from footprints in the map data, with heights estimated and types inferred. That gives a fair picture of what the structure will stand next to: a terrace of houses on one approach, a warehouse yard on the other, a school at the foot of a ramp. Labels will be wrong in places and a roof may read low, which is normal when a type is guessed from a roof plan. Fixing a type or a height takes a moment, and the corrected version is the one local residents recognise.
2 Where the overpass form comes from
2.1 Deck, piers and parapets are design assets
The deck, the pier arrangement, the parapet and the drainage all come from a design model. Nothing in the documented output produces a bridge, and the platform makes no claim to. Teams import a mass or a full design depending on stage, then place it against the generated ground and check how it meets the bank. Early on, a simple extruded deck with piers at approximate spacing is enough to test alignment. Later the real model replaces it without moving the site around it.
2.2 What a block mass can answer
A block mass answers more than people expect. It shows whether the deck cuts the roofline of a nearby building seen from the street, how a ramp lands against a slope, and whether the structure overwhelms a square. It cannot say whether the deck depth works structurally, and it will not reveal where a pier clashes with a culvert. Treat the block as a question about proportion and position, then move to a design tool for the engineering. That split keeps a form review to one meeting instead of three.
3 Reading form against context
3.1 Approaches and landfall
Walk the approaches in the scene before looking at the span. Where a ramp meets existing ground is usually the contested part, because it takes land, moves a wall or cuts a garden off. The generated terrain is coarse, so the landfall line needs a topographical drawing before anyone prices it. Use the scene to decide which landfall deserves that drawing, and to see whether the ramp can be pulled back to spare a building. Two candidate landfalls are easier to argue about when both appear in the same image.
3.2 Views from the deck and from below
Views matter in both directions. From the deck, the scene shows what a driver or a pedestrian on the structure would face: a gable end, a yard, a line of trees. From underneath, it shows how much daylight a street loses and how a pier sits against a frontage. Camera height changes the answer, so set it deliberately and reuse it for every option. A view from the wrong height flatters a scheme that fails at eye level, which is the sort of mistake a review cannot afford.
4 Limits worth stating early
4.1 No clearance, structural or traffic work
Nothing here checks headroom, structural capacity, sight distance or traffic operation. Those need design codes, survey and specialist software, and they belong to the engineers who sign for them. A scene can show that a deck looks low over a yard; it cannot say whether the clearance is acceptable or how a vehicle would turn beneath it. Say this in the opening minutes of a review, because a realistic image invites assumptions that a line drawing would not.
4.2 Imagery date and staged construction
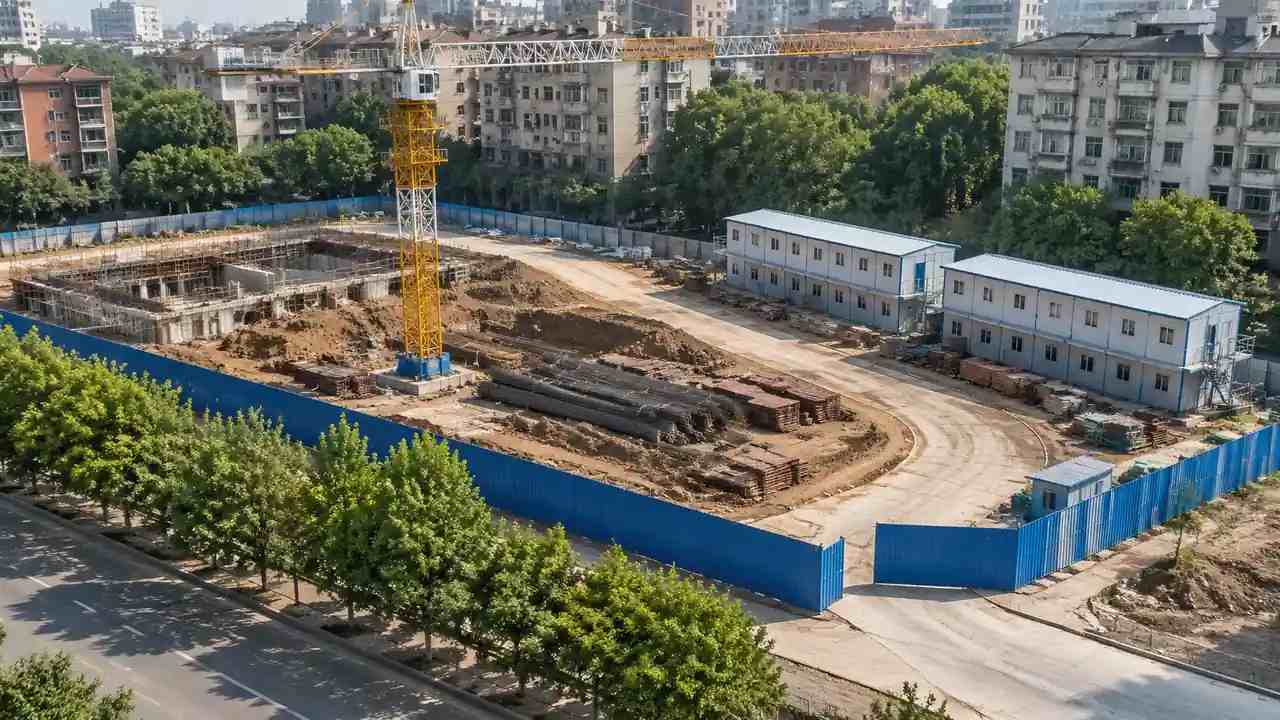
Overpasses are built in stages, and a half-built structure in the imagery will sit in every scene generated over it. Note the capture date and compare it with the programme before anyone reads the picture as current. A deck finished last spring may appear as bare piers, which changes how a junction looks and where traffic already runs. Keep an as-built drawing beside the scene when the difference matters. The ASPRS material on imagery and mapping is a reasonable place to check the terms.
5 Running a form review
5.1 A sequence for a mixed room
Start wide, with the corridor in its neighbourhood, then move to each landfall, then to the deck from two camera positions. The wide view settles where the structure sits. The landfall views raise the objections that matter. The deck views test proportion. Residents usually engage at the second step and engineers at the third, so do not rush past the landfall images to reach the span. Leave the wide view up while people arrive, since latecomers read a close view as the whole proposal.
5.2 Keeping options comparable
Give each option the same camera positions, the same layer states and the same extent. Store those settings in the file name or a note so the comparison can be repeated a fortnight later. Two images taken from different heights prove nothing, and neither does a pair with vegetation hidden in one. When a group cannot agree, put the options side by side at the contested landfall and ask which one they would walk past. That question tends to produce a decision faster than a debate about deck colour.
Open the GenAnywhere app and frame an overpass corridor
6 Before you hand the scene on
6.1 Agree the extent and the layers
Decide how much corridor travels with the scene. A single junction with 300 m of approach on each side supports a form discussion; three kilometres of corridor supports a route discussion and very little detail. Record which layers were visible, because a view with vegetation hidden looks like a different place. The platform overview sets out what the layers cover, and that list is worth reading before promising a view to anyone outside the team.
6.2 What the GLB carries
Preview the scene and export a GLB. It carries terrain, buildings and vegetation, plus the edits you made, into 3D, BIM, GIS and game engine workflows. It does not carry a bridge unless a bridge model was added downstream and exported again from there. Test the import before a meeting depends on it, and note which application received the file. Export terms allow permanent commercial use, with limits on resale and on training a model.
6.3 Naming and versions
Name exports by site, date and option, and keep the note with the file. A receiving team that opens three unnamed GLBs will pick the wrong one, usually the heaviest. Write down the edits applied to each version, especially height changes to buildings near the landfall, because those changes alter the argument about proportion. A short log costs a minute and saves a rebuild. If a version is superseded, say so in the file name rather than in an email nobody finds later.
7 FAQ
FAQ-1 Does GenAnywhere generate the overpass itself?
No. The overpass is a design asset. The platform generates the site around it, which means terrain, water, vegetation and building massing inside the selected area. The deck, piers and parapets come from a design model or an asset library and are placed against that site in a downstream tool. Expect to bring the structure with you, and expect the setting to be ready when you arrive. A team that plans for that split loses no time at all.
FAQ-2 Can I test two alignments in one scene?
Yes, if each alignment is a separate design mass placed over the same site. Keep the camera positions and layer states identical, then capture each option from the same spot. The comparison holds up when the ground, the neighbours and the viewpoint do not move between the two images. Name the files by option so the pair survives a week of email and a change of presenter. If a third alignment appears later, add it to the same set rather than starting a new one.
FAQ-3 How close is the generated ground to the real surface?
Close enough to judge how a ramp sits against a slope or where a pier lands relative to a bank. It is not a survey and it is not a surface for setting levels or quantities. Where the landfall line carries cost or a boundary dispute, order a topographical survey and work from that. Use the scene earlier, to decide which landfall deserves the survey. That order of work keeps the expensive step tied to a decision.
FAQ-4 What should the receiving team know?
Which area was framed, which layers were visible, what was edited and which application the GLB was tested in. Add the imagery date, because staged construction confuses readers who assume the picture is current. Say plainly that the bridge came from design and the site came from the platform. That sentence prevents the next team from hunting for a bridge in a file that never held one, and it tells them where to put the model they bring.
See how an overpass corridor moves into a design workflow
Content and technical notes
This article was prepared by the GenAnywhere team with AI-assisted drafting and human review.
Product features, formats, and availability change as the platform evolves; refer to the official GenAnywhere website for current details.
For technical questions or corrections, contact support@genanywhere.com.
Last reviewed: 2026-11-13.