
Chimneys and plants: how GenAnywhere layers both
A plant review switches buildings, terrain and vegetation on and off; a chimney is a plant asset, not a fourth layer.
GenAnywhere layers buildings, terrain and vegetation, and those three are the whole set. A chimney is not one of them: it is a plant asset that comes from a design model or an asset library and gets placed in a downstream tool. So the layering question at a plant with chimneys is about how the site is arranged around them, not about isolating a stack as its own switch.
1 The layer set, named
1.1 Buildings, terrain, vegetation
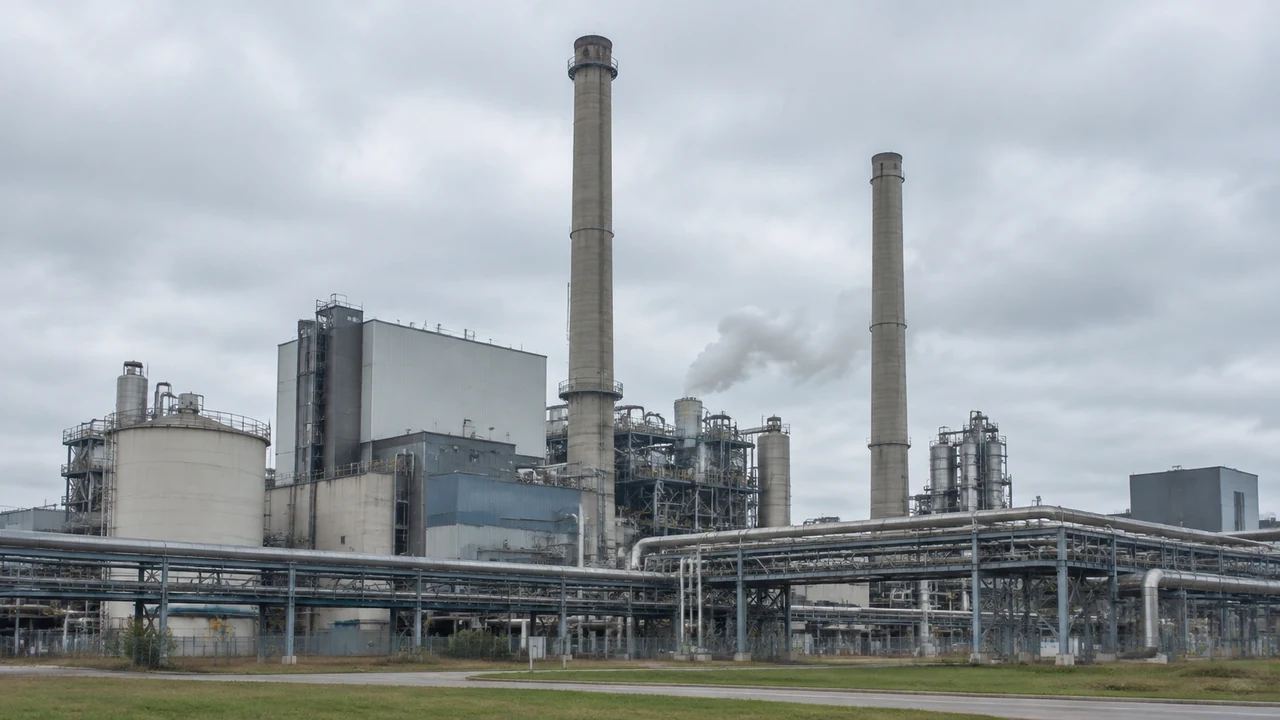
Three layers can be previewed, edited and managed: buildings, terrain and vegetation. Buildings carry footprints, estimated heights and inferred types. Terrain carries the ground shape, the levels and the water edge. Vegetation carries trees, hedgerows and scrub, generated from an analysis of what surrounds the site. Each layer answers a different question, and each can be switched without rebuilding the scene. That is the entire set, and knowing it saves a search through menus for something that is not there. If two people disagree about what the site contains, the layer list settles it in seconds.
1.2 Why a chimney is not a layer
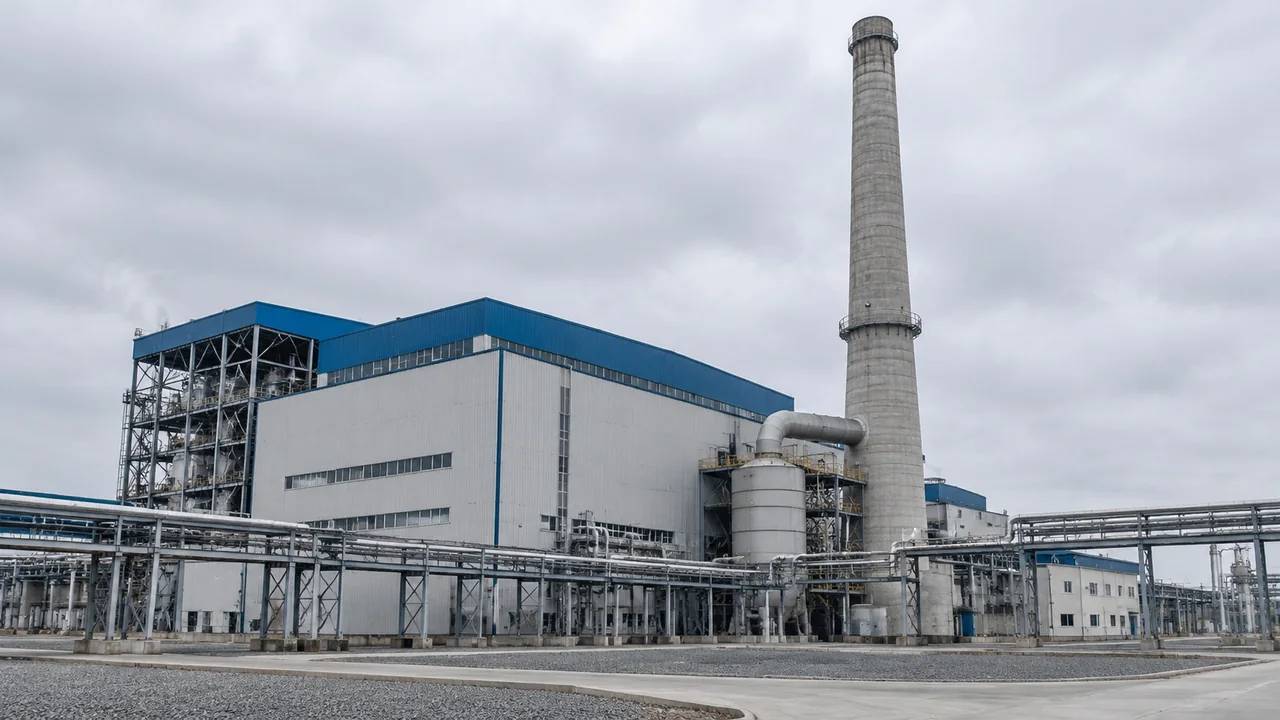
A chimney is equipment, so it does not appear as a toggle. What a plant scene holds is the ground the stack stands on, the buildings around its base and the vegetation at the fence line. Those three can be isolated. The stack cannot, and asking for a chimney layer usually means the team wants to see the plant without clutter, which the vegetation and building switches already do. Reframe the request and the layer panel answers it without a new control. That reframing takes one sentence at the start of a session.
2 Reading a plant with layers
2.1 Turning vegetation off early
Vegetation is the layer most reviews should switch off early. Trees at a plant boundary hide fence lines, access roads and the edges of hardstanding, and they make the site look softer than it is. With vegetation hidden, the ground and the buildings carry the picture, and the true extent of paved area becomes readable. Bring the trees back for the discussion about screening, where they are the subject rather than an obstruction. That order also makes the two conversations easier to keep apart, which matters when the audience changes between them. The same sequence works when the plant is unfamiliar and the boundary is hard to find.
2.2 Buildings on, terrain on
Keep buildings and terrain visible for most of the review. Buildings give the plant its scale and its internal arrangement; terrain shows slope, drainage direction and where the ground falls away. Together they answer how a stack sits relative to the site, which is the question people actually ask when a chimney is on the agenda. A view with everything on is the default for a reason, and it is a fair starting point for a mixed audience. Return to it before any conclusion is written down.
3 Where the chimney comes from
3.1 Asset libraries and design models
The stack model comes from the design side. A plant asset library, a vendor file or the engineering team's own model will carry the geometry, and it gets placed in the downstream tool after the site is exported. That arrangement is normal for context work: the site scene supplies the setting, and the plant assets supply the subject. Ask for the model in a format the receiving tool reads, and check its origin before it is dropped into a shared scene. A model with no stated source is a liability in a review.
3.2 Placeholder masses in a layer view
If the stack model is not ready, a simple cylinder placed in the downstream tool at the right height and position will do for a layout conversation. A placeholder is honest as long as it is labelled. Put the height and the source of that height in the caption, and treat it as a stand-in rather than a measurement. A labelled block stops a review from arguing about a silhouette that nobody has designed yet, and it keeps the conversation on the ground where the layer panel helps.
4 Limits of the layer view
4.1 No plume, emission or height check
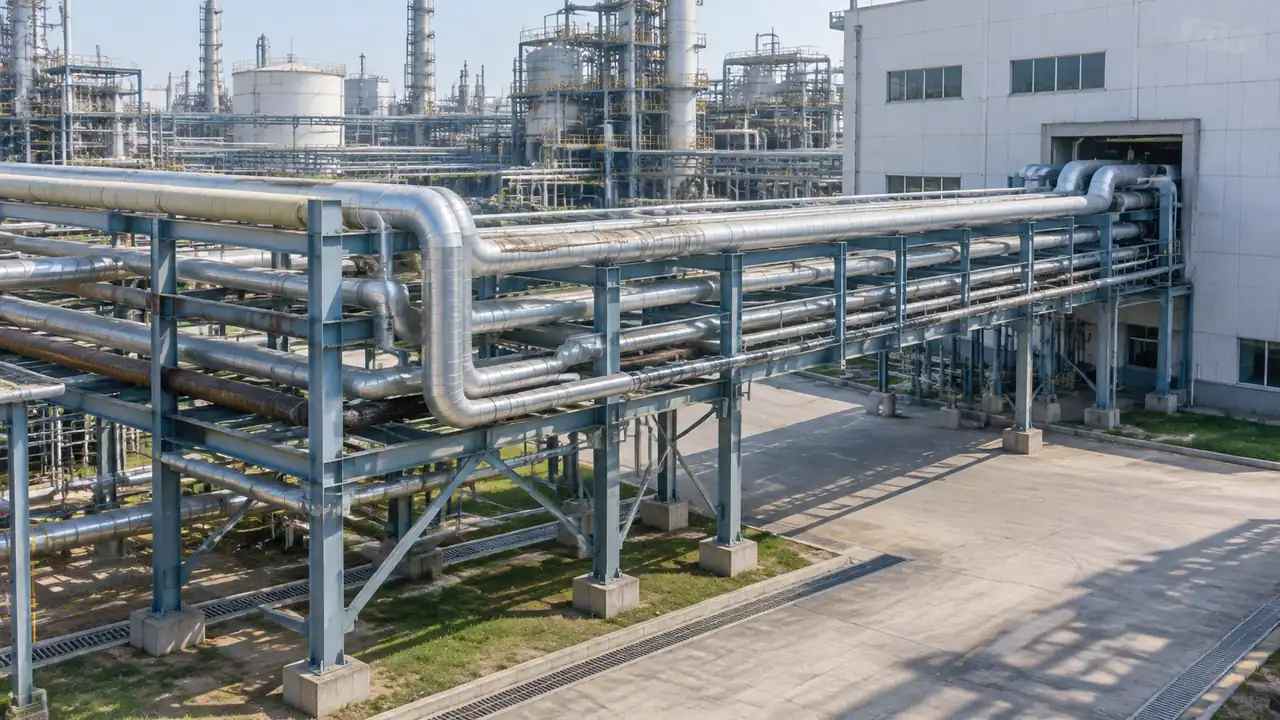
Nothing here models plume rise, dispersion, emission limits or stack height requirements. Those studies need meteorological data, source terms and specialist software, and they sit with qualified practitioners. A layer view can show where a stack stands relative to a boundary; it cannot say whether that is acceptable. Organisations such as API publish standards that belong with the real analysis, and the scene should stay on the context side of that line. Keep the height question with the environment team, where the dispersion model and the permits already sit.
4.2 Layer state is not a finding
A screenshot with vegetation hidden is a view, not a conclusion. If the review is about screening, the hidden-trees image proves nothing; if it is about fence access, the same image is useful. Say what each layer state was meant to show, and keep the caption next to the image. Layer states get reused out of context more often than any other kind of screenshot, usually by someone assembling a report from a shared folder months later. A caption is the cheapest defence against that.
5 Review order
5.1 A three-step pass
Run the review in three passes. Wide view with everything on, to establish where the plant sits. Then buildings and terrain with vegetation off, to read the yard and the access. Then vegetation back on, to discuss the boundary and what neighbours see. Each pass answers one question, and the audience can follow the change without being told what to look at. Three passes also fit a short meeting, which is more than a free-roaming camera does. Write the three pass names on the agenda so nobody adds a fourth mid-session.
5.2 What to capture at each step
Take one screenshot per pass, from the same camera position if the tool allows it. Same camera, three layer states, one story: the comparison does the work that a paragraph of explanation would otherwise need. Name the files in order and note the layer state in each name. A set of three images like this is easier to present than a dozen views that each answer half a question, and it survives being forwarded to people who missed the meeting.
6 Before the handover
6.1 Name the layer states
Write the layer state into the file name or the caption, not into a separate document. Anyone who opens the images later should be able to tell a vegetation-off view from a complete one without cross-referencing. That habit costs a few seconds and prevents the most common misreading of a plant scene. If the images go into a report, put the state in the figure caption, where a reader will see it while looking at the picture.
6.2 List the plant assets
Chimneys, ducting, conveyors, tanks and pipe racks are plant assets. None of them come with the site export, so list them for the next team with a note on where each one should go. The list also tells the audience which parts of the picture are context and which are design. A named owner for each asset keeps the list from becoming a wish list that nobody acts on after the meeting ends. Two columns, asset and source, are enough for most plants.
6.3 Set the receiving tool
Decide which tool receives the site before the export is made. A game engine, a BIM authoring tool and a GIS all read the same GLB differently, and the plant assets need to match. The platform overview describes the export path in general terms; the specifics belong in the handover note. Naming the tool early also tells the receiving team which asset formats to prepare while the site is still being edited. If the tool is undecided, the export can still be made, and the note should say so.
Open the GenAnywhere app and frame a plant boundary
7 FAQ
FAQ-1 Is a chimney a layer in GenAnywhere?
No. The layers are buildings, terrain and vegetation. A chimney is a plant asset and is not part of the generated content, so there is nothing to toggle. Teams usually hide vegetation to clear the view around a stack, which achieves what they wanted from a chimney switch. If a chimney needs to be isolated for a review, do that in the downstream tool where the asset lives, not in the layer panel.
FAQ-2 Can I show a stack without modelling it?
Use a labelled placeholder mass in the downstream tool and note where the height came from. A simple cylinder at the right position is enough to discuss layout, access and how the stack reads from the boundary. Call it a stand-in in the caption, because a placeholder that looks finished tends to get quoted as though it had been measured. The site scene does not need to change to accommodate it.
FAQ-3 What do the layers help decide?
They help a group agree on what is being looked at. Hiding vegetation exposes the yard; hiding buildings exposes the ground; keeping both shows how the plant sits in its setting. Those views settle orientation questions quickly and give a mixed audience a shared reference. They do not produce findings about emissions, screening performance or stack height, and the meeting should not drift into those topics without the data. Keep the layer images for orientation and put the analysis on a separate slide.
FAQ-4 Does the export keep the layers separate?
The GLB carries the scene content, and how the parts arrive depends on the receiving application. Test the import and check whether terrain, buildings and vegetation come in as separate objects or as one mesh. If the next team needs them apart, sort that out in the receiving tool before a review depends on it. Note the result in the handover so the question is not reopened at the next meeting. If the layers arrive merged, say so before anyone plans to toggle them.
See how a plant scene moves into a GLB workflow
Content and technical notes
This article was prepared by the GenAnywhere team with AI-assisted drafting and human review.
Product features, formats, and availability change as the platform evolves; refer to the official GenAnywhere website for current details.
For technical questions or corrections, contact support@genanywhere.com.
Last reviewed: 2026-11-13.