
Ponds and pipelines: how GenAnywhere layers both
Water comes through with the terrain, buildings sit in their own layer, and the pipeline is design geometry laid over the ground later.
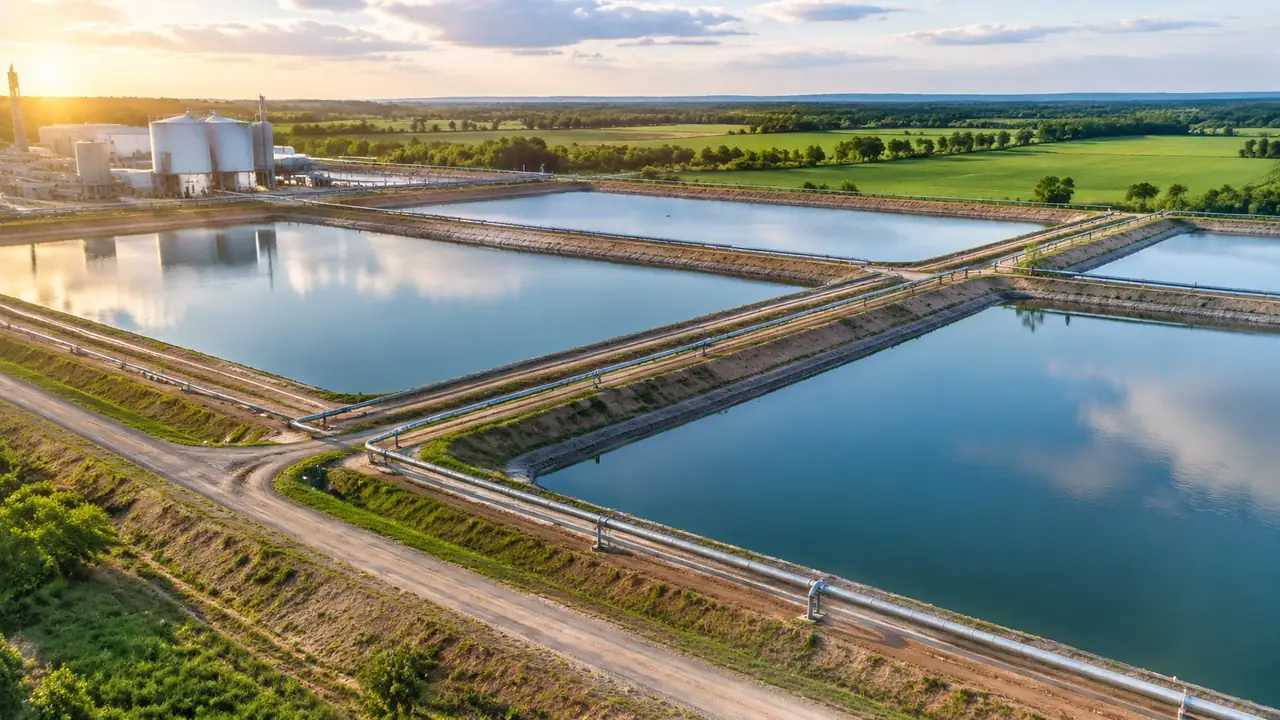
GenAnywhere layers three things: buildings, terrain and vegetation. Ponds arrive with the terrain, because water is generated as part of the site surface, and a pipeline is not a layer at all. It is design geometry that gets laid over the exported ground in a downstream tool. Keeping those three facts apart saves a review from hunting for a toggle that was never built.
1 What a layer means here
1.1 Three layer groups, not a utility tree
Layers in the platform cover buildings, terrain and vegetation. Each can be previewed, edited and managed on its own, which is enough for most site conversations. A pond sits inside the terrain group because water is part of the site surface. A pipeline has no group at all, since the platform does not generate pipe networks. Teams that expect a toggle per utility spend the opening meeting looking for controls that were never there, so say what exists before the screen goes up and keep the conversation on the ground.
1.2 Water sits inside the terrain
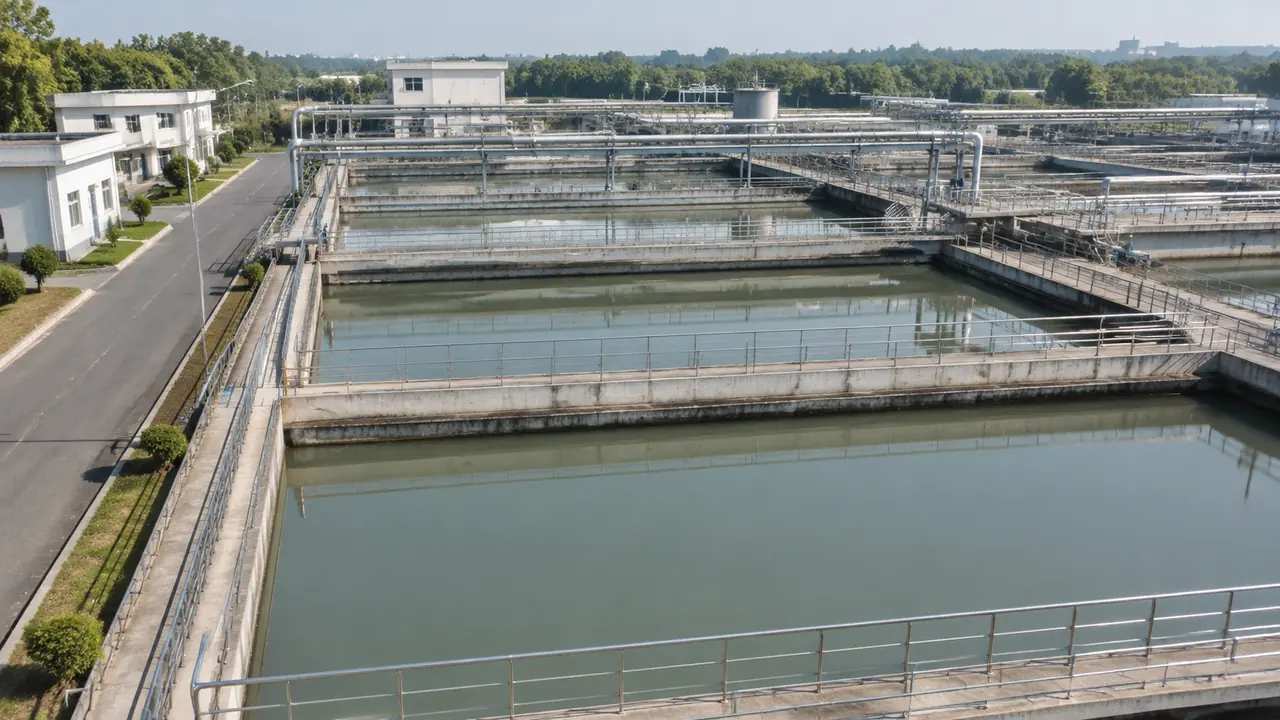
Water bodies inside the selected area are generated with the site, so a pond, a canal or a river reach appears as surface rather than as an object with its own properties. Turning terrain off takes the water with it. That behaviour is worth knowing before a capture is shared, because a view without terrain looks like a hole in the ground where the pond used to be. Note which layers are on whenever an image leaves the room, and keep a copy of the all-on view beside it.
2 Ponds in the generated scene
2.1 How a pond reads
A generated pond shows its outline, its position relative to buildings, and the general shape of the ground around it. Depth is not part of the scene, and neither is the level at which it normally sits. What you get is a footprint and a setting, which is enough to ask whether the pond is in the right place, too close to a yard or visible from a road. Those are siting questions, and siting is what a generated scene carries well. Anything about how the pond performs belongs somewhere else.
2.2 Bank lines and the ground around them
The bank line is the part people argue about. Terrain around a pond is generated from imagery, so an embankment reads as a slope rather than as an engineered profile with a crest width and a freeboard allowance. Vegetation at the edge comes through as canopy, which helps when the question is screening rather than stability. Where a bank has to hold water, a design section replaces the generated slope and the scene keeps its role as context. That handover point is worth agreeing before anyone draws a section.
3 Pipelines across that ground
3.1 Design geometry, added later
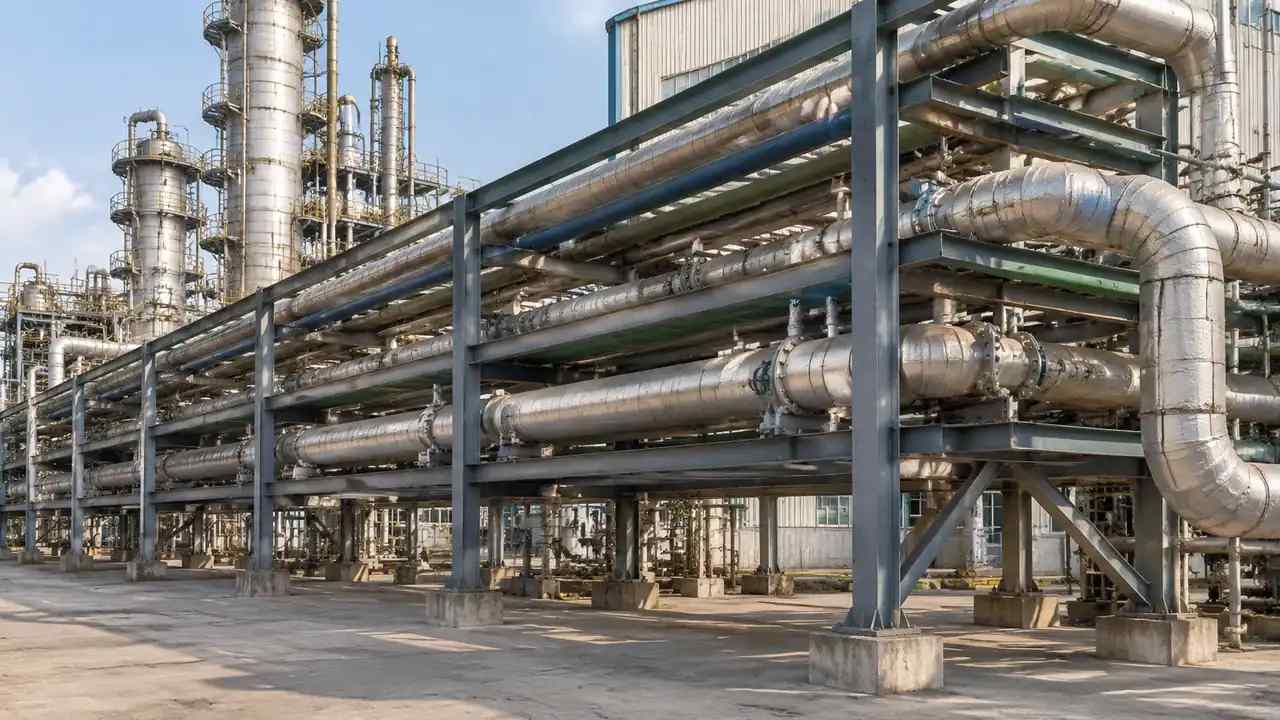
A pipeline arrives as design geometry: an alignment, a set of fittings, a profile along the route. The platform generates none of it, and no layer toggle will reveal it. The practical route is to bring the pipe model into the same downstream application as the exported scene, then drape or cut it against the exported ground. That produces one view of pipe and terrain together. The scene's job is to be the ground that the pipe has to cross, and the pipe's job is to bring the design question with it.
3.2 Alignment against slope and water
Once both sit in the same tool, alignment questions become visible. A route that looks short on a plan may climb a bank, cross a ditch twice or pass within a few metres of a pond edge. The generated terrain is smooth, so treat those observations as prompts rather than findings. Mark the two or three places where the route and the ground disagree, then take those places to the survey team and the designers. A shared view shortens that conversation considerably, and it gives the survey team a target area instead of a whole corridor.
4 Limits
4.1 No hydraulics, volumes or water quality
Nothing in the scene calculates storage volume, inflow, drawdown, seepage or water quality. Those are engineering studies with their own inputs, and a visual pond cannot stand in for them. The same applies to pipe capacity, pressure and surge, where the API standards and a designer's calculations do the work. Use the model to fix location and relationship, then let the numbers happen in the tools built for numbers. A picture of water says nothing about how that water behaves.
4.2 No routing, gradients or clash detection
The platform does not route pipes, check gradients or detect clashes between a pipeline and a foundation. Routing is a design task with survey, geotechnical and operational inputs, and it belongs to the team that will sign the drawings. A scene can show that a proposed line passes near a building, which is a prompt to look closer rather than a clash report. Keep that distinction explicit, because a pipe drawn on a picture reads as a resolved design.
5 Running the review
5.1 Layer states worth agreeing
Agree three states before the session: everything on, buildings off, and vegetation off. The set answers most questions without anyone adjusting the view live. Note the state on each capture. When a pond is the subject, terrain has to stay on, so the useful variation is usually vegetation, which hides or reveals the bank. Two captures of the same pond with different vegetation often settle a screening argument in under a minute.
5.2 Ordering pond and pipeline questions
Ask the siting question before the alignment question. If the pond is in the wrong place, the pipeline discussion is wasted effort. Show the pond among its buildings and ground, agree the position, then bring in the pipe alignment and look at the crossings. That order also stops the audience from conflating two separate decisions. When both are on screen at once, people argue about the pipe while the pond quietly stays wrong, and the session ends with a decision nobody wrote down.
Open the GenAnywhere app and frame a pond and its surroundings
6 Handing the scene on
6.1 Extent
Frame enough ground to include the pond, the visible length of the route and the neighbours that shape the argument. Too tight a frame hides the bank; too wide a frame turns the pond into a grey dot. A workable default is the pond plus a few hundred metres in each direction along the route. Write the extent into the agenda so the next session starts from the same place, and keep the figure in the file name if two extents are in circulation.
6.2 Export and asset list
Preview, then export a GLB carrying terrain, buildings and vegetation with your edits. The pipe is not in it, so list the pipe model as an asset the receiving team must add, with its file name and version. List ponds too if the receiving team needs them as separate objects rather than as ground. A short asset list is the difference between a scene that gets used and one that gets rebuilt from scratch, and it takes ten minutes to write.
6.3 Licensing and reuse
Exports come with a permanent commercial licence covering project use and internal distribution. Reselling the raw file is not permitted, and neither is using it to train a model. If the scene goes to a contractor, say in the covering note what they may do with it. The authorization statement is short enough to attach. Teams that skip this step end up answering the same question twice.
7 FAQ
FAQ-1 Is a pond a separate layer?
No. Water is generated as part of the site surface, so a pond sits inside the terrain layer. Hiding terrain hides the water with it. That is a useful behaviour once you know it, because it lets a reviewer strip the ground to look at building footprints, and a trap if a capture is shared without a note. Say which layers are visible on every image you send, and check the pond is still there before you attach it.
FAQ-2 Can I see my pipeline in the scene?
Not from the platform. Pipeline geometry is a design asset and is not generated. Export the scene, then bring your pipe model into the same 3D, BIM or GIS application and align it to the exported ground. That workflow gives you the combined view, with the terrain acting as the surface the route has to follow. Keep the pipe in its own file so it can be updated without rebuilding the site, and check the origin before you move anything.
FAQ-3 Does the platform size or design a pond?
No. The scene shows a pond's outline and the ground around it. Volume, depth, freeboard, inflow and water quality are engineering questions that need survey, hydrology and design work. Use the scene to place the pond and to test how it sits against buildings, roads and vegetation, then take the sizing to the specialists who will sign for the numbers. The scene can frame their question, and that is the limit of its role.
FAQ-4 What is in the exported GLB?
Terrain, buildings and vegetation, plus any edits you made to footprints, heights or types. Water read from the imagery comes through as part of the ground. Pipes, pumps and outfalls are not included, because they are equipment and design assets. Test the import in the receiving application and hand over a list of what still needs adding, with a named owner for each item so nothing quietly disappears from the plan.
See how a pond site moves into a pipeline design workflow
Content and technical notes
This article was prepared by the GenAnywhere team with AI-assisted drafting and human review.
Product features, formats, and availability change as the platform evolves; refer to the official GenAnywhere website for current details.
For technical questions or corrections, contact support@genanywhere.com.
Last reviewed: 2026-11-13.