
Flood dike planning: how GenAnywhere shows terrain
A terrain-led review method for aligning a dike, reading the floodplain, and briefing engineers.
A dike alignment follows the ground more than the drawing. The low ridge, the bank on each side, and the land behind the line decide where a levee can sit and what it protects. A map-based 3D site model gives the planning team that terrain in one editable scene, which makes the conversation with engineers more concrete without pretending to replace their studies. Flood dike planning starts with reading the ground, and the scene is built for that step.
1 Read terrain before drawing an alignment
Terrain is the part of a flood project that cannot be argued away. Water follows the lowest ground, and a dike that ignores that pattern creates a new problem somewhere else. Reading the land before drawing a line is slower at the start and faster overall.
1.1 Trace the low ridge along the floodplain
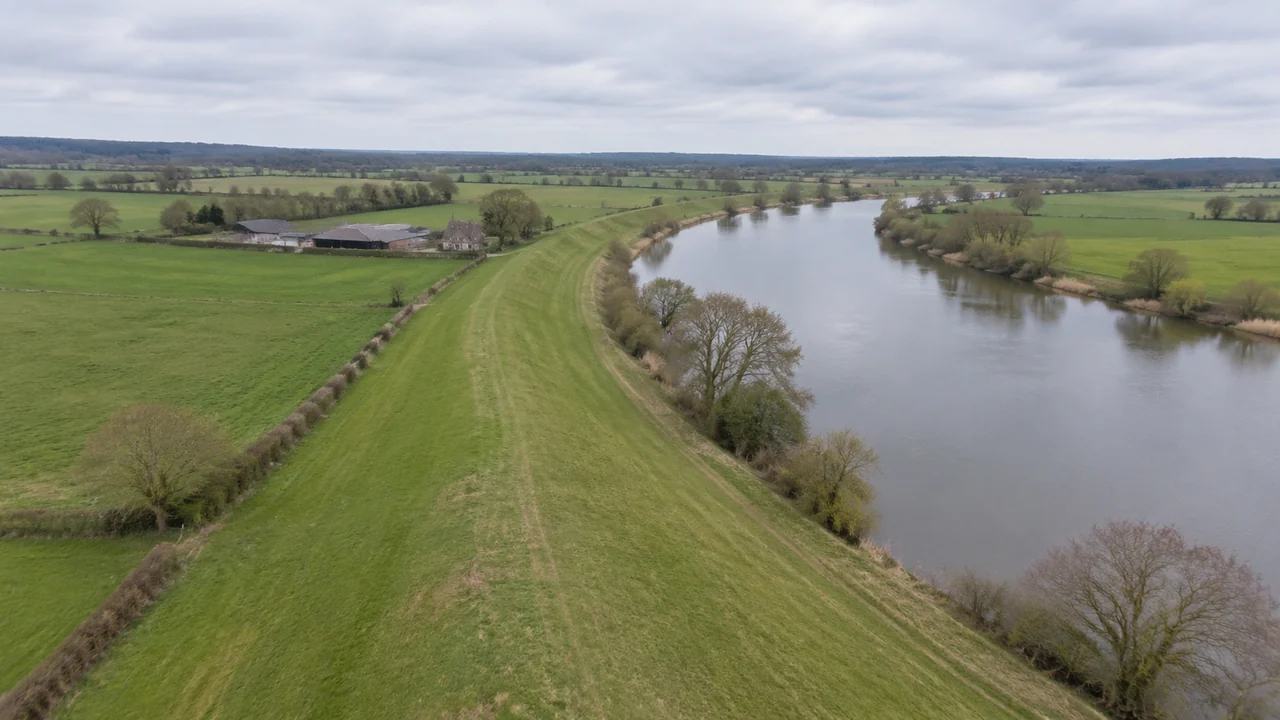
Look for the natural high ground that runs beside the river. A dike placed on that ridge needs less fill and disturbs less of the floodplain than one cut across it. The model lets you rotate the view and follow the ridge for several kilometers. Mark the points where the ridge drops or disappears, because those are the places that need engineering attention. A ridge that looks continuous on a map may be cut by a road or a drainage channel. The break shows up as soon as the terrain is loaded.
1.2 Compare bank heights on both sides
The two banks rarely match. One side may rise gently to farmland while the other drops to a road or a row of houses. Compare them in the scene and note where a dike would need a retaining structure rather than an earth embankment. That comparison is a planning observation, not a hydraulic conclusion, and it should be labeled as such. Record the bank height assumptions beside the view so the engineering team can check them against survey.
2 Place water surfaces as context, not a forecast
Water in a site model is a visual reference. It helps reviewers understand the relationship between the channel and the land, but it is not a flood simulation. Confusing the two is the quickest way to lose credibility with engineers.
2.1 Set a reference water level for discussion
Choose a level that represents normal or seasonal conditions and use it consistently across the scene. A reference surface makes it easier to see which buildings sit low, which roads flood early, and where the dike line meets the water. Keep the level described as a reference, not as a design flood, and record the assumption next to the view. Changing the reference level later is easy, but every view should carry the same label.
2.2 Keep modeled water separate from flood studies
Hydraulic modeling uses cross sections, roughness, flows, and boundary conditions that a site scene does not contain. The scene can show where a study should focus and how its results might change the alignment. It cannot predict water levels. Say that plainly in the brief, and let the hydraulic consultant own the flood numbers. The brief should say which questions the hydraulic model will answer and which the scene cannot.
3 Check what sits behind the dike
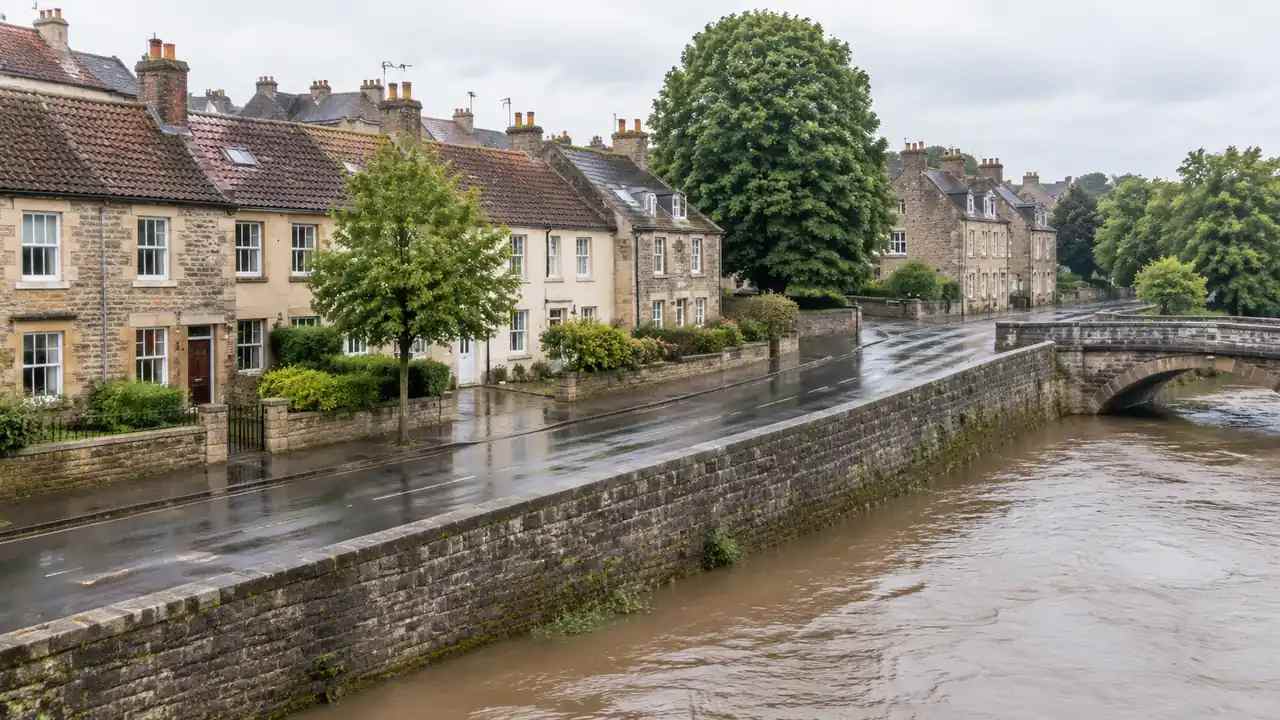
A dike protects a specific area, and that area needs to be understood before the alignment is fixed. Buildings, roads, and fields behind the line all affect access, maintenance, and risk. The model makes that backland visible in the same view as the river.
3.1 Inventory buildings and access roads
Count the buildings on the protected side and note how they connect to the road network. A dike that cuts the main access road creates a daily problem for residents even if it performs well in a flood. Mark the crossings that must stay open and the routes that emergency services will use. This inventory belongs in the planning brief. Count the field tracks and driveways that serve the protected area as well, since access is part of what a dike protects.
3.2 Note vegetation along inspection routes
Trees and dense scrub can hide a dike crest or block an inspection path. Map the vegetation along the proposed line and flag stretches that would need clearing or a different route. Keep the note practical: who inspects the dike, how often, and what equipment they carry. Those answers shape the alignment as much as the hydrology does. An inspection route that works in dry weather may be unusable during a flood, so note the seasonal constraint.
4 Test alignment options in a shared scene
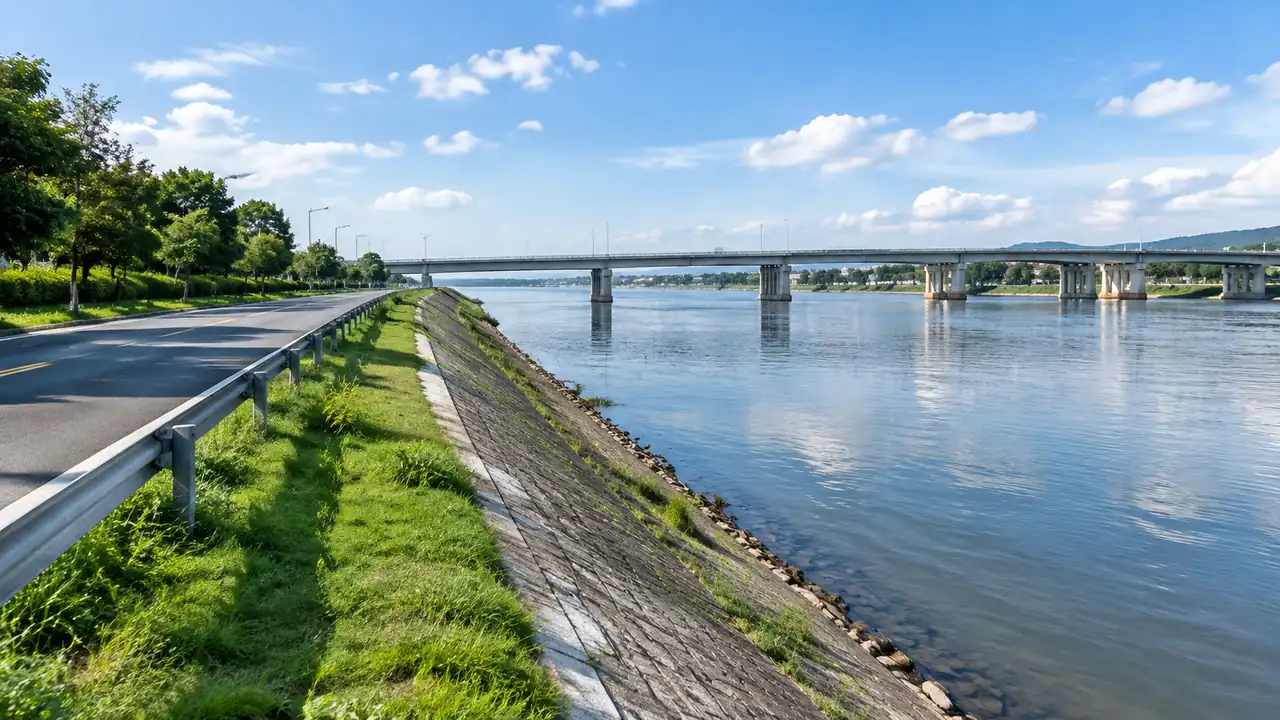
An alignment debate is easier when everyone sees the same ground. The scene lets the team move a segment and watch the consequences on screen instead of sketching alternatives on separate sheets. The goal is a short list of options worth engineering.
4.1 Move a segment and watch the corridor
Shift a dike segment inland or toward the river and observe what it touches. Moving inland may take farmland but avoid a row of houses. Moving toward the river may shorten the line but reduce the maintenance corridor. Each option carries a different set of trade-offs, and the scene makes them visible in a few minutes. Keep each alignment as a separate group so the options can be compared side by side. The scene does not decide, but it makes the trade-off legible.
The platform separates terrain, buildings, water, and vegetation into layers, so a dike review can hide the trees and follow the ground. A planner can adjust the alignment and preview the corridor before the hydraulic team sees the scene. That layer control is useful at this stage, and the result remains a planning view.
4.2 Export the scene for hydraulic review
When an option looks promising, export the scene as GLB so the engineering team can inspect the geometry in its own tools. The export carries terrain, buildings, and vegetation as separate layers, which helps the consultant separate ground from context. Formats vary by workflow, so confirm what the receiving team can open before the handoff. The engineering team can then check the corridor against its own survey and hydraulic model. GenAnywhere can rebuild the same area from map data when a new alignment option appears, which keeps the comparison on one base. The water layer is visual context, not a hydraulic result.
5 Define the boundary with engineering studies
A planning scene and an engineering study answer different questions. Keeping them separate is not a limitation; it is what allows each to be useful. The scene frames the question, and the study provides the evidence.
5.1 Hydrology and freeboard stay with specialists
Flood levels, wave run-up, freeboard, and seepage are specialist calculations. They depend on data that a map-based scene does not include, such as soil properties, rainfall records, and river gauging. The scene can show where those calculations matter most. It cannot supply their results, and it should not be presented as if it could. Ask the specialist which terrain features matter most, and make sure the scene shows them clearly. That separation keeps the planning conversation useful.
5.2 Permits and environmental review follow agency rules
Dike projects usually trigger environmental review, land acquisition, and permits. The rules vary by jurisdiction and by the sensitivity of the site. Agencies such as FEMA publish flood map and mitigation guidance that shapes how projects are reviewed in the United States. Check the local process early, because a permitting constraint can change an alignment more than terrain does. Agency consultation often takes longer than the design work, so start it as soon as the options are stable.
6 Prepare a terrain brief engineers can use
A good terrain brief is short, labeled, and honest about its sources. It gives the engineering team a running start without asking them to trust numbers the scene cannot support. The brief is the bridge between planning and design.
6.1 Write assumptions in plain language
State where the terrain came from, how current it is, and what the water surface represents. Note any known gaps, such as a missing bridge profile or an outdated building footprint. Plain language helps non-specialists follow the reasoning. It also makes it harder to mistake an assumption for a finding. Include a simple diagram of the sources if the list becomes long.
6.2 List data gaps before modeling
Write the list before anyone starts comparing options. Typical gaps include surveyed cross sections, ground investigation, utility locations, and the latest flood study. Each gap should name who will fill it and when. A short list of gaps is more useful than a long list of caveats buried in an appendix. If a gap is critical, pause the option comparison until it is filled.
6.3 Agree how options will be compared
Decide the criteria before the options are drawn. Length, land take, access impact, and maintenance corridor are common measures. Keep the set small enough to apply consistently. Write the criteria down before the options are scored. That note becomes the cover page of the terrain brief. Teams can start the terrain scene in GenAnywhere and use the workflow overview to plan the handoff to engineering tools.
7 FAQ
FAQ-1 Can this model show where a dike should go?
It can show where an alignment fits the terrain and what it affects, which is useful for early options. It cannot determine the correct alignment, because that depends on hydrology, geotechnics, land ownership, and environmental review. Use the scene to compare a handful of routes and to brief specialists. The decision belongs to the engineering and approval process, not to the model.
FAQ-2 Does the platform simulate flooding?
No. Water in the scene is a visual reference that helps reviewers read the relationship between channel and land. Flood simulation requires hydraulic modeling with flow data, roughness, and boundary conditions. The platform does not provide those calculations. Treat any water surface in the scene as context and use a qualified study for flood levels.
FAQ-3 What terrain data is included?
The scene uses map and satellite sources to build a ground surface and to place buildings and vegetation. Resolution varies by location, and urban areas usually have better coverage than remote floodplains. Check the source date and scale before relying on a specific slope or bank height. For design work, replace the map surface with surveyed cross sections.
FAQ-4 Who should review the scene?
Include a planner, a flood engineer, and someone responsible for maintenance. The planner reads land use and access, the engineer reads hydrology and structures, and the maintenance lead reads inspection routes. A short joint review exposes conflicts that separate reviews miss. Record the agreed questions and send them with the scene to the next stage.
Content and technical notes
This article was prepared by the GenAnywhere team with AI-assisted drafting and human review.
Product features, formats, and availability change as the platform evolves; refer to the official GenAnywhere website for current details.
For technical questions or corrections, contact support@genanywhere.com.
Last reviewed: 2026-11-16.