
Airport light rail: what does GenAnywhere add for planners?
Where a site scene helps an airport rail study, and where the hard questions remain
An airport rail link lives or dies on where the station sits and how the line reaches it. Planners usually start with a corridor on one map and a terminal on another. A 3D site scene puts both in one view, so the walk from platform to check-in becomes something you can look at instead of describe. GenAnywhere builds that scene from map data and exports it to the tools an airport planning team already uses.
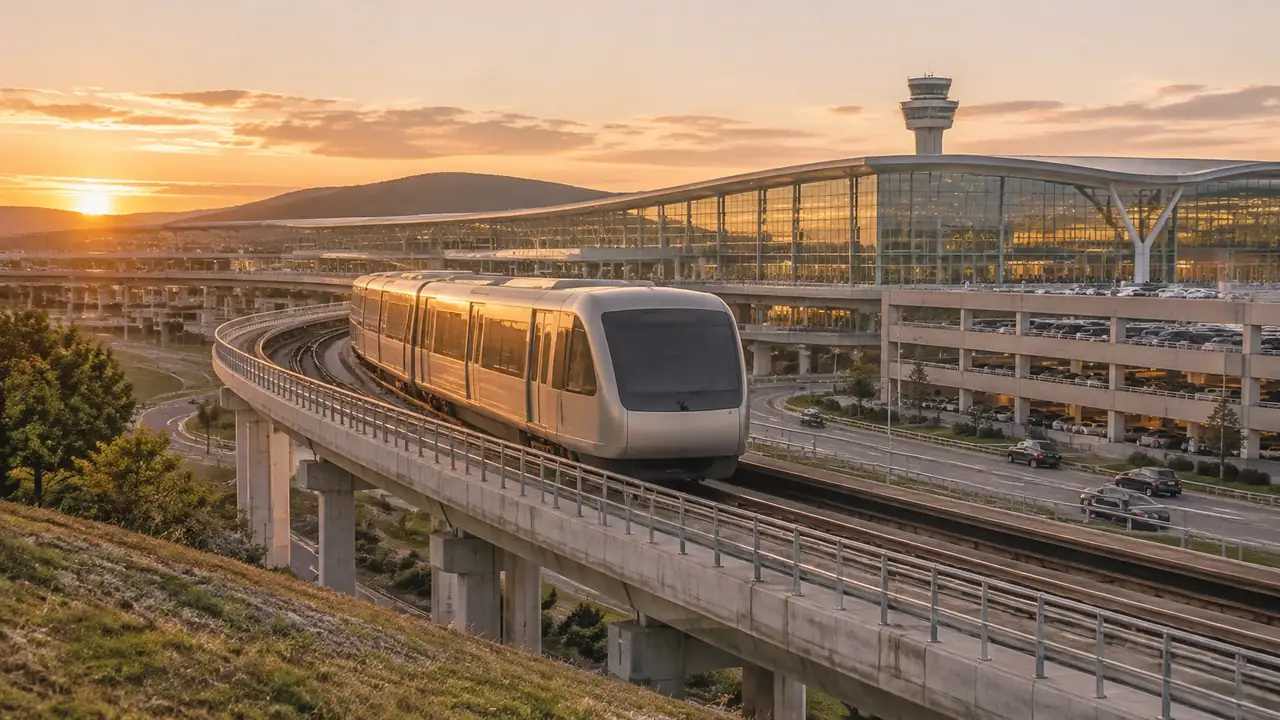
1 What a rail link study needs from a site view
1.1 Where the station wants to sit
The station wants to be close enough to the terminal that people walk, and far enough that the guideway does not cut the terminal road system in half. Those two wishes pull against each other, and the answer changes with the shape of the terminal. A pier building and a landside building create different options for a station box.
Putting the options in one scene makes the trade-off visible. You can see how far a passenger walks, where the escalators would land, and whether the station competes with the curb for the same strip of ground. None of that needs a detailed design, and all of it shapes the corridor that follows. A rough station box is enough to start the argument.
1.2 Reading the corridor between stops
Between the airport and the city, the corridor has to cross roads, rail yards, creeks, and neighborhoods. Each crossing is a constraint, and the cumulative set decides whether an alignment is plausible. A map shows those crossings as lines. A scene shows them as things with height: an overpass that clears a freight line, a cut that passes under a road, a bridge that lands on a bank.
That vertical reading matters early. An alignment that looks clean in plan can need a viaduct for two kilometers, which changes the conversation before any estimate exists. Seeing the terrain in three dimensions is often enough to retire an option that would have consumed a month of study.
2 Building the corridor from a map
2.1 Choosing a study boundary that includes the terminal
Draw the boundary wide enough to include the terminal, the landside road system, and the area where a station could plausibly sit. A boundary that stops at the airport fence hides the constraint that matters most. In GenAnywhere, selecting the area generates an editable site model with existing buildings, terrain, water, and vegetation in place.
From there, the airport buildings become context rather than a separate drawing. You can see the terminal roofline, the parking structures, and the hotel block in the same view as the proposed station. That single view is what most workshop arguments are missing.
2.2 Modeling guideway, stations, and access
The guideway can be represented as a simple elevated spine, with station boxes at the stops and plain blocks for entrances. You are not designing the structure. You are testing whether the pieces fit and whether the connections work at the scale of a walking passenger.
GenAnywhere lets you replace a single building, move or rotate it, and change its height and type. That flexibility is useful when a station box has to shift ten meters to clear a service road, or when a concourse link has to rise to meet an existing bridge. The scene absorbs those changes quickly enough to keep a workshop moving.
3 Testing alignments against the terminal
3.1 Comparing elevated and at-grade options
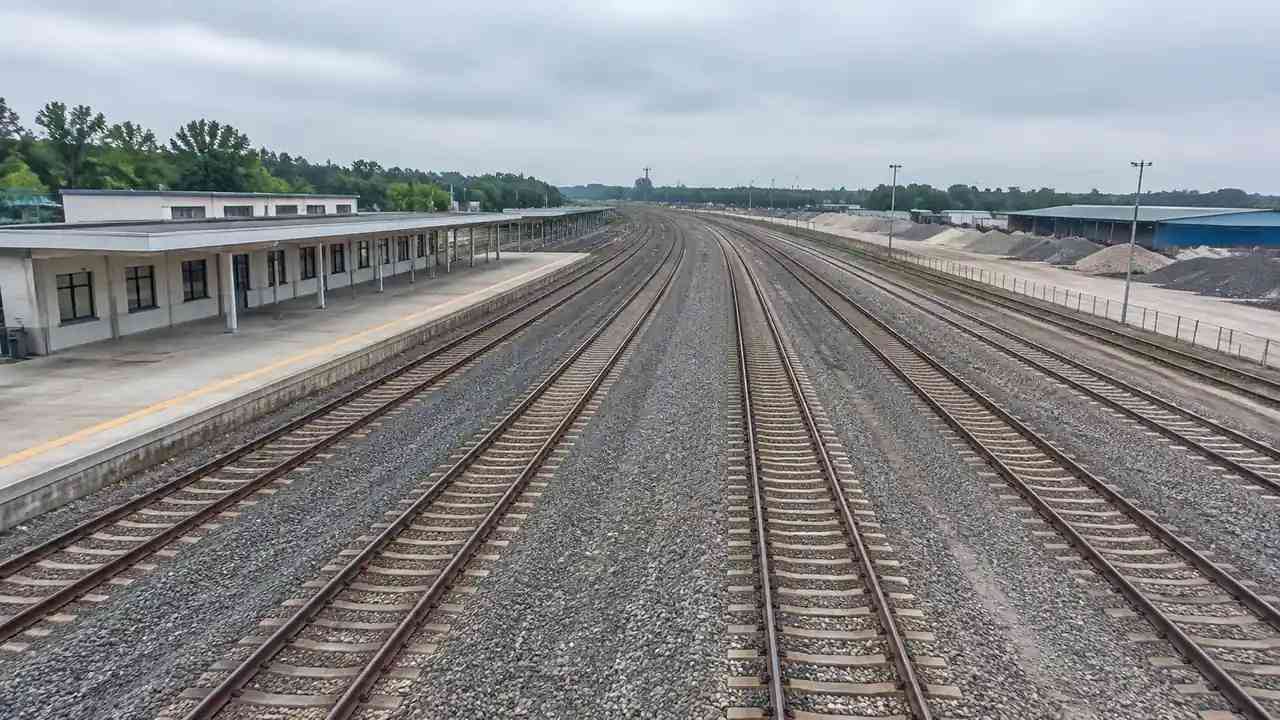
An elevated guideway keeps the surface free and carries a structural burden. An at-grade line is simpler to build and splits the road network where it crosses. A scene lets a workshop see both consequences without pretending to know the final numbers. Put the elevated option in one file and the at-grade option in another, then switch between them from the same viewpoint.
The comparison works because the background stays fixed. Same terminal, same roads, same trees. When nothing but the guideway changes, the argument narrows to the guideway. That is a much better conversation than one where each side is imagining a different version of the airport.
3.2 Checking the walk from platform to check-in
The walk is the part passengers judge. Drop the viewpoint to eye level at the platform exit and follow the route to the terminal door. Count the level changes, the road crossings, and the places where a traveler with luggage would have to wait.
A scene will not measure passenger flow. It will show whether the route is legible, whether the station entrance is visible from the terminal, and whether weather protection is continuous. Those are design questions that belong in the early conversation, and they are hard to discuss around a flat plan.
4 What the scene cannot answer
4.1 Ridership, cost, and structural questions
Ridership forecasts, capital cost, and structural design sit outside a site scene. So do the operating questions: headways, fleet size, and fares. A scene that is asked to support those decisions will produce confident-looking pictures with nothing behind them.
The same applies to airport-specific approvals. Height limits, approach surfaces, and security boundaries involve the airport operator and the aviation authority. A scene can show where a mast would stand. It cannot say whether the location is acceptable, and it should not be presented as if it could.
4.2 Keeping the discussion on spatial trade-offs
The useful role for a scene is narrower and more honest. It keeps a workshop on spatial trade-offs: station position, walking distance, crossing type, and phasing. Those questions have visual answers, and the visual answers survive into the next meeting.
When the conversation drifts into numbers, write the question down and send it to the study team. That habit keeps the scene credible. It also gives the study team a cleaner set of questions than a room full of opinions would produce. The scene stays useful as long as nobody expects it to forecast.
5 Handing the corridor to the design team
5.1 Exporting the scene into planning tools
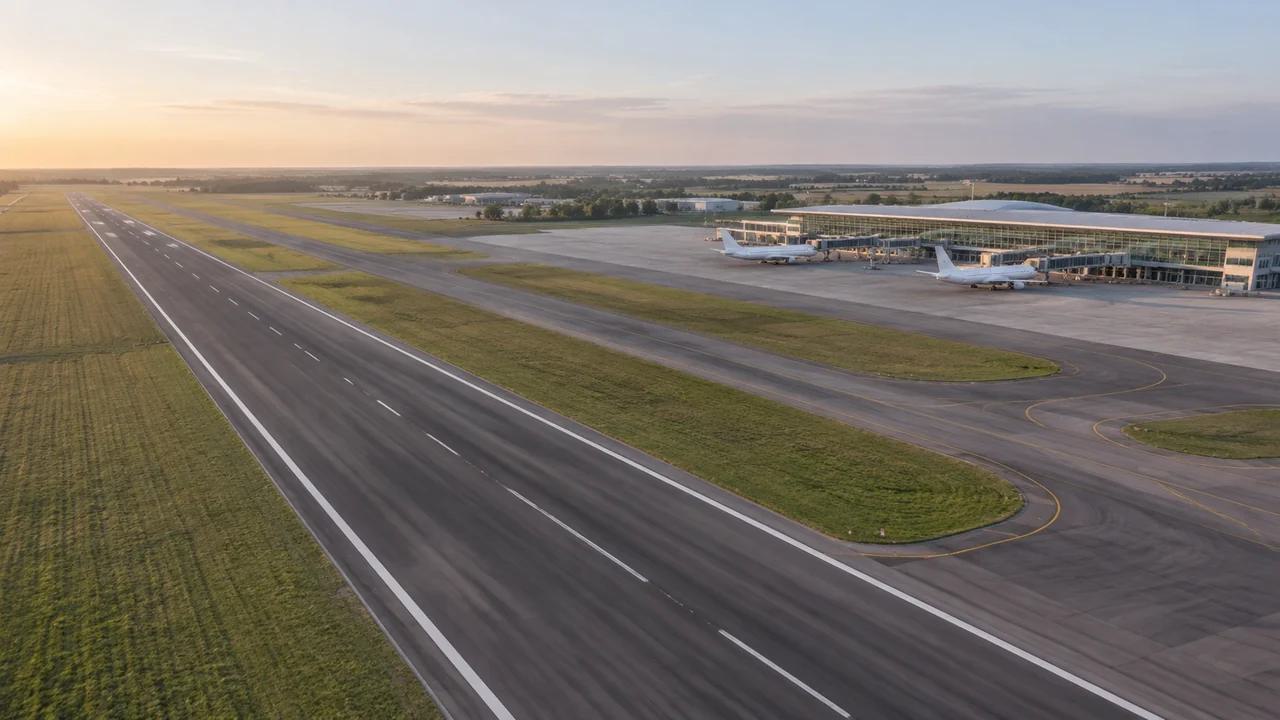
GenAnywhere exports a general GLB. The file opens in Unreal Engine, Unity, Blender, Revit, Rhino, SketchUp, ArcGIS Pro, and similar tools, so the corridor can move into a design environment without a rebuild. The official tutorials describe several of those routes.
Treat the export as a context model. The design team will replace the station boxes and the guideway with real geometry. What they inherit is the terrain, the terminal massing, and the spatial relationships that the workshop agreed on.
5.2 Reviewing with airport and transit stakeholders
Airport and transit teams often work from different drawings and different assumptions. A shared scene gives them one place to point at. The airport side sees how the station affects the road system. The transit side sees how the alignment reaches the terminal.
Keep the review short and the viewpoints fixed. A boundary walk, a terminal approach, and a platform-level view cover most of the ground. The goal is agreement on the spatial frame, not on the design. Write the agreements down while the view is still on screen.
6 Where the approach fits
6.1 Teams that benefit
Corridor planners, airport landside teams, and consultants preparing an options workshop get value early. So do communication teams that have to explain an alignment to people who have never seen the airport from above.
6.2 When a corridor map is enough
If the question is which broad corridor to study, a map and a ridership model will do. A scene adds little when the terrain is flat and the alignment has no vertical constraint. It earns its place where crossings, terminal geometry, or elevation change the answer.
6.3 A short checklist
Confirm the terminal footprint, the landside road network, and the candidate station zones. Decide which two alignments you are comparing. Set the viewpoints before the workshop, and write down what the scene does not include. Then build the corridor and keep the massing rough.
You can open the workflow at the GenAnywhere app and see how scenes move into design tools on the workflow pages. For federal transit planning context, the FTA publishes guidance that a site scene does not replace.
7 FAQ
FAQ-1 Does the scene model rail geometry?
It can hold a simplified guideway and station boxes, which is enough for spatial comparison. It is not a track alignment model and does not resolve curvature, gradients, or structural design. Use it to test where the line runs and how it meets the terminal, then hand the geometry question to the rail engineers. That split keeps each tool doing the job it was built for.
FAQ-2 Can a station sit inside the terminal building?
You can model the station box inside or under the terminal massing to see how the volumes interact. Whether that placement is workable depends on structure, baggage systems, and security planning. The scene shows the spatial conflict. The technical teams decide whether it can be resolved, and their answer may change the station concept.
FAQ-3 What if the corridor is longer than one view?
Split it into segments with a shared edge, or keep one scene for the airport end and another for the city end. Most workshops need just the airport segment in detail, and a shorter scene is easier to edit during a session. A segmented approach also makes the handoff easier to manage when different teams own different pieces.
FAQ-4 Can non-technical stakeholders review it?
Yes. A GLB opens in common viewers, and a guided session with saved viewpoints works for most groups. Community and board audiences often respond better to an eye-level view than to a plan. Leave the numbers out of the room and keep the discussion on what people can see from the platform and the curb.
Content and technical notes
This article was prepared by the GenAnywhere team with AI-assisted drafting and human review.
Product features, formats, and availability change as the platform evolves; refer to the official GenAnywhere website for current details.
For technical questions or corrections, contact support@genanywhere.com.
Last reviewed: 2026-11-13.