
Campus heating hub: what site layers should GenAnywhere show?
The site layers that make a campus energy hub legible before the engineering drawings arrive.
A campus heating hub is a small building with a large footprint in the life of the campus. The plant, the stack, the pipe routes, the delivery access, and the service yard all reach into the surrounding fabric, so the site view has to show more than the building. GenAnywhere can put those layers together from map and satellite data, which makes the hub visible as part of the campus rather than as an isolated box.
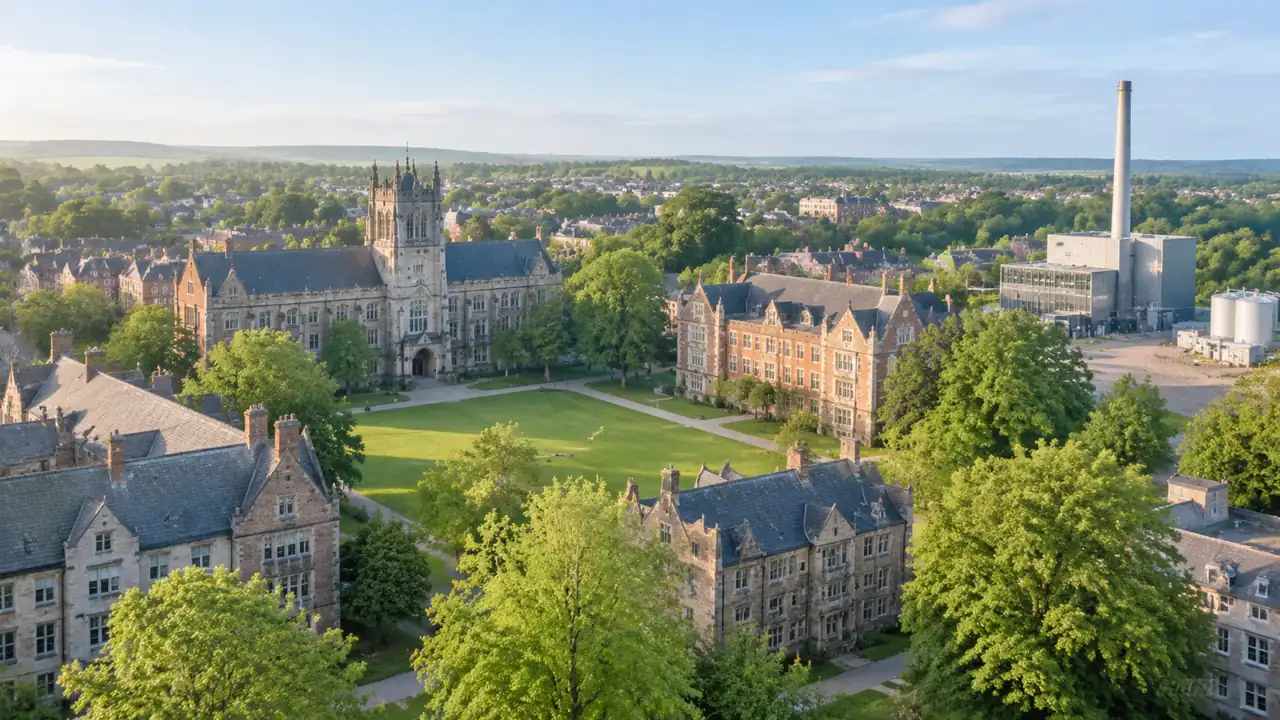
1 Show the plant in its campus setting
An energy hub is placed for the campus it serves, not for its own convenience. The walk from the plant to the buildings that need heat, the route of the pipe corridor, and the view from the nearest teaching building all shape the siting decision. A model that shows the hub alone hides the very relationships that make the siting hard.
1.1 Locate the hub relative to demand
Mark the buildings that draw the most heat and look at where the hub sits among them. A central location shortens the pipe runs but takes land from the campus core. An edge location frees the core but stretches the corridor. In the model, draw the corridor as a band and see how it crosses paths, lawns, and parking before the route is fixed.
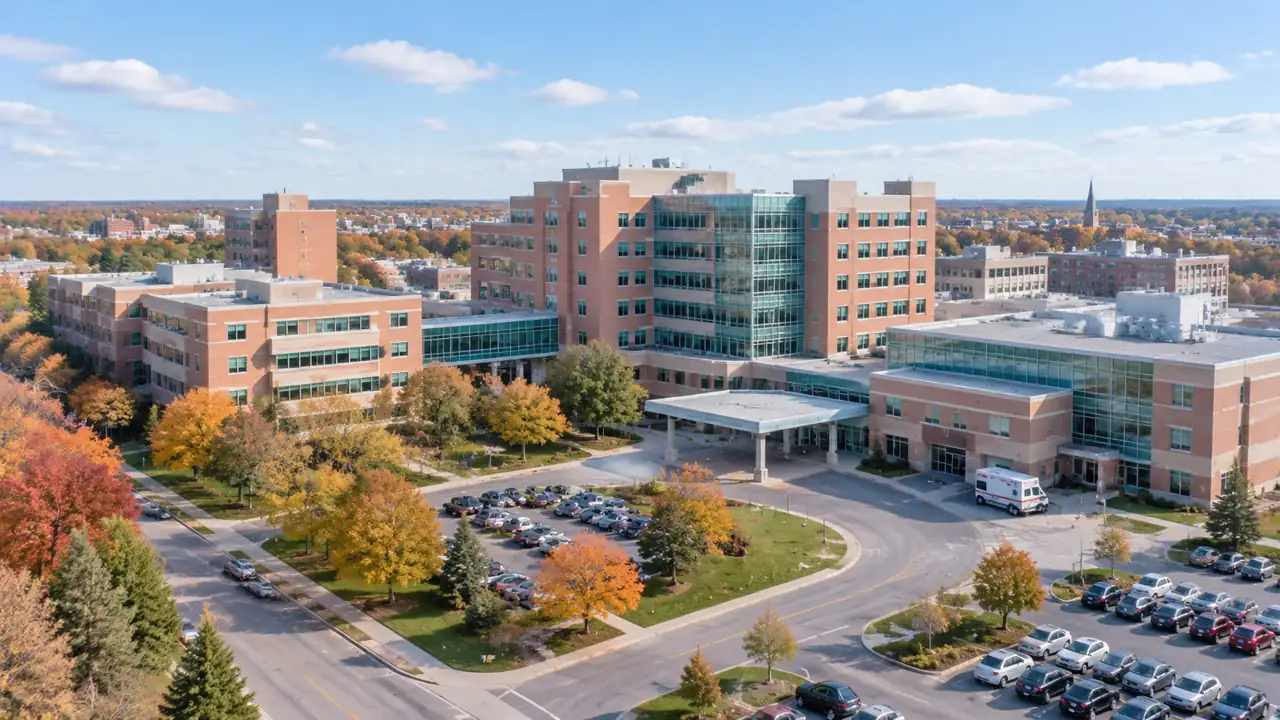
1.2 Mark the stack and the roof plant
The stack and the rooftop equipment are the parts people notice. Put them in the model at a realistic height and check how they read from the main pedestrian routes and from the nearest windows. A stack that pokes above a roofline in one view can disappear behind a tree in another. Testing both views early avoids a surprise at the consultation stage.
2 Put the pipe routes on the map
Pipes are the part of a heating hub that everyone forgets until they are digging. A buried corridor needs a clear line, a workable depth, and a route that avoids foundations, mature trees, and existing services. None of that can be settled in a massing model, but the corridor can be drawn and its conflicts can be seen.
2.1 Follow the buried corridors
Draw the corridor from the plant to each building group, and keep the route visible as a separate layer. Where the corridor crosses a road, a path, or a lawn, mark the crossing and note it as a place to check. The drawing does not replace a utility survey, but it does show which parts of the campus the hub will disturb, and that is enough to start a conversation with the grounds team.
2.2 Check crossings and pinch points
Look for the places where the corridor has to squeeze between a building and a boundary, or cross under a driveway. Those pinch points decide whether the route is realistic. In the model, widen the corridor band and see what it overlaps. A pinch point that clips a parking row or a loading bay is worth knowing before the route is announced.
3 Add the service yard and access
A heating hub receives fuel, delivers maintenance crews, and stores equipment. The service yard is small compared with the building, but it carries most of the daily traffic. If the yard is too tight, the plant works badly even when the building itself is well designed.
3.1 Size the delivery turning area
Mark the delivery point and the space a tanker or a flatbed needs to turn and leave. In a campus setting, that space often competes with parking or a service road that another building already uses. A simple turning band on the ground is enough to show whether the yard works, and it takes minutes to draw once the site is in the model.
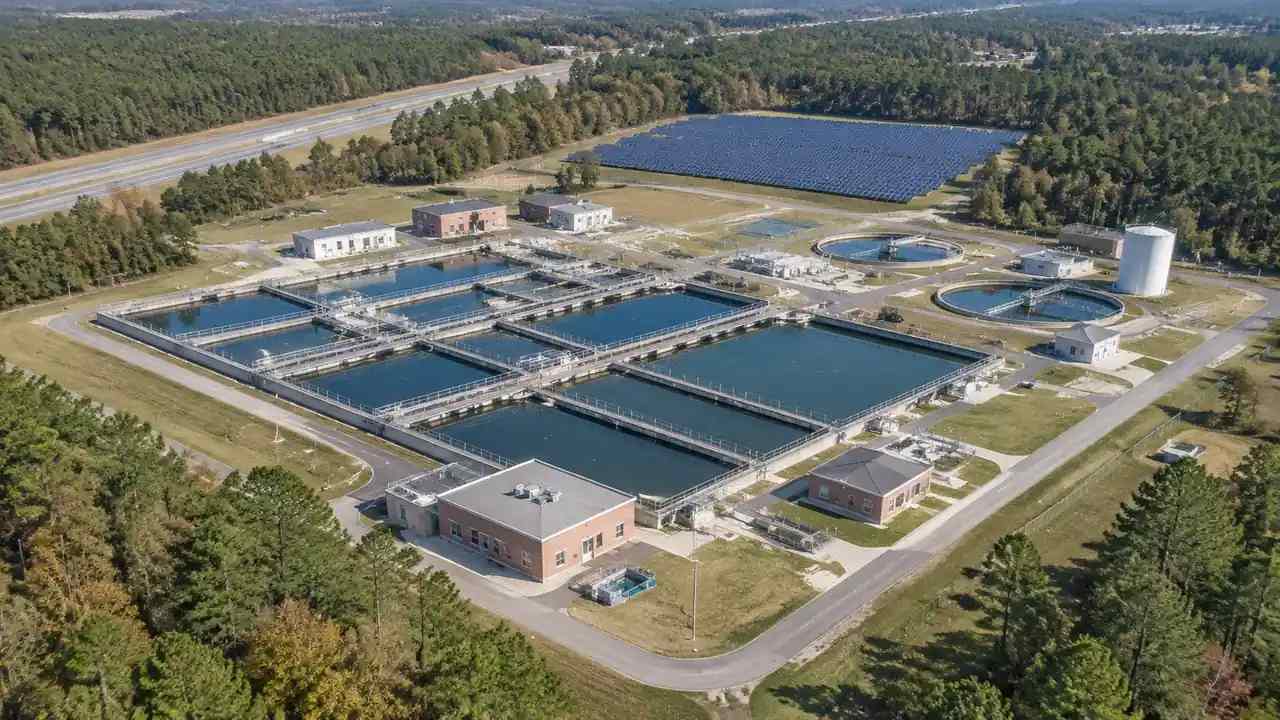
3.2 Keep the maintenance route clear
Maintenance crews need a route from the yard to the plant door that does not cross a pedestrian path at peak times. Draw that route and check it against the campus circulation. If the route passes through a courtyard used by students, note it. The fix may be a small path adjustment, but it is much easier to make at this stage than after the plant is running.
4 Layer terrain, trees, and water
A campus is rarely flat, and its trees are usually older than its buildings. Both facts matter for a heating hub, which needs a level pad and a buffer that does not disappear when the planting is cut back. Terrain and vegetation layers make those conditions visible without a site visit.
4.1 See how the site drains
Generate the terrain and look at the fall across the proposed pad. Water leaves a campus in the direction the ground allows, and a plant placed in a low corner will need more drainage work than one on a gentle slope. The model shows the shape of the ground, not the drainage design, but it shows enough to move the pad before the civil work begins.
4.2 Keep the canopy in the picture
Mark the mature trees near the hub and check whether the buffer depends on them. A screen of trees can hide a service yard in summer and vanish in winter, which changes how the hub reads from the campus. The tree layer also shows where the pipe corridor will have to thread between roots, which is a question for the landscape team rather than the model.
5 Set the boundaries of the view
A site model is a way to see the hub in context, not a permit drawing. It shows what is visible and where things sit. It does not show emissions, noise levels, or energy performance, and it should not be presented as if it did. Being clear about that boundary keeps the model useful.
5.1 Separate screening from engineering
The model can show where a screen wall or a tree belt would sit, and how tall it would need to be to hide a stack from a window. It cannot show whether the plant meets a noise limit or an air quality rule. Those questions belong to the specialists, and the model's job is to give them a clear picture of the site so their answers fit the place.
5.2 Say what the model cannot show
Write a short note with the model that lists its limits: heights are estimated from imagery, building types are inferred, and the plant equipment is a placeholder. Add the questions the model raised, such as whether the delivery route crosses a path. The International Energy Agency's work on district heating is a useful reference when the discussion turns to how campus networks are planned and expanded.
6 Build a campus hub view in GenAnywhere
GenAnywhere generates an editable 3D site model from a mapped area using satellite and map data. It reads building footprints, estimates heights, infers building types, and includes the surrounding vegetation, with buildings, terrain, vegetation, and water available as separate layers. You can replace a building, move or rotate it, adjust its height or type, and export a GLB for 3D, BIM, GIS, or game engine workflows. The model is an initial site context. It does not size the plant, design the pipes, or confirm the environmental performance of the hub.
6.1 Pick the campus area
Frame the hub and the buildings it serves, with enough margin to include the main paths and the nearest boundary. Generate the model and save it as the baseline. Note the buildings that draw the most heat, because they set the corridor. This baseline is what the campus team will recognize, and it makes every later option easier to explain.
6.2 Swap the plant block and compare
Replace the hub building with a larger or smaller block, or move it to a second site, and compare the result with the baseline. Keep the camera fixed and switch the tree layer on and off to see what the planting hides. If the stack is the contentious part, raise it in one version and lower it in another to show the range.
6.3 Export a view for the briefing
Export the model as GLB and use it in the briefing with the estates team, the landscape team, and the campus planners. Attach the assumptions note and the open questions. The file carries a permanent commercial license, though the original files cannot be resold or used for AI training. Third-party data inside the model may have separate terms.
See how the site model workflow fits a review
7 FAQ
FAQ-1 Which layers matter most for a heating hub?
Buildings, terrain, and vegetation carry most of the weight. Buildings set the demand and the corridor, terrain decides the pad and the drainage, and vegetation shapes the buffer and the view. Water matters where the site sits near a stream or a pond. Add roads and paths as context, and keep the plant equipment as a placeholder zone until the engineers provide a layout.
FAQ-2 Can I show a new plant on an existing campus?
Yes. Generate the campus as it stands, save that as the baseline, then duplicate the site and edit the copy. Place the plant block and the corridor on the copy, and compare the two views. Existing buildings are read from imagery, so check the ones nearest the hub against campus records before the view goes into a briefing.
FAQ-3 How do I show a pipe corridor in the model?
Draw it as a band on the ground, not as a pipe. The band shows the land the corridor needs and the places it crosses paths, roads, and planting. At this stage, the width and the route are assumptions. A utility survey and the engineering design will replace them, but the band is enough to start the conversation with the grounds team.
FAQ-4 What should the briefing note include?
List the assumptions, the estimated heights, the placeholder zones, and the open questions. Name the source of the parcel and the date of the imagery if you have it. Then describe what the model cannot answer, such as noise, emissions, and plant sizing. A short note of this kind keeps the model in its proper role and helps the specialists pick up the work.
Content and technical notes
This article was prepared by the GenAnywhere team with AI-assisted drafting and human review.
Product features, formats, and availability change as the platform evolves; refer to the official GenAnywhere website for current details.
For technical questions or corrections, contact support@genanywhere.com.
Last reviewed: 2026-11-20.