
Pipeline export: where GenAnywhere sends a GLB next
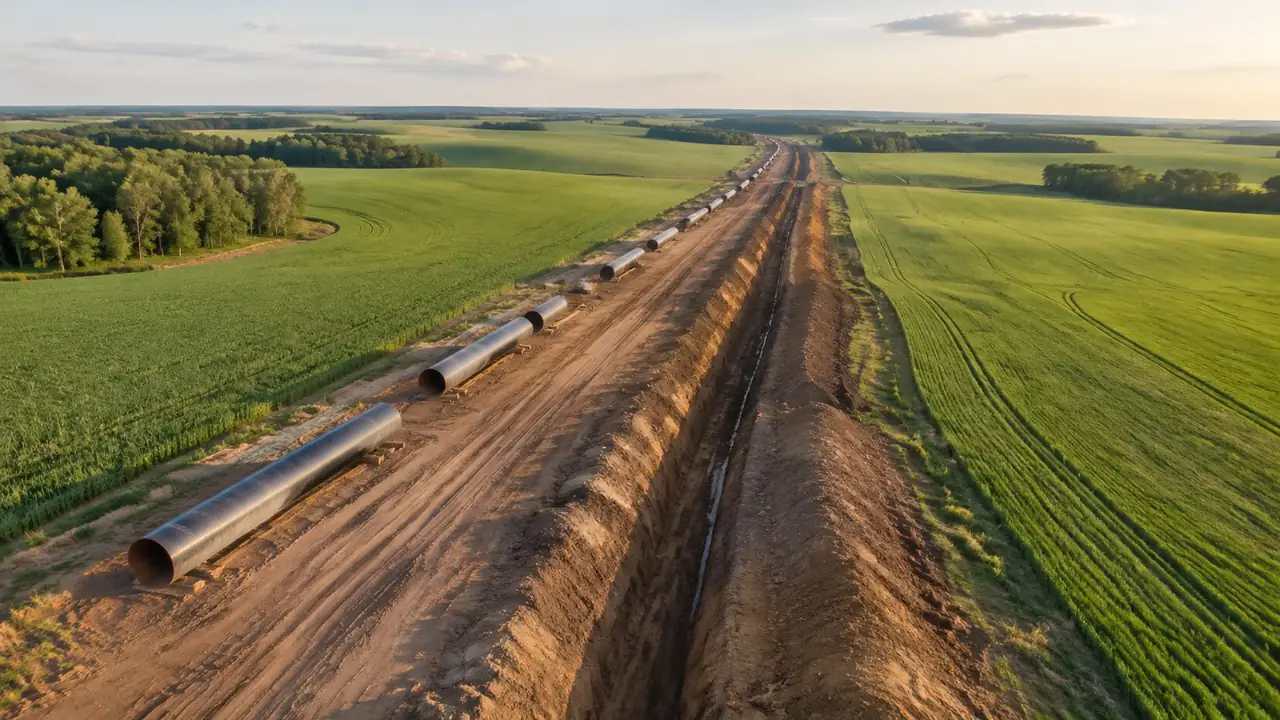
The export carries the site around a pipeline route, not the pipeline itself; routing and hydraulic work happen in the next tool.
GenAnywhere generates a 3D site from map data and lets you preview it, then export a GLB. Around a pipeline that means terrain, water crossings, roads and the buildings the route passes, which is the context a route discussion needs. The pipeline itself is design geometry and does not come from the generated scene, so the export is the beginning of a handover rather than the end of one.
1 What leaves the platform
1.1 Scene content in the GLB
The export carries the generated site: terrain, water, vegetation and building masses, along with any edits you made before previewing. That is a general-purpose scene file rather than a specialist format, and the GLB specification is maintained by the Khronos Group. Because it is widely supported, the same file can open in a game engine, a design tool or a GIS viewer without conversion. That portability is the reason the export is useful at the start of a project. A light scene is also easier to share when the receiving team works on a modest machine.
1.2 What stays behind
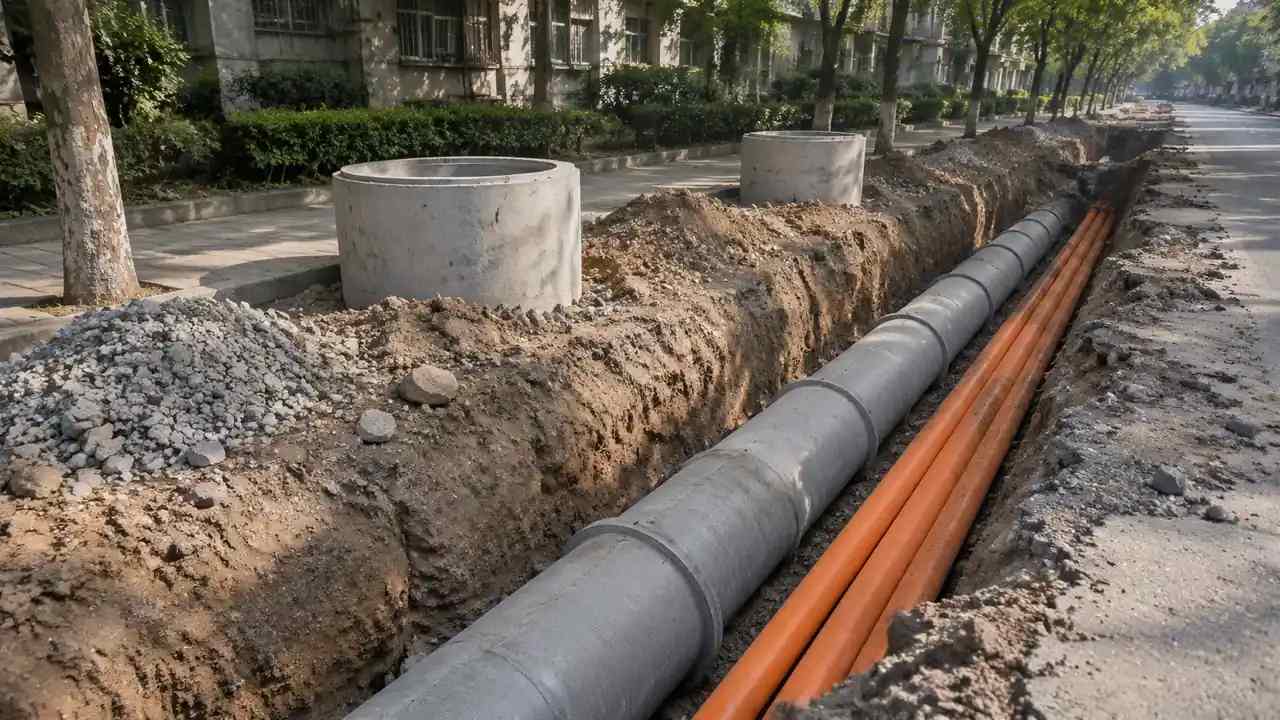
Nothing about the pipeline route leaves with the file unless you put it there. The scene has no pipe centrelines, valves, pump stations or crossings, and it carries no design properties, schedules or survey coordinates. A team that expects a route model will be disappointed, and a team that expects a site will be pleased. Say which one you are handing over before the file is sent. The export is a snapshot of the site at the moment you preview it, not a live link back to the platform.
2 Where the file usually goes
2.1 Engine and real-time workflows
Game engines and real-time viewers are a common destination because the GLB opens without a converter and the scene is light enough to move around. A route review can sit the design geometry on the generated terrain and walk the corridor at eye level. That is useful for checking how a crossing reads, where a road sits relative to the route, and whether a compound is visible from a nearby building. The scene supplies the ground and the setting, not the engineering. The platform overview describes what the generated scene includes. Walking a corridor at eye level often reveals a level change or a sightline that a plan hides, and that is the kind of finding the scene is good at.
2.2 BIM, GIS and design tools
BIM authoring tools, GIS applications and design software can also open the export, although behaviour varies by product and version. Some workflows treat the scene as a background mesh; others import it as a set of objects. Neither is wrong, but the receiving team needs to know which to expect. Test the file in the target application before a meeting depends on it, and ask the team how they want the scene organised. A GIS team may expect layers rather than a single scene, and that changes how you prepare the export.
3 Preparing the export

3.1 Preview before export
Preview is the step that catches most problems: a building in the wrong place, a missing water body, a terrain edge that cuts through the corridor. Walk the route in the scene before you export, not after. It takes a few minutes and saves a round of emails. If something is wrong, fix it in the scene where the edit is easy, rather than in the receiving tool where it is not. Write down what you changed after the preview, because an edit made in a hurry is easy to forget.
3.2 Naming and handover notes
Name the file so that someone who was not in the meeting can tell what it is: project, area and version. Add a short note with the extent, the date of the imagery and the edits that were made. That note is more useful than a long email, because it travels with the file. A well-named export with three lines of context is easier to use than a perfect scene called final-final. Include the export date as well as the imagery date; they are different facts and both matter.
4 Limits
4.1 No route design or hydraulic check
The platform does not design a route, size a pipe, check a hydraulic gradient or assess a crossing. Those tasks need engineering data, design tools and a qualified team. The scene gives that work a setting, which is a smaller contribution than it looks in a render. The same applies to crossings: the scene shows the ground, while the crossing design needs its own analysis. Keep that analysis in its own tool and bring the conclusion back as a note. Keep the route and the context in separate layers of the conversation, and the review will be clearer for it.
4.2 Coordinates and scale in the target tool
The export is a scene, and how it lands in a target tool depends on that tool's import settings. A model that looks right can sit at the wrong origin or scale once imported, especially when the receiving project has its own coordinate system. Check the position and scale against a known feature before anyone measures anything. If the target workflow needs a specific origin, agree it before the export rather than after. A quick check against a known road junction or building corner is usually enough to catch a scale error.
5 Running the review
5.1 A sequence that holds
Start with the corridor in its landscape, then the crossings and constraints, then the specific segment under discussion. The wide view answers where the route runs and what it passes; the closer views answer how the ground and the buildings sit around it. That order gives the audience a map before it gives them a detail. It also makes the missing pipeline geometry obvious at the right moment. If the corridor is long, break the review into segments and keep the same camera height between them so the views compare fairly.
5.2 Handoff
Send the GLB with a note on what it contains, then confirm that the receiving team can open it. A short confirmation message is worth more than an assumption, because import problems are common and cheap to fix early. If the team needs a different extent or a corrected building, re-export rather than editing the file by hand. The scene stays the source, and the export stays a copy. Keep the original scene until the handover is confirmed, in case a re-export is needed.
Open the GenAnywhere app and frame a pipeline corridor
6 Before you export
6.1 Scope
Decide how much of the corridor the review covers. A single crossing shows the ground and the nearby buildings clearly; a whole route shows relationships but thins the detail. Choose the extent that supports the decision, and record it in the handover. If two segments need two scenes, generate both rather than stretching one past its useful range. Name each extent by the features it includes, so the receiving team can tell what is inside the file.
6.2 Missing assets
Pipes, valves, pump stations, access tracks and construction equipment are not in the generated scene. List them in the note and say where the geometry comes from. The list also tells the audience which parts of the picture are context and which are design. That distinction matters most when the image is realistic enough to be mistaken for a route drawing. A simple list is more useful than a disclaimer buried in an email.
6.3 Next step
Say who receives the file and what they will do with it. A design team may want the terrain under its route; a stakeholder team may want the corridor for a visual review. Naming the next step keeps the export purposeful and stops the file from becoming a copy nobody opens. If the purpose is unclear, ask before exporting rather than after. If the answer is unclear, the export can wait.
7 FAQ
FAQ-1 Where does the GLB go next?
Into whichever 3D, BIM, GIS or game engine workflow the receiving team uses. The export is a general scene format, so the same file can open in several tools, although import behaviour differs. The next step is usually to place design geometry on the site and review the combination. Confirm the target application and its settings before the handover, because a file that opens in one tool may behave differently in another.
FAQ-2 Does the export include the pipeline?
No. The generated scene covers terrain, water, vegetation and buildings. A pipeline route is design geometry and comes from the engineering side. The export gives that geometry a setting to sit in, which is useful for context and not a substitute for the route model. Say so before the file is sent, and name the design tool that holds the route.
FAQ-3 Can I check a crossing in the scene?
You can see how a crossing sits in the terrain and how it relates to roads, water and nearby buildings. You cannot check structural capacity, hydraulic performance or clearance requirements. Those need engineering analysis with the appropriate data. The scene supports the conversation around a crossing; it does not answer the engineering question, and the meeting notes should say which is which.
FAQ-4 What do I get at the end?
A previewable 3D scene and an exported GLB carrying the site context. The file includes terrain, water, buildings and vegetation, plus any edits you made before export. It does not include design geometry or survey coordinates. Test it in the receiving tool, confirm the scale and origin, note what was left out, and keep a copy of the scene file for the next update.
See how a generated corridor moves into a GLB workflow
Content and technical notes
This article was prepared by the GenAnywhere team with AI-assisted drafting and human review.
Product features, formats, and availability change as the platform evolves; refer to the official GenAnywhere website for current details.
For technical questions or corrections, contact support@genanywhere.com.
Last reviewed: 2026-11-13.