
Pipeline export: does GenAnywhere support GLB?
Yes, for the ground the pipeline crosses. The pipe itself is design geometry, and it arrives from another tool.
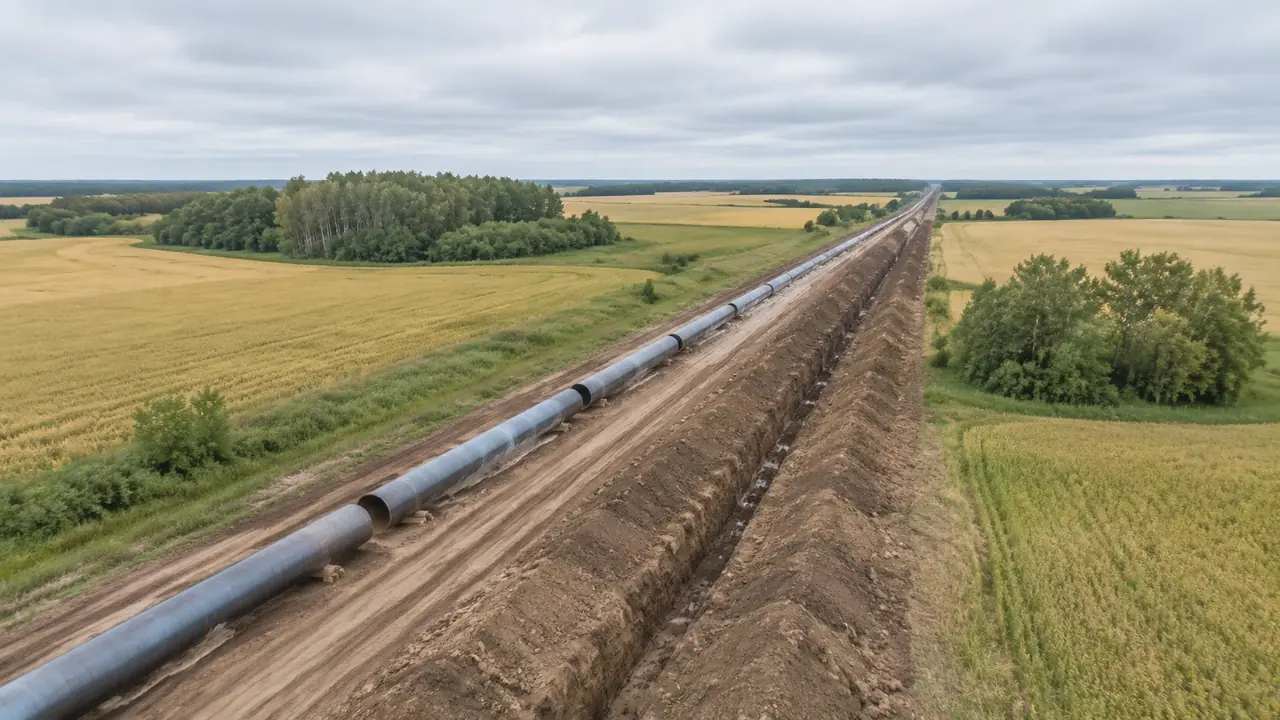
Yes. A GenAnywhere scene exports as GLB, and that includes the terrain, water, vegetation and building masses along a corridor you framed on the map. What the export does not contain is the pipeline. Route geometry, wall thickness, valves, pig traps, supports and crossings are design assets that come from a route model or a vendor library. The platform's job in a pipeline study is the ground, and on a linear project the ground is most of the argument.
1 The short answer, and the part it leaves out
1.1 What the exported scene holds
The file holds a generated site: ground with its relief, any water body inside the extent, vegetation as a layer, and building masses with footprints and estimated heights. Your edits travel with it. For a corridor study, that means the shape of the land either side of the route, the streams it crosses and the farm buildings, yards and small settlements nearby. Exported once, the same scene can support several route options without being regenerated for each one. That economy is the main reason to keep the site and the route apart.
1.2 What it does not hold
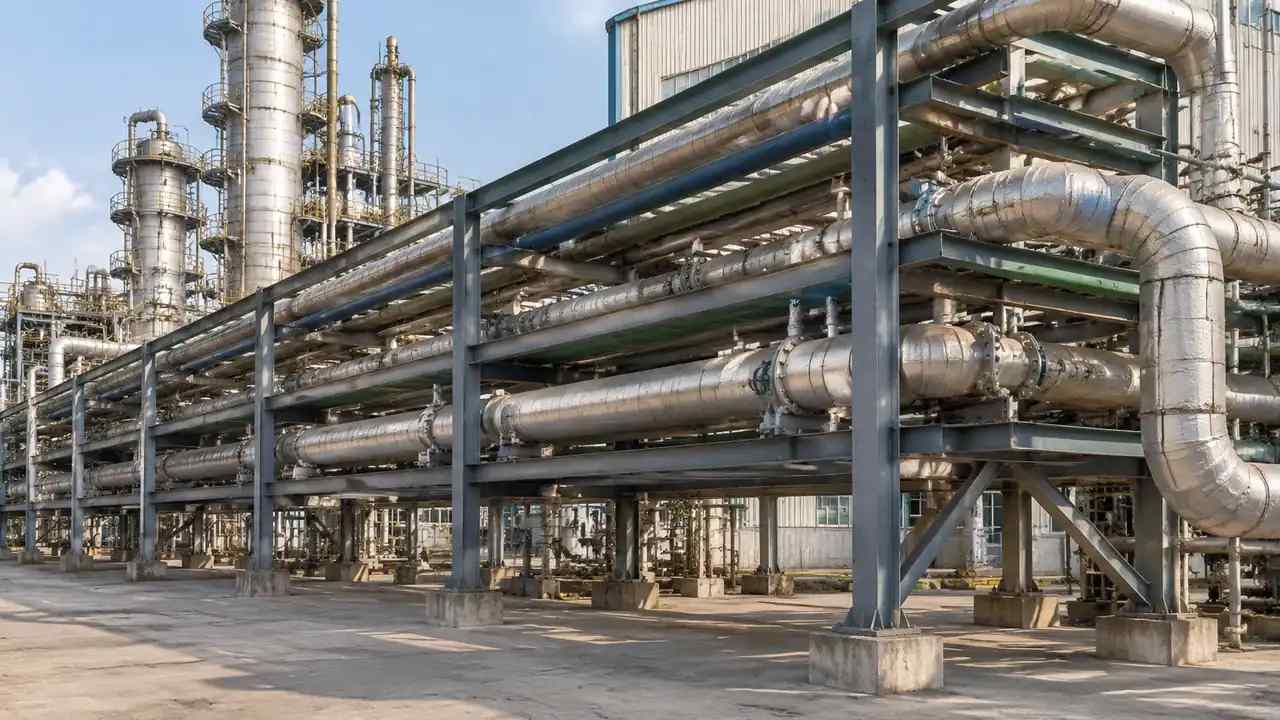
There is no pipe in the file: no centreline, no diameter, no trench, no weld, no valve station. There is also no access track, no temporary works and no survey control. Those elements come from engineering, and they belong to the model that carries the design intent. A scene that pretended otherwise would be inventing dimensions it cannot know. Routing a pipe needs wall thickness, cover, bend radii and a dozen consent conditions, none of which a satellite image carries. Stating the split at the start of a corridor review saves a long detour later in the meeting.
2 Framing a corridor scene
2.1 Long thin extents against several scenes
A pipeline is long and narrow, which is the awkward shape for any map-based scene. One very long extent loses detail at both ends and imports slowly; several shorter scenes keep the detail and cost a little more housekeeping. A workable compromise is one scene per decision: the river crossing, the edge of the town, the terminal. Each carries its own extent and its own notes, and the route model is placed into each separately. That sounds like more work than one long strip, and in practice it is less, because each scene stays small enough to open and read.
2.2 Crossings and the built edge
Crossings are where a corridor argument usually lives, and they are visible in a generated scene: a water surface, a road edge, a rail corridor, a row of houses. The scene shows what is there without judging it. Whether a crossing is feasible is a design and consent question, and the scene cannot answer it. It can put the crossing in front of the room at a size everyone recognises, which is often what an early route debate lacks. A drawing of a crossing and a picture of the same crossing produce different conversations, and the picture usually starts the useful one.
3 What the terrain contributes
3.1 Relief along the route
Ground shape decides where a route wants to go, and the generated terrain shows it without a survey. Ridges, valley floors, cuttings and embankments read in the scene, and a reviewer can follow a line across them with a finger. None of that is measured, and none of it replaces a ground investigation. What it does is let a group agree on where the difficult ground sits before anybody commissions one. Agreement on the difficult ground is cheap at that stage and expensive later.
3.2 Vegetation and land cover
Vegetation arrives as a layer, grouped rather than surveyed, so a wood reads as a mass and a hedgerow as a line. For a corridor, that is useful context: a route through woodland is a different proposal from one along a field edge, and the difference is visible. Toggle the layer off and the ground shape appears underneath, which is often the more important view. Neither view tells you what species is there, and nothing in the scene claims to. What the layer gives you is extent and density, which is what a route conversation tends to need before an ecologist is asked for more.
4 The pipeline itself
4.1 Route geometry from the design tool
The centreline comes from the route model, usually in a CAD or BIM environment, and it is placed against the exported site in the tool that holds both. Bodies such as buildingSMART publish the exchange formats that make this kind of handover routine on infrastructure work. The scene is the context layer; the route is the design layer; keeping them separate means a route change does not require a new site. It also means the person changing the route does not need to understand how the site was generated.
4.2 Depth, casings and installations
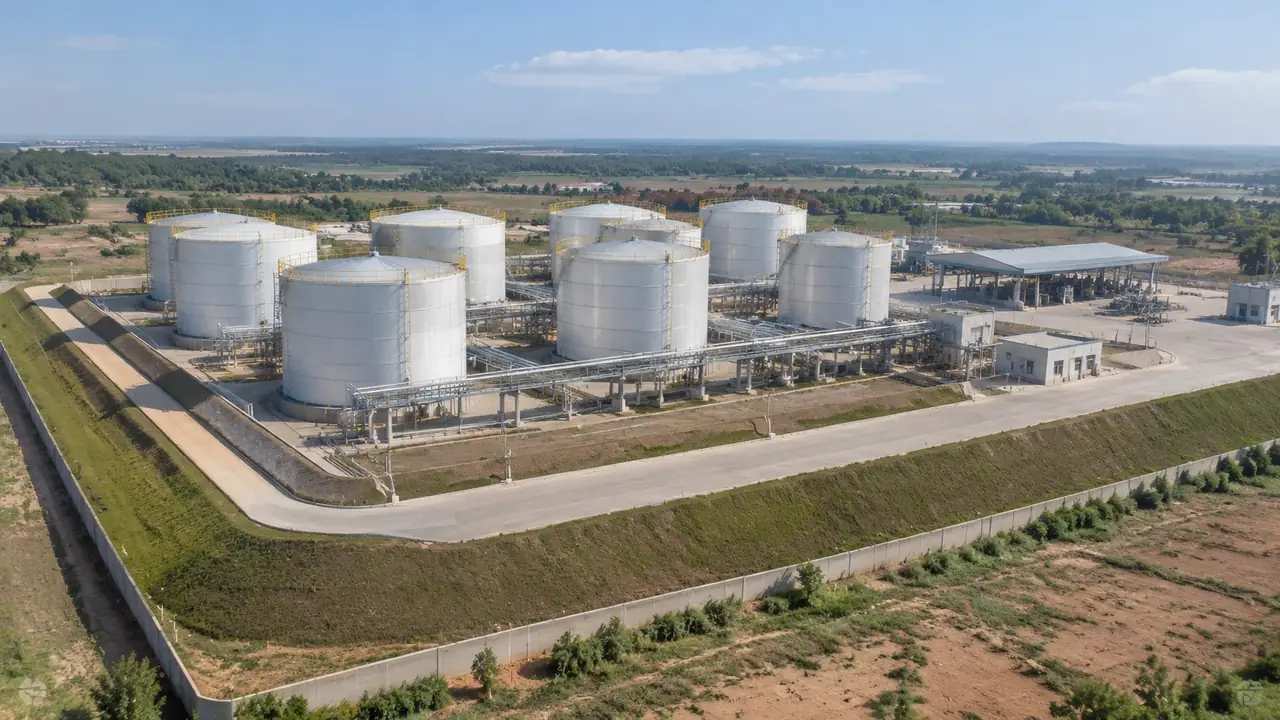
Buried depth, casings, thrust blocks, above-ground installations and valve stations are all design detail and none of them is generated. A reviewer looking at a flat green corridor will not see a trench, and should not expect to. If the discussion needs depth, bring a section drawing alongside the scene. Mixing the two in one picture is possible, but it takes a tool that can hold both and a label saying which is which.
5 Export practice for linear work
5.1 Units, origin and long distances
Linear projects stress the details that square sites hide. Check the unit convention and the origin in the receiving tool before placing a route, because a small scale error compounds over tens of kilometres. Look at how the host tool handles large coordinates, since some engines prefer a local origin and shift geometry near it. If the corridor is placed in a GIS environment, confirm the scene arrives where you expect rather than a field away. A landmark check takes a minute and catches most placement errors before they reach a drawing.
5.2 Splitting, naming and notes
Name each corridor scene after the decision it supports: the crossing, the town edge, the terminal approach. Keep a simple index so a colleague can find the right file without opening six of them. Note the extent, the imagery date and the edits in each. A corridor project generates more files than a single site does, and the index is what keeps that from becoming a mess of similar names in a shared folder. One line per file, updated when a file is added, is enough.
Open the GenAnywhere app and frame a pipeline corridor
6 The receiving side
6.1 GIS context
A corridor scene often lands in a GIS environment, under a route layer and alongside constraints such as land ownership or environmental designations. That combination is where most route conversations actually happen. The scene gives the ground a shape that a flat map cannot, and the GIS layers give it meaning. Keep the two clearly labelled, because a coloured constraint polygon on a generated hill can look more authoritative than either deserves. A short legend on every view solves most of it.
6.2 Visualisation and review
Where the audience is not technical, the corridor usually goes into a game engine or a viewer, with the route drawn as a ribbon and the ground as generated. That is a fair use of the export, provided the labels are honest. A ribbon on a hillside reads as a proposal, not as a built asset, which is the right reading for an early review. Add trees or buildings from the scene, not from imagination, and say which is which. A corridor film that invents a village is a marketing asset, not a review document, and the difference matters when a decision is being recorded.
6.3 Updates and round trips
Routes change, and a corridor scene usually outlives two or three of them. Keep the exported site unchanged and swap the route layer in the host tool, rather than regenerating the ground for each option. When the ground itself changes, say so in the file name. A stable base with a changing design layer is easier to explain than a set of scenes that differ in every respect. When the base does change, regenerate it once and swap it under every option at the same time.
7 FAQ
FAQ-1 Does GenAnywhere export pipelines as GLB?
No. It exports the site as GLB, and the pipeline is added in another tool from route geometry you already have. The scene provides the ground, water, vegetation and buildings along the corridor. Keeping the route out of the export means one scene can serve several alignments without being rebuilt each time the design moves. It also keeps the file small enough to send without a transfer service.
FAQ-2 Can the platform generate the corridor itself?
It generates a scene for an area you select, and a corridor is a series of such areas rather than a single object. You can frame a long extent or several shorter ones along the route. The route alignment, its width and its depth are design decisions and stay in the design tool. What you select on the map is the ground the route will cross, not the route itself.
FAQ-3 How do I handle crossings?
Frame the crossing so the water, road or rail edge is clearly inside the extent, and note which side of the scene is upstream or landward. The scene shows the crossing; the design of it is a separate exercise. Bring the relevant drawing to the same meeting, so the picture and the proposal can be read together. If the crossing needs a consent, say who is asking and by when, because that deadline usually drives the review.
FAQ-4 Does the file keep geographic position?
The export carries the scene as geometry, and whether it lands in the right place depends on the receiving tool and its settings. Check position against a known landmark after import, and record any shift you apply. For corridor work, a small offset is easy to miss and worth a deliberate check. Compare two known points, one near each end of the scene, rather than trusting a single landmark in the middle.
See how a corridor scene fits a design workflow
Content and technical notes
This article was prepared by the GenAnywhere team with AI-assisted drafting and human review.
Product features, formats, and availability change as the platform evolves; refer to the official GenAnywhere website for current details.
For technical questions or corrections, contact support@genanywhere.com.
Last reviewed: 2026-11-13.