
Flood barrier comparison for San Francisco, with GenAnywhere
What a shared 3D scene adds when two shoreline alignments are on the table.
A flood barrier comparison along a city waterfront means comparing alignments, heights, and the way each option meets streets, piers, and open space. Plans and sections show the pieces, but not how they add up from the places people use. A site model gives the comparison a common stage, so two alignments can be judged from the same viewpoints.
1 What a barrier comparison has to answer
1.1 Alignment: where the line meets the street
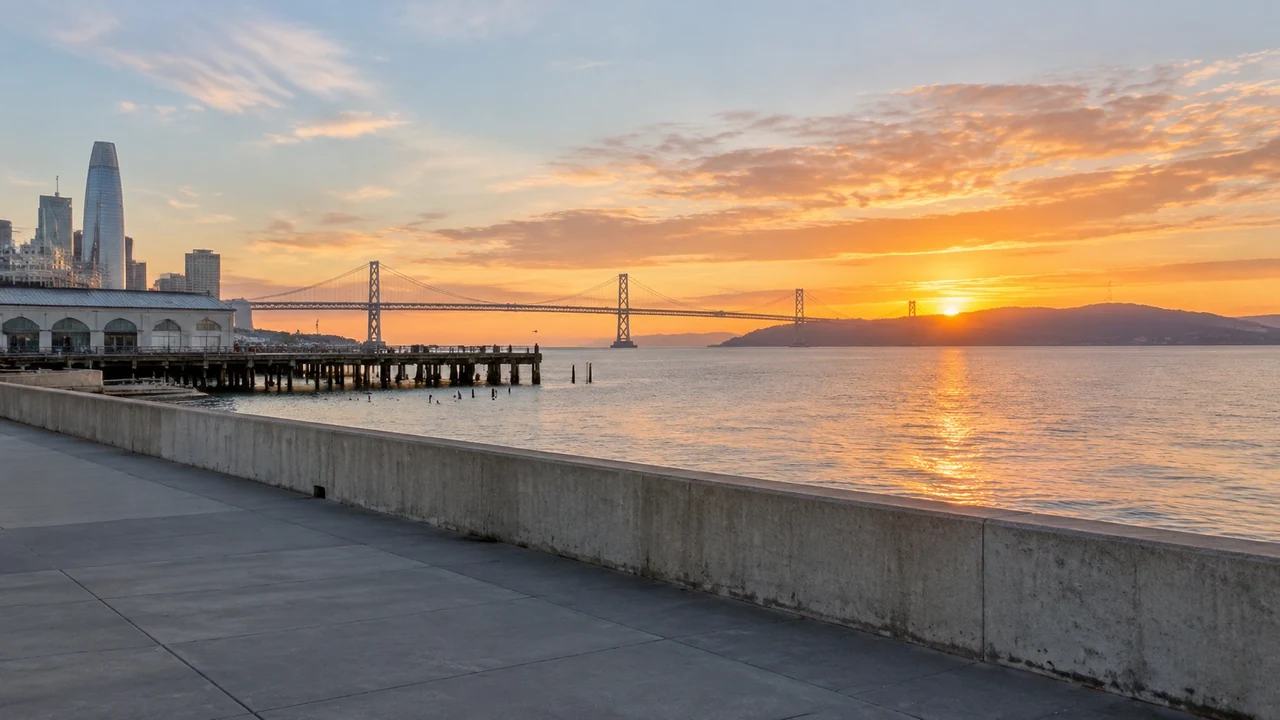
A barrier alignment is a line on a map until it reaches a street. Then it becomes a decision about crossings, parking, trees, and the width left for people walking. Two lines that look similar from above can produce very different conditions at the points where the city meets the water.
The comparison should include those crossing points explicitly. Where does the barrier sit relative to a crosswalk, a ferry entrance, or a loading zone. A model that shows the surrounding streets makes those relationships visible, and residents can point to the spots they know.
1.2 Height and bulk at the water's edge
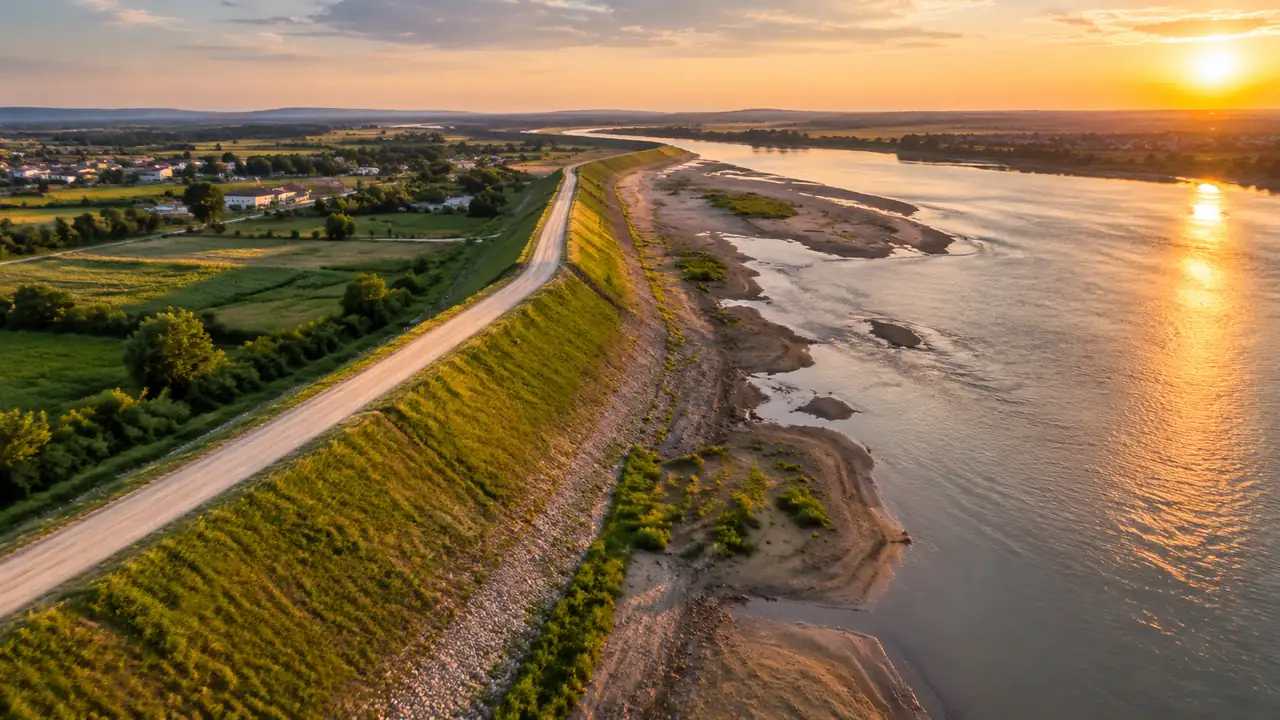
Height is the number people argue about, but bulk often decides how the edge feels. A low wall that runs without a break can close off a view as effectively as a taller structure set back from the water. The length, the material thickness, and the distance from the promenade all matter.
A massing model can show those relationships without pretending to design the barrier. The barrier is represented as a volume at a stated height and width, set along a chosen line. That is enough to compare one alignment with another and to see where the structure would sit in relation to existing features.
2 Build the waterfront segment
2.1 Choose a reach with clear edges
Pick a stretch of shoreline with boundaries people recognize: a bridge, a pier, a park entrance. A reach of a few blocks is easier to read than the whole waterfront, and it keeps the file manageable. The goal is a comparison that a workshop can follow, not a comprehensive shoreline plan.
The reach should include the places where the barrier would change access. If the alignment crosses a popular promenade or closes a street end, that section belongs in the scene even if it sits at the edge of the study area.
2.2 Add terrain, water, and the built edge
GenAnywhere generates an editable site model from an area drawn on the map, with buildings, terrain, water, and vegetation as separate layers. For a waterfront, the water layer and the ground surface do most of the work. They establish the edge that the barrier has to follow and the grade that people walk along.
Expect the base to be approximate. Piers, seawalls, and recent shoreline works may be simplified or missing. Correct the elements that matter for the comparison, and note the date of the source data in any material you share.
3 Compare two alignments
3.1 Swap the barrier line, keep everything else
Build the existing condition, then add one barrier option as a volume along its alignment. Save it, duplicate the scene, and move the volume to the second alignment. Keeping the ground, the water, and the camera fixed turns the exercise into a comparison of one variable.
This discipline matters in public discussion. If one scene shows a sunny morning and the other shows a gray afternoon, the audience will react to the light rather than the alignment. Matching conditions keeps the conversation on the decision at hand.
3.2 Read the trade-off at crossings
Crossings are where the trade-offs concentrate. A barrier that protects a low street may interrupt a direct route to the water, and a gap that keeps access open may leave a section exposed. Comparing the two alignments at each crossing shows what is gained and what is given up.
Set a camera at pedestrian height and walk through the crossing in both scenes. The difference is often more legible in motion than in a still image, especially when the barrier changes the width of a sidewalk or the position of a curb ramp.
4 Use the comparison in public discussion
4.1 One scene, two futures
A workshop can run with one screen and two saved scenes. Start with the existing waterfront, then switch the barrier option on. Residents see the change in place and can ask about the specific corner where they walk their dog or catch a ferry.
That format reduces the usual confusion between a rendering and a map. The scene is clearly a study, not a finished design, and the audience can see what was modeled and what was left out.
4.2 Questions the model invites
The model is useful because it produces better questions. How does the barrier meet the historic pier. What happens to the trees along the promenade. Where would a temporary closure send cyclists during construction. None of those questions require an engineering answer at the workshop stage.
Record the questions and group them by location. The list becomes the agenda for the next technical session and a record of what the community considers important.
5 Where the model stops
5.1 Hydrology and engineering design
A visual comparison does not model water. The scene can show a water surface at a chosen level, but it does not calculate inundation, wave loading, or overtopping. Those questions belong to coastal engineers and to the studies that support a shoreline project.
The same applies to structural design and constructability. A barrier volume shows where a structure would sit, not how it would be built or whether the ground can support it. Keep the model in the role of a communication tool.
5.2 Property, access, and permits
Shoreline projects cross property lines, public access easements, and regulatory boundaries. A model can show where a barrier falls on the ground, but it cannot establish who owns the land or which permits apply. Those questions need the parcel record and the agencies involved.
Public access deserves particular attention. A barrier that appears reasonable in a scene may close a path that people rely on, and that loss is often the strongest objection in a waterfront review.
Construction access is a related question. A shoreline barrier needs a way to bring materials and equipment to the edge, and the route may pass through a promenade or a park. Modeling a temporary access strip alongside the barrier helps the review see what the work itself would occupy.
6 Prepare for a waterfront workshop
6.1 Pick familiar viewpoints
Choose views that residents can name without a map: the ferry landing, the pier entrance, the park at the end of a street. Three or four familiar positions carry more weight than a continuous flyover. Each one should show a specific relationship between the barrier and the place.
Test each view before the session. Make sure the barrier is visible and that the surrounding context is recognizable. A view dominated by a blank wall or a row of trees will not help anyone compare alignments.
6.2 Keep the baseline honest
The existing condition should reflect the waterfront as it is, including the works already planned or under construction if they are visible. A baseline that omits a known project will make the comparison look better or worse than it is, and someone in the audience will notice. Note the date of the imagery so the audience knows what the scene includes.
6.3 Write the caveats into the handout
State the modeled height, the alignment source, the data date, and the questions the scene does not answer. The San Francisco Bay Conservation and Development Commission publishes shoreline planning and permitting material that can help a team frame those caveats. A short, plain list is more persuasive than a long disclaimer.
To compare two shoreline options on a reach you know, open the GenAnywhere app and build the existing condition before placing a barrier volume. The platform workflow overview explains how a scene moves from map selection to export.
7 FAQ
FAQ-1 Can the model show two barrier alignments in the same scene?
Yes. Build the existing condition, add one barrier as a volume, then duplicate the scene and move the volume to the second alignment. Keep the camera and lighting the same. You can also place both volumes in one scene with different colors, though switching between saved versions is usually easier for an audience to follow. Neither method implies that the barrier is designed.
FAQ-2 Does the model include water levels or flooding?
It can show a water surface at a level the team chooses, which helps with visual comparison. It does not calculate flooding, wave action, or overtopping. Those results come from coastal and hydraulic studies with their own assumptions and review. Use the scene to discuss what a barrier would look like, and use the studies to discuss what it would do.
FAQ-3 Can a community group use this without engineering support?
A group can present prepared views and switch between options without editing the model. That covers most workshop needs: seeing the alignment, comparing the edge, and asking questions. Interpreting the results still benefits from someone who understands the constraints, especially when the conversation turns to water levels or access. Pair the session with a staff briefing where possible.
FAQ-4 Is a visual comparison enough for a shoreline permit?
No. A permit review depends on engineering studies, environmental analysis, property information, and the applicable regulations. A visual comparison can support public engagement and help explain an option, but it does not satisfy a technical submission. Treat it as one input among many, and make clear in the record what it does and does not cover.
Content and technical notes
This article was prepared by the GenAnywhere team with AI-assisted drafting and human review.
Product features, formats, and availability change as the platform evolves; refer to the official GenAnywhere website for current details.
For technical questions or corrections, contact support@genanywhere.com.
Last reviewed: 2026-11-12.