
Container model generation: how GenAnywhere builds a yard
Ground, then the block plan, then the boxes. Generation covers the site; the stack comes from a module library you control.
A container yard is built in two parts, and the order matters. GenAnywhere generates the site the boxes will sit on: the apron, the sheds, the gate, the boundary and the land around them. The boxes themselves are assets, placed as blocks in a downstream tool. Calling the result a container model is fair, as long as the two parts stay distinguishable in the file.

1 The two parts of the build
1.1 What generation returns
Generation is one step with a wide effect. Draw the area on the map, and the platform returns terrain, water, vegetation and building masses, with footprints from map data and heights estimated from imagery. The apron, the hardstanding and the level changes arrive as ground rather than as objects. That suits a yard, because the surface is what everything else is placed against. A clean ground with a known date is the base of the whole build. Check that the surface matches the yard you know, since a stockpile or a temporary laydown can read as permanent ground cover.
1.2 Where the boxes come from
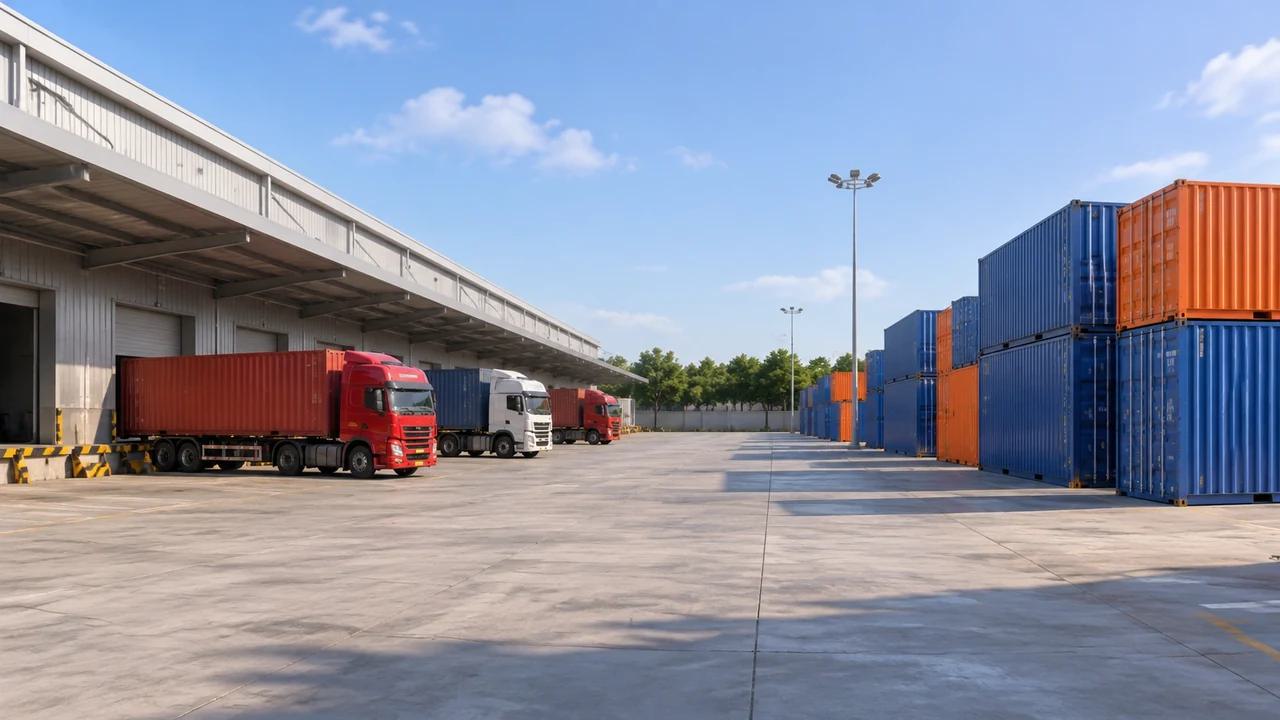
The boxes arrive later and from elsewhere. A container is a manufactured unit with a size, a corner casting pattern and a lashing arrangement, and it moves several times a week. None of that can be read from imagery, and the platform does not attempt it. Boxes, chassis, reach stackers and gantries come from a yard library or a design model. The build is a sandwich: generated ground, asset boxes, and a tool in the middle holding both. Keeping the two apart lets a ground correction be repeated without disturbing the stacks.
2 Stage one, the ground
2.1 Framing and generating
Framing decides what the yard can be compared with. A block-level frame suits a stack layout argument; a whole terminal frame suits a gate or rail connection argument. Include the fence, the gate and the road outside it, since a yard review nearly always reaches the public road within ten minutes. Note the imagery date on the frame, and pull the boundary one field wider than the fence, because the land beyond explains the access. If the yard runs past the frame, take a second scene rather than one wide view that loses block detail.
2.2 Correcting sheds and surface evidence
Then correct the buildings and the surface evidence. A shed demolished last year, a workshop extended, a gatehouse replaced: those are quick edits and they change how far the audience trusts the model. The surface itself is ground, so repaving and new markings will not appear, and a yard that has been reorganised reads with its older rows. Correct what has a footprint and note what does not, especially markings, lighting and fencing. A short list of those corrections is worth more than a polished picture, because the next review will reuse the ground.
3 Stage two, the block plan
3.1 Blocks as an overlay
Before any box is placed, decide the block plan. Blocks, rows and bays belong to the operator, and the scene does not generate them. Sketch them as an overlay on the exported ground, or as labelled blocks in the receiving tool. A block plan drawn over accurate ground answers the questions that matter most: how many rows fit, where the aisles run, and whether a stack would block an access route or a gate approach. Use the operator's block letters and numbers, so the plan and the gate log speak the same language.
3.2 Row pitch and aisles
Row pitch and aisle width come from the handling equipment and the operating rules, not from the picture. Ask the terminal for the numbers it uses, and keep them in a note beside the block plan. A yard drawn with guessed aisles looks convincing and misleads, because the eye accepts a tidy grid even when the grid could not be worked. Where the numbers are provisional, say so in the drawing legend rather than in a separate email. That note also dates the drawing, which matters when the operating plan changes between reviews.
4 Stage three, the boxes
4.1 Modules and instancing
With the plan agreed, place the box modules in the receiving tool. A small library is enough: a twenty foot and a forty foot unit at a stated height, one colour convention and a consistent origin. Instancing matters more than detail at this stage, because a yard carries thousands of units and a heavy module slows every view. Decide which faces carry doors, so the model reads correctly from the gate, and keep the library in one place. A library shared across projects saves a week at the start of the next yard.
4.2 Stack height as a transform
Stack height is a transform on the module, not a scene setting. The yard model sets it per block, following the operating plan and the equipment that serves that block. Stack heights can therefore be changed quickly in the receiving tool, which helps when two operating assumptions are compared over the same ground. Keep the height in the block name, so a viewer knows what they are looking at without measuring the picture. Where the plan allows two heights in one block, draw both and label the step.
5 Making the yard read
5.1 Consistent scale cues
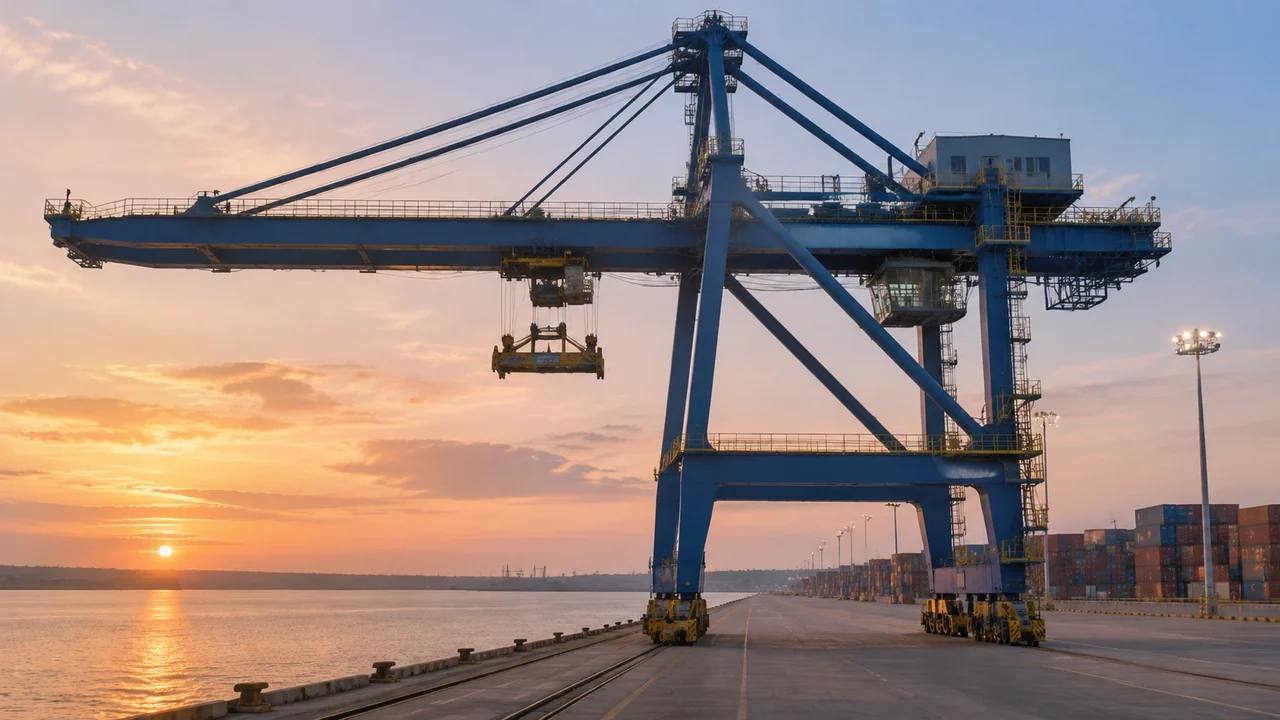
A yard reads correctly when its scale cues agree. Boxes at one height, aisles at one width, sheds at their mapped size, and a gate that looks like a gate from above. Terminal design guidance, such as the material published by PIANC, describes the dimensions real yards work to, and it is a better reference than a picture for anything dimensional. The scene makes those dimensions visible in place. A missing scale cue usually means a missing asset rather than a missing measurement.
5.2 Preventing drift
The failure mode in a staged build is drift. Ground is exported on Monday, boxes are placed on it, and the ground is corrected on Thursday, leaving stacks floating above a re-levelled surface or sunk into it. Fix the order: close the ground, export, then place. If the ground changes afterwards, re-export and re-place rather than nudging boxes by eye. A yard where every block sits at the right level repays the extra pass. A version note saying which ground the boxes were placed against makes drift obvious in a folder listing.
6 Closing the build
6.1 Version names by stage
Name versions by stage rather than by date alone: ground, ground with corrections, blocks, boxes at two high. A stage name tells the next person what a file contains before they open it. Keep the block plan and the module list with the version, because a yard file without its plan is a picture of boxes. Stage naming also makes it obvious when a review is looking at a ground-only file and asking about stack heights. Folders named this way can be read in order, which is more than most project folders manage.
6.2 Export, then assemble
Export the site, then assemble. The GLB carries terrain, water, vegetation, building masses and your edits, and the boxes are added in the receiving tool. The platform overview describes what the file holds. If the receiving team needs a combined file, agree who merges the two and when, since a merged file is harder to update than two separate ones. Name the receiving tool in the handover, because the merge step differs between a BIM tool, a GIS and a game engine. Test the import in the tool that will hold the boxes.
6.3 Who owns which part
Finally, say who owns which part. The site belongs to whoever generated it and keeps the corrections. The block plan belongs to the operating team, the module library to whoever maintains it, and the combined file to the review that needed it. Written down, those four lines prevent most of the confusion that follows a yard model into its second year. A yard is a long-lived asset, and ownership keeps it current. Ownership also decides who pays for the next correction, which is the question that keeps a yard file alive.
Open the GenAnywhere app and start a container yard
7 FAQ
FAQ-1 Does GenAnywhere generate containers?
No. Containers are cargo and equipment, so they are outside the generated content. The platform generates the yard: ground, sheds, gate buildings, boundary context and the land beyond. Boxes come from your own module library and are placed on the exported site downstream. That split keeps the base stable while the stacks change, which is the behaviour a yard actually has.
FAQ-2 How is a container yard built?
In three stages. Generate the site and correct the buildings, agree a block plan with the operator's row and aisle numbers, then place box modules in the receiving tool. Each stage has its own file name and its own owner. Skipping the block plan is the usual cause of a yard that looks tidy and answers nothing, because the arrangement was never agreed before it was drawn.
FAQ-3 Can I set stack heights?
Yes, in the tool that holds the boxes, where height is a transform on the module. The generated scene has no containers and therefore no stack settings. Set heights per block from the operating plan, and record them in block names so a viewer can read the arrangement. Comparing two height assumptions over the same ground is quick, provided the ground is not edited between the two.
FAQ-4 What does the export contain?
A GLB with terrain, water, vegetation, building masses and the building edits you made. It does not contain containers, gantries, reach stackers or trucks. The file opens in 3D, BIM, GIS and game engine tools, where the box library is added. Test the import before a review depends on it, and pass the block plan and module list on with the file.
See how a generated yard moves into a GLB workflow
Content and technical notes
This article was prepared by the GenAnywhere team with AI-assisted drafting and human review.
Product features, formats, and availability change as the platform evolves; refer to the official GenAnywhere website for current details.
For technical questions or corrections, contact support@genanywhere.com.
Last reviewed: 2026-11-13.