
AI 3D generation for site models: where GenAnywhere fits
A practical fit check for planners, designers, and GIS teams
AI 3D generation turns map and satellite data into a rough three-dimensional site context. It helps a team see buildings, ground, roads, and vegetation together before anyone opens a modeling package. GenAnywhere is one product in that category, and this guide explains where it fits, what to check, and when another route makes more sense.

1 Scope the site question before choosing a tool
1.1 Which decision should the site model support?
Start with the decision the model has to serve. A team may be testing a new access road, comparing two building layouts, preparing a stakeholder session, or giving a simulation group a lightweight environment. Each use needs a different area, level of detail, and review format. Write the decision in one sentence and name the people who will use the output. If the sentence keeps growing, the site is probably too broad for one pass.
A useful test is whether a reviewer could explain the decision to someone who has never seen the site. If the explanation needs a long tour of the model, the scope is still too loose.
1.2 What site inputs need to be settled before generation?
Confirm the boundary, imagery date, coordinate system, units, and any drawings or GIS layers the team already trusts. Check permission for every source and leave restricted areas out. Decide whether the review covers one zone or several, and record who approved the scope. A short input note prevents later arguments about what the model was supposed to show. Keep a simple source table with the owner, date, and permission status for each input. When a source is disputed, leave it out of the initial pass and note why.
2 Understand what a generated site model can show
2.1 What appears in an initial site model?
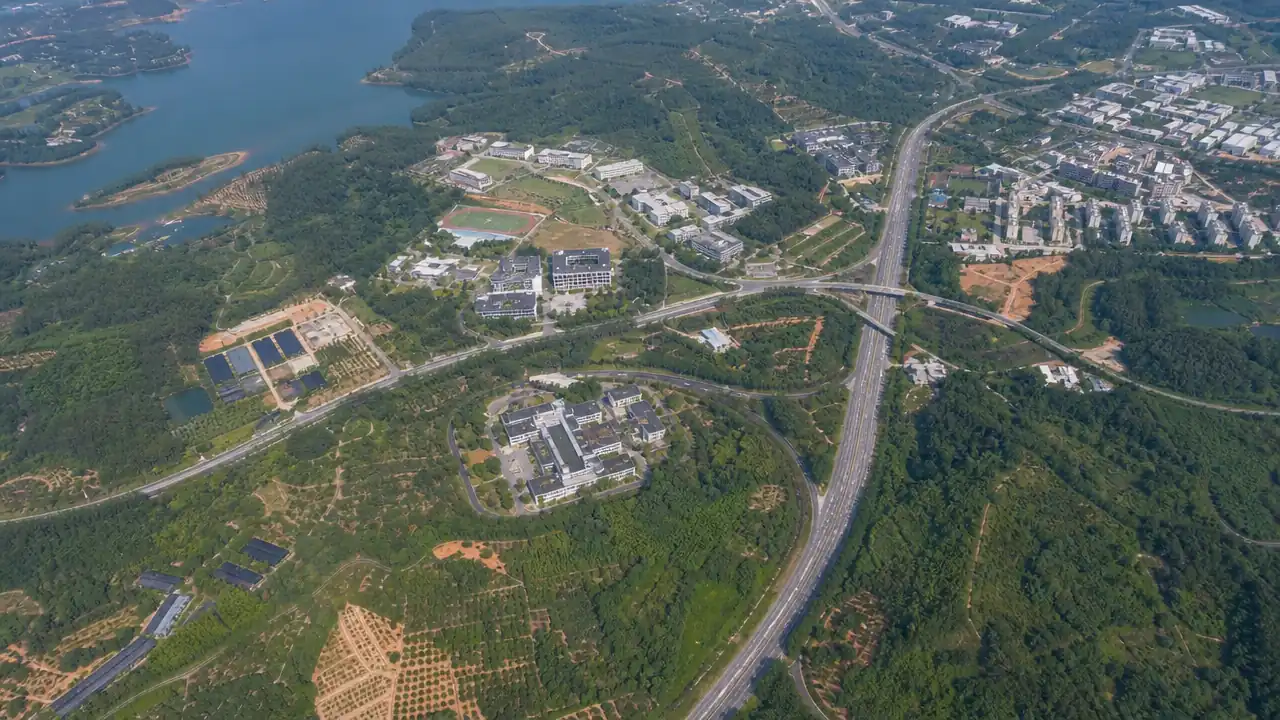
An initial pass usually contains building footprints, estimated heights, simple roof forms, ground relief, roads, water, and vegetation blocks. That is enough to read massing and site relationships, not enough to certify a dimension. Treat the output as a visual working base: useful for orientation, comparison, and conversation, but still in need of human checks. A footprint may also merge a courtyard into the main block, which changes how the building reads from the street. Estimated height is a reading aid, not a measurement. Two buildings that look similar in plan may differ by several floors, and roof equipment can confuse the silhouette.
2.2 Where does GenAnywhere fit the build step?
GenAnywhere lets a user select an area on a map and generate an editable 3D site model from satellite and map data. It identifies building footprints, estimates heights, infers building types, and analyzes surrounding vegetation. Buildings, terrain, water, and vegetation stay in separate layers, so a reviewer can replace a building, move or rotate it, or change its height and type. The model can be previewed before export and saved as a universal GLB for downstream work. This fits early site context, not a measured record of existing conditions.
3 Check the model against the real site
3.1 Which building details should a reviewer check?
Look for missing major structures, overlapping footprints, and heights that change the skyline. Check roof shapes against recent imagery and confirm that additions, canopies, and temporary structures are not presented as permanent. Compare the building type labels with what the site team knows. A wrong type can mislead a later filtering step even when the geometry looks fine. A quick way to check is to open the imagery beside the model and walk the same block in both. Discrepancies stand out faster than they do in a rotating view.
3.2 Which ground and landscape details matter?
On the ground layer, check that roads sit on the surface and that slopes read in the right direction. Confirm that water bodies and drainage channels appear where the site team expects them. Tree cover should not hide a building the review needs, and bare ground should not be confused with a planned surface. Review one layer at a time so a visible error does not mask a quieter one. Seasonal vegetation can also mislead: trees that cover a courtyard in summer may be thin in a winter image, so note the imagery season when it matters.
4 Plan the handoff before export
4.1 Which receiving workflow changes the model requirements?
Ask the receiving team what it will do with the file. A planning group may need a scene for a public meeting. A BIM team may need reference context around a design model. A GIS team may need a site layer for a wider map. A game or simulation team may need clean object names and a light environment.
Format, scale, coordinate handling, and detail all follow from that answer. Object names matter more than most teams expect. A receiver who cannot tell a roof from a canopy will spend the opening meeting fixing labels instead of testing the scene.
4.2 What should travel with the exported file?
Send the boundary, imagery date, edit log, purpose statement, and known gaps. Say whether the file is context, a visualization asset, or a base for more modeling. Name the person who can answer questions about the review. If the receiver uses a different coordinate system, record the conversion step. A one-page note is usually enough, and it saves the next team from guessing.
Ask the receiver to open the file before the handoff meeting and report what failed. A five-minute import test is worth more than a polished export note.
5 State the limits of a generated site model
5.1 When is a survey or site visit still necessary?
Use measured survey or a site visit when the decision depends on current, verifiable conditions. A building may have changed since the imagery date, a use may be unclear, or the team may need a dimension the model cannot supply. Record those gaps instead of filling them with assumptions. The model can frame the question; it cannot sign off on the answer. A good trigger is a decision that would change if a wall moved by half a meter. That level of dependency belongs to measured work, not to a context model.
5.2 Which claims should stay out of a project note?
Avoid calling a generated model a survey deliverable, a construction document, or an approval basis. Do not claim full ownership of third-party data or describe the output as a complete record of the site. Note the imagery date and the checks that were done. If a claim cannot be traced to a source or a reviewer, it does not belong in the note.
The OGC CityGML standard is a useful reference for how detailed a city model can become, and how far a lightweight context model sits from that level. Run the note past the person who owns the data source. If they cannot recognize the claim, rewrite it or remove it.
6 Decide whether GenAnywhere fits your next site
6.1 When is GenAnywhere a reasonable fit?
GenAnywhere fits when a team needs a fast, editable site context for an early decision and can accept estimated geometry. It suits workshops, massing studies, site comparisons, and handoffs that need a clean GLB. It also helps when the team has map coverage but no drone flight or existing 3D base. The workflow overview shows the intended path from area selection to export.
6.2 When should a team choose another route?
Choose measured survey, existing BIM, or a photogrammetry workflow when the decision depends on current dimensions, hidden services, interior conditions, or a formal record. Choose a specialist planning tool when the question is about policy tests, traffic capacity, or statutory analysis. A generated context model is the wrong instrument for those jobs, even when it looks convincing. A split approach can work: generated context for the early discussion, measured work for legal or safety commitments.
6.3 How small should a trial be?
Pick one site with a clear decision and a short review cycle. Use an area large enough to show the relationship between buildings, roads, and terrain, but small enough to check every layer. Invite the receiving team to the review. If the trial answers the decision and the handoff works, expand the area; if not, the team has lost little. Set the success test before generation: which layer must be checked, who signs off, and what would make the team stop. A trial without an exit test tends to expand.
Ready to test a site? Generate a small area in GenAnywhere and review it with the checklist above.
7 FAQ
FAQ-1 Can a generated model replace a topographic survey?
No. A generated site model can show visible buildings, ground shape, roads, water, and vegetation, but it cannot provide measured elevations or hidden conditions. Use it for early context and discussion. Commission a survey when the project needs verifiable dimensions, legal boundaries, or current site conditions. If the question is about a boundary or a level, treat the model as a pointer to where a survey is needed.
FAQ-2 What data does GenAnywhere need to start?
GenAnywhere works from satellite and map data for the selected area. The user chooses the area on a map and the platform builds the editable scene. Before starting, confirm that imagery coverage exists, that the area is permitted for use, and that the team has recorded the imagery date. Restricted or classified sites should stay out of the review.
FAQ-3 Can the model go into BIM or GIS workflows?
The model can be exported as GLB, a general format used in many 3D workflows. The official site lists directions for Unreal Engine, Unity, Blender, Revit, Rhino, SketchUp, ArcGIS Pro, GISBox, and Wings Engine. Supported formats and import behavior vary by workflow, so test the handoff on a small file before committing a project.
FAQ-4 How should a team review a generated site model?
Review one layer at a time: buildings, then terrain, then water and vegetation. Record every accepted and rejected change, along with the reviewer and date. Compare the result with current imagery and any trusted drawings. Finish with a short note on what the model can support and what still needs a site visit. See the GenAnywhere workflow for the generation and export steps.
Content and technical notes
This article was prepared by the GenAnywhere team with AI-assisted drafting and human review.
Product features, formats, and availability change as the platform evolves; refer to the official GenAnywhere website for current details.
For technical questions or corrections, contact support@genanywhere.com.
Last reviewed: 2026-11-05.