
Can GenAnywhere adjust pipeline route and position?
No. A route is a design decision made in an engineering tool; the generated scene supplies the corridor it crosses.
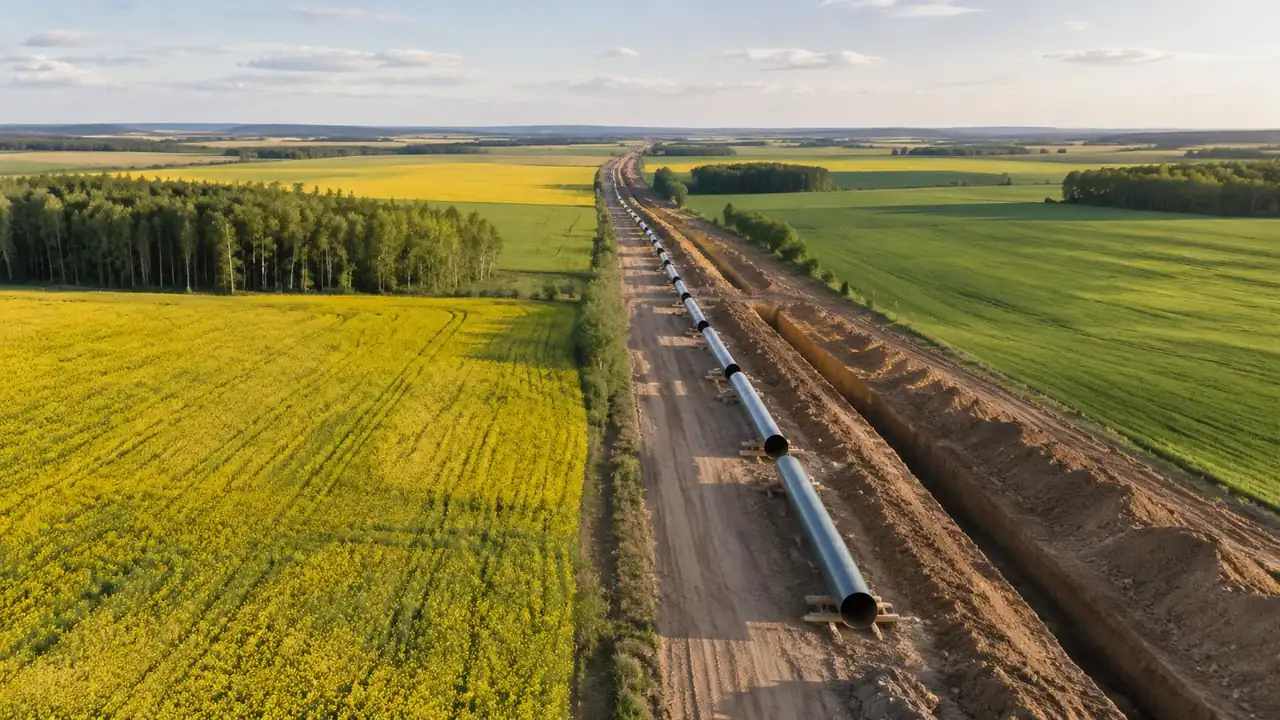
GenAnywhere cannot adjust a pipeline route or its position, because the pipeline is not part of the generated scene. What the scene provides is the corridor: terrain, water crossings, buildings along the alignment and the vegetation over it. A route is designed in a pipeline or civil tool and drawn against that corridor once the site is exported.
1 Short answer
1.1 Route is a design decision
A route follows survey, land access, hydraulic requirements and constructability, and none of those are in a map-derived scene. The platform generates the ground and the buildings; it does not propose an alignment or move one. Teams that expect a route tool inside the scene will spend a session looking for it. Say at the start that the route lives in the design tool and the scene supplies the ground it crosses. That sentence prevents the most common misunderstanding in a corridor review. Put it on the opening slide, where the audience will read it twice.
1.2 What the corridor gives you
The corridor gives you terrain shape, water bodies, the buildings near the alignment and the vegetation cover. Those are the inputs an alignment discussion needs before anyone opens a design tool: where the ground rises, where a river sits, which farm buildings are close enough to matter. Read the corridor in the scene, then take the shortlist into the design tool and draw the line there. The scene stays open while the options are argued, which keeps the argument about the ground. Take a screenshot of the corridor before the design tool opens, so the baseline is not lost.
2 Reading a corridor
2.1 Terrain and water crossings
Crossings are the part of a route that draws attention early, and the scene shows where water sits relative to the ground. A river, a canal or a reservoir appears as part of the generated surface, with banks that follow the source data. That gives a design team a starting view of how many crossings a corridor implies and where they fall. The scene does not measure the crossing, and it does show it in context. Add the water bodies to the meeting notes as a list of constraints rather than as findings.
2.2 Buildings along the alignment
Buildings near a proposed route are generated with footprints, estimated heights and inferred types, and each can be edited. A farm shed, a workshop or a house that sits close to the line is visible before the route is drawn, which is useful when the opening question is how many buildings a corridor passes close to. Heights are estimates, so treat a clearance argument as a drawing question rather than a scene question. Correct the buildings you know and list the rest. A short list of close neighbours is more useful than a warning that heights are approximate.
3 Route options in a downstream tool
3.1 Import the site, draw the line
Export the site and open it in the design tool. The line is then drawn against real ground context rather than against a blank plane, which makes the opening review more productive. Two alignments can be compared over the same terrain without regenerating anything. The scene stays fixed while the options change, and that is the arrangement that keeps a comparison fair. It also means a third option costs one drawing rather than one more export. Keep the export and the drawing in the same project folder, so the pair travels together.
3.2 Comparing two corridors
When two corridors are on the table, export a scene for each and keep the extents similar. A comparison between a wide study and a narrow one will mislead, because the wider scene shows more constraints. Name the files by corridor and date, and record which buildings were corrected in each. The scene will not choose between the options; it will show what each one crosses. That is the question a route selection meeting usually needs to answer before cost enters the discussion.
4 Limits
4.1 No hydraulic, pressure or cover checks
Nothing in the scene computes flow, pressure drop, wall thickness, burial depth or cathodic protection. Those are engineering calculations with their own inputs and their own review. A route drawn on a convincing surface can look settled long before it has been checked. Organisations such as API publish the standards that govern that work, and the model should be presented as context beside them. A line on the ground is not a pipeline design, however well the ground is rendered. Keep the calculation sheets beside the model when both are shown.
4.2 No cadastral or landownership data
The scene does not carry ownership boundaries, easements, wayleaves or land use designations. Those come from the client, the land registry or a legal team, and they decide more routes than terrain does. Mention the gap in the opening slide, because an audience looking at a clean corridor will assume the land question is already answered. It is not, and the scene cannot answer it. Ask for the land information early, since a route that crosses a disputed boundary is a different project.
5 Review practice
5.1 Wide then narrow
Start with the whole corridor in one view, then move to the crossings and the pinch points. The wide view answers how the route relates to the region; the narrow views answer what happens at a river, a road or a cluster of buildings. Reversing the order makes an audience argue about a detail before they understand the setting. Two or three narrow views are usually enough for a session, and they are easier to caption than a dozen. Keep the wide view on screen as a small inset if the software allows it.
5.2 Marking the crossing points
Mark the crossings on a screenshot and number them. A numbered list of crossings is easier to discuss than a continuous line, and it gives the design team a checklist for the work that follows. Add the terrain note for each one, since a crossing on flat ground and a crossing in a valley are different problems. A marked screenshot also works well as a meeting agenda item, because everyone can see which number is being argued about. Keep the numbering stable between meetings, even when a crossing drops out.
6 Getting the corridor into the design tool
6.1 Extent along the corridor
Frame the extent along the corridor, not around a point. A long narrow scene follows the alignment and keeps the ground readable; a square scene around a midpoint cuts the ends off. If the corridor is longer than one scene holds comfortably, split it into segments and name them in order. Segments are easier to review than one stretched scene with unreadable detail at the edges. Note where the segments overlap, so the design team can join them without a gap. Overlap of a few hundred metres is easier to manage than a precise cut.
6.2 Assets the file lacks
The export does not include the pipe, the valves, the pump stations or the construction right of way. List them for the next team with a note on where each belongs. The list also sets expectations for the audience: the scene is the corridor, and the pipeline is a design asset that will arrive later. Write it in the handover rather than in an email nobody keeps. A named owner for each asset keeps the list from drifting.
6.3 Testing in the target tool
Open the file in the tool that will hold the design before the review depends on it. Check the scale, the orientation and whether the ground arrives as a surface the design tool can use. Import behaviour differs between applications, and a corridor at the wrong scale produces a route that looks wrong for reasons nobody can see. The platform overview describes the export path; the test is what confirms it. Keep a note of what the import produced. If the ground arrives as a mesh with no layers, say so, because the team may need to separate it before drawing.
Open the GenAnywhere app and frame a pipeline corridor
7 FAQ
FAQ-1 Can I draw a pipeline in GenAnywhere?
No. The platform generates the site around the corridor, and the pipeline itself is a design asset created in an engineering tool. You can read the terrain, the water and the buildings in the scene, then export and draw the line against that ground. Keeping the route in the design tool means it can be revised and checked without regenerating the site. That saves time on every option after the opening one.
FAQ-2 Can I change the route position?
Not in the scene, because there is no route object to move. Position is decided in the design tool, where the alignment can be edited against the exported ground and checked against engineering criteria. The scene supplies the reference, and the design tool supplies the geometry. That division is what lets a team try three alignments in a day without rebuilding context each time. It also keeps the corridor evidence separate from the design revision.
FAQ-3 Does the scene show a crossing clearly?
It shows the water and the ground at the crossing in context, which is enough to discuss where a crossing falls and what surrounds it. It does not measure the crossing, check the cover or assess the banks. For an opening conversation that is useful; for the design of the crossing itself, use survey data and the engineering tool. Keep the two views separate in the meeting so neither is mistaken for the other.
FAQ-4 What is in the export?
Terrain, buildings, vegetation and any edits, in a GLB that opens in 3D, BIM, GIS and game engine workflows. The pipeline, valves and pump stations are not included. Test the file in the receiving tool and add the design geometry there. Note the extent and the edits in the handover so the next team starts from the same corridor view, and so a later export can be compared with this one.
See how a corridor scene moves into a GLB workflow
Content and technical notes
This article was prepared by the GenAnywhere team with AI-assisted drafting and human review.
Product features, formats, and availability change as the platform evolves; refer to the official GenAnywhere website for current details.
For technical questions or corrections, contact support@genanywhere.com.
Last reviewed: 2026-11-13.