
Coastal flood barriers: what GenAnywhere should show early
A shoreline method for comparing alignments before the engineering begins
Coastal flood barriers are usually discussed as engineering objects: walls, gates, dunes, and pumps. The decisions that matter most, though, come earlier, when a town has to choose where the barrier line runs and what it does to the waterfront. A shared site scene helps a council, a port, and a neighborhood look at the same shoreline before anyone commits to a structure.
1 Start with the shoreline profile
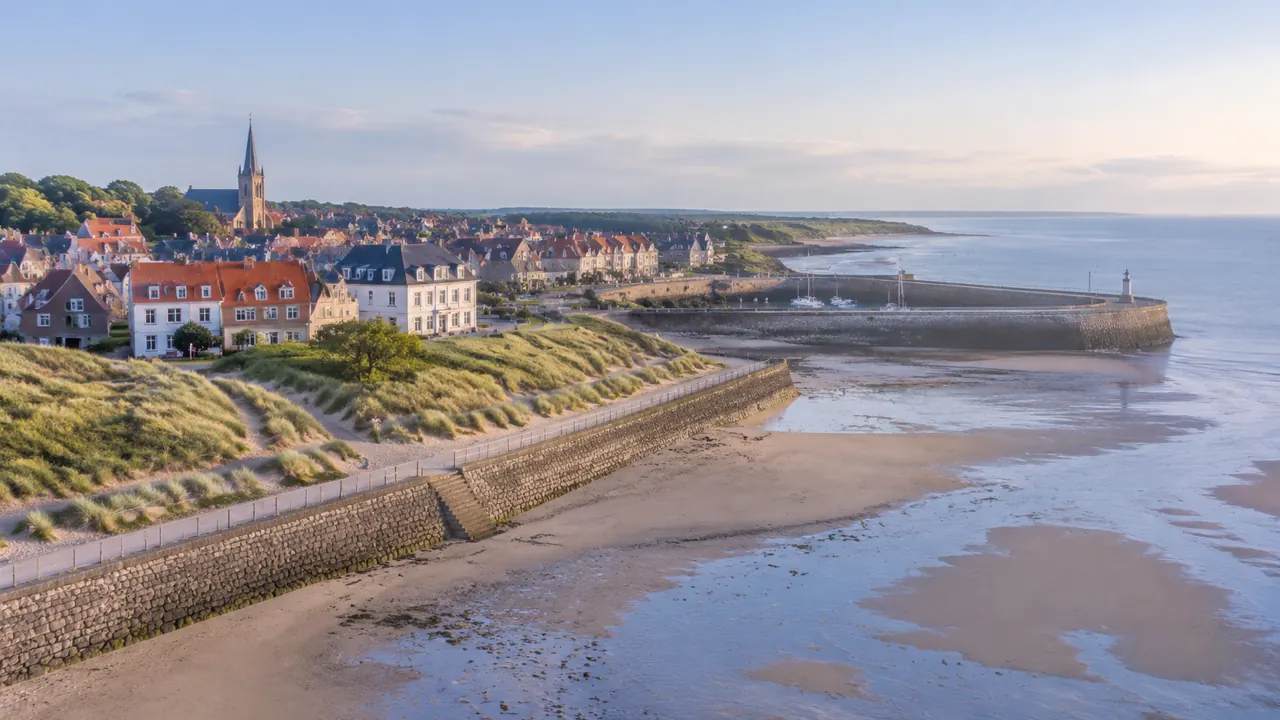
The shore is not a single line. It is a band of beach, wall, road, garden, and harbor edge that changes with the tide and the season. Before a barrier can be placed, the team needs to see that band as it is today, including the places where people already cross it.
1.1 Read the transition from town to water
Walk the waterfront and note where buildings meet the shore, where roads run parallel to it, and where public paths reach the water. Those transitions set the options for a barrier. A continuous wall may work along a road, but it will cut a beach or a harbor front unless the design opens a gap. The model should show these transitions clearly, because a barrier that ignores them will meet resistance at the public meeting.
1.2 Mark the places water already reaches
Look for the marks of past flooding: stained walls, raised doorways, gravel on the road, and drains that back up. Ask residents and maintenance crews where water arrives during a storm. Plot those points on the scene and compare them with the mapped flood zones. The pattern often shows that the weak points sit away from the open coast, at a harbor mouth or a low road.
2 Compare barrier alignments
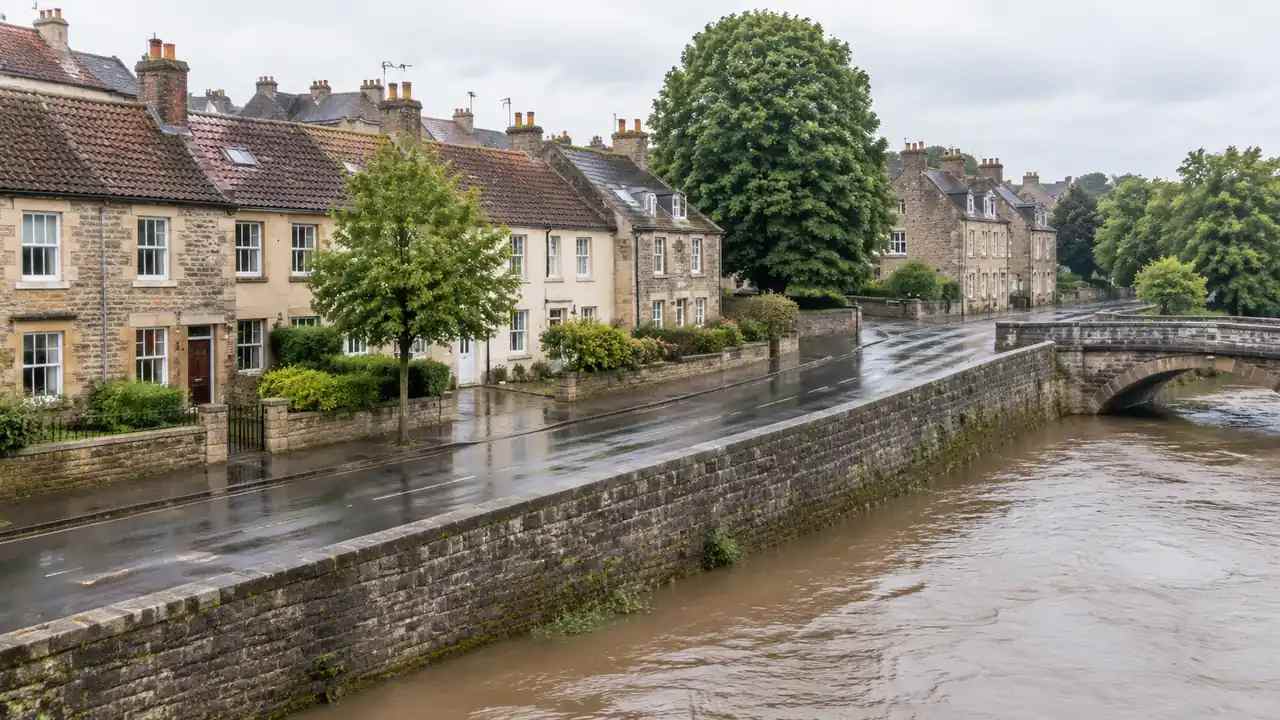
The alignment is the main decision. A line close to the water protects more land but costs more and takes the waterfront. A line set back gives the shore room to move but leaves some properties outside the defense. The team needs to see both on the same ground.
2.1 Test a setback line
Draw a barrier in GenAnywhere set back from the shore and look at what it protects and what it leaves out. A setback can follow a road, a park edge, or a property line, and each choice changes the number of buildings inside the defended area. It also creates space for a dune, a wetland, or a public path between the town and the water. Test two or three setback lines and compare the trade-offs in the same view.
2.2 Test a hard edge
Draw a wall or a raised promenade at the water's edge and look at the same questions. A hard edge can protect a dense historic center where there is no room to retreat. It also changes the view, the access, and the character of the waterfront. Where the wall meets a beach or a harbor, the design needs a gate, a ramp, or a change in level. The model should show those junctions, not hide them behind a smooth line.
GenAnywhere can build the base scene from satellite and map data. Select the shoreline, and the platform generates an editable model with buildings, terrain, water, and vegetation. The scene is useful for comparing alignments and for showing where the barrier meets streets and paths. It does not model wave loading, scour, or structural performance, and those questions belong to the coastal engineer.
3 Make public access part of the barrier
A barrier that closes the waterfront will struggle to win support, even when it reduces risk. The better options treat access as part of the design. A promenade can be a wall, a path can be a ramp, and a gate can be a piece of public space when it is open.
3.1 Design the promenade as a working edge
A raised promenade can carry a barrier wall on its seaward side and a public path on its landward side. The height difference is small enough for steps and ramps, and the wall becomes a seating edge for much of the year. Test the section in GenAnywhere at a few points along the shore, because the ground and the buildings change. A section that works in front of a park may fail in front of a row of shops.
3.2 Keep maintenance access open
Barriers need inspection, repair, and occasional closure. Gates, hatches, and pump stations require vehicle access and a place to work. If those needs are hidden until the end, the design loses space it cannot recover. Mark the access points on the scene and check that a maintenance vehicle can reach each one without crossing a pedestrian zone. The same access can serve emergency services during a storm.
4 Coordinate utilities and crossings
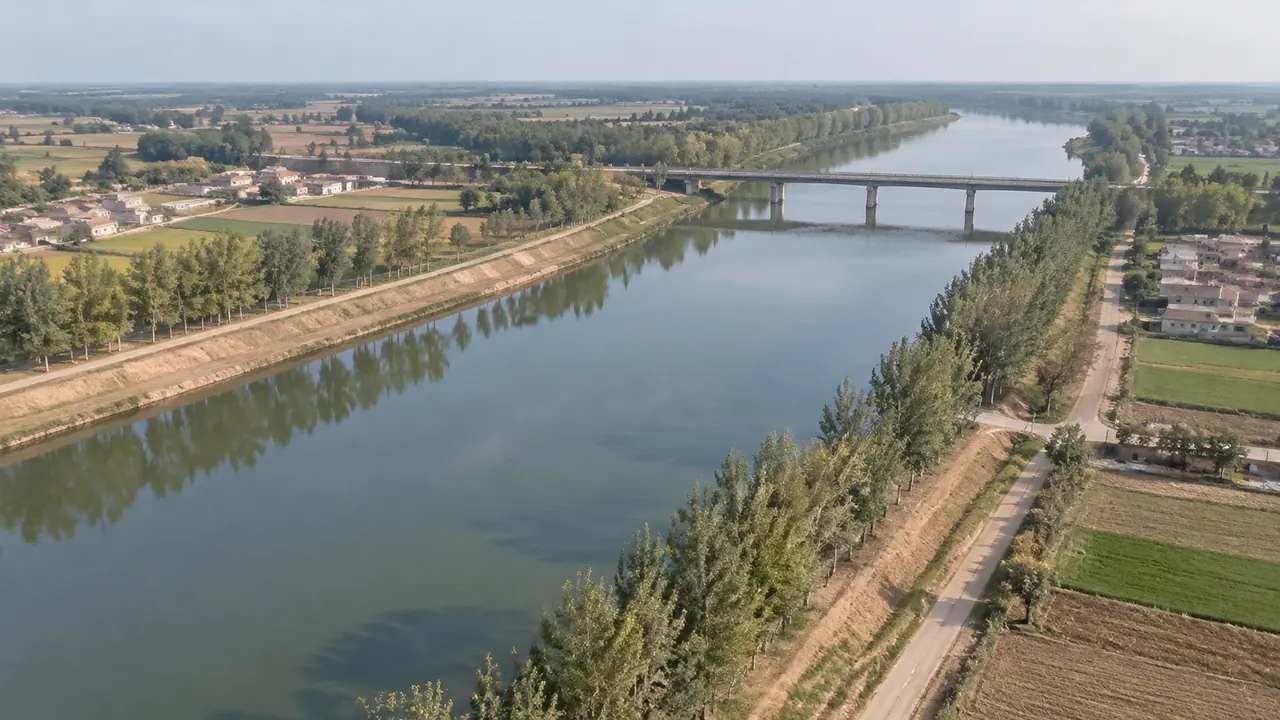
The shoreline carries more than buildings. Water mains, drains, power, and telecom lines cross the barrier line, and each crossing is a potential weak point. The design has to treat those crossings as part of the system.
4.1 Find the buried lines
Ask the utility owners for their records and plot the main lines on the scene. Even a rough alignment shows where a barrier will need a sleeve, a chamber, or a diversion. The crossings that are easy to miss are the small ones: a garden drain, a private cable, a storm outfall. Each needs a detail, and each detail costs money. Finding them early keeps the estimate honest.
4.2 Plan the closure points
A barrier is no stronger than its closures. Gates at roads, pedestrian openings, and boat slips have to be closed before a storm and opened again afterward. Mark each closure on the plan and note who operates it and where the equipment is stored. A closure that needs two people and a vehicle may fail when the crew is busy elsewhere. The model can show the locations, and the operations plan can test whether they are practical.
5 Stage construction without closing the town
A coastal barrier is built along a working waterfront, often in short weather windows. The construction sequence matters as much as the final design, because a closed road or a blocked harbor can hurt local business for a season.
5.1 Phase by reach
Divide the shoreline into reaches with natural boundaries, such as a harbor mouth, a headland, or a major road. Each reach can be built and opened before the next one starts. That approach keeps the town accessible and lets the team learn from the earlier work. Show the reaches on the same scene as the barrier line so the public can see what happens when.
5.2 Keep a temporary route
When a promenade or a road closes, people need another way along the shore. A temporary path through a park or a signed detour can keep the waterfront in use. Mark the temporary route and check that it has the width and the surface for the expected traffic. A route that works for pedestrians may fail for cyclists or emergency vehicles, so test it against the actual users.
6 Present the options to a mixed audience
Coastal projects attract strong opinions, and the review often includes residents, businesses, port operators, and several public agencies. A clear visual comparison does more than a long report, provided the views are consistent and the limits are stated.
6.1 Show the same view for each option
Use one viewpoint for every alignment and one set of colors for the defended area. When the views change between options, the audience starts comparing the images rather than the plans. Keep the base scene fixed and label each option with the same information: length of barrier, land inside the line, public access points, and the main closures. That layout lets people see the trade-offs quickly.
6.2 Export for engineers and landscape teams
Preview the scene, then export a GLB for the teams that will develop the design. The file can move into Revit, Rhino, SketchUp, Blender, ArcGIS Pro, GISBox, Unity, Unreal Engine, or Wings Engine. Test the export in the receiving tool and check the scale at a known point. The GenAnywhere app is where the scene is built, and the workflow page shows how the export fits into those tools. For data exchange across agencies, the Open Geospatial Consortium publishes standards that many coastal programs already use.
6.3 Be clear about what the model cannot decide
The scene can show alignment, land use, access, and the relationship between the barrier and the town. It cannot show wave overtopping, sediment movement, or the performance of a wall under load. Say that plainly in the review, and put the engineering questions in a separate list. A model that is honest about its limits is more useful than one that pretends to answer every question.
7 FAQ
FAQ-1 Where should a coastal barrier study start?
Start with the shoreline as it is today: the beach, the wall, the roads, the harbor edge, and the places where water has already arrived. Plot those features on one scene and compare them with the mapped flood zones. That base shows where a barrier can run and where it will meet a beach, a street, or a building. That order makes the alignment comparison more useful. Starting with a wall section usually produces a line that ignores the town.
FAQ-2 Can a site model show flood risk?
A site model can show terrain, water, buildings, and the areas a team marks as flood-prone, but it does not calculate risk or certify a flood zone. Those findings come from hydraulic studies and official mapping. Use the scene to place the findings and to test how an alignment responds to them. Keep the source studies with the scene so the assumptions stay visible. The model supports the discussion; it does not replace the analysis.
FAQ-3 How many alignments should a town compare?
Two or three alignments are usually enough for a public review: one close to the water, one set back, and one hybrid that combines a wall in the dense center with a setback elsewhere. Each should be drawn on the same base and described with the same measures. More options tend to split the discussion without adding information. If a fourth alignment is proposed, ask which question it answers that the others do not.
FAQ-4 What should the review package include?
Include one base scene, the alignments drawn on it, the defended area for each option, the public access points, and the main closure locations. Add a short note on what the model does not cover, such as wave loading and structural design. Keep the images at the same scale and viewpoint so the comparison is fair. A package of this size can be reviewed in one meeting and still give the engineers a clear starting point.
Content and technical notes
This article was prepared by the GenAnywhere team with AI-assisted drafting and human review.
Product features, formats, and availability change as the platform evolves; refer to the official GenAnywhere website for current details.
For technical questions or corrections, contact support@genanywhere.com.
Last reviewed: 2026-11-18.