
Rail crossing site options: three terrain approaches, GenAnywhere
How planners compare an at-grade crossing, an overpass, and an underpass
Terrain decides more about a rail crossing than any other single factor. A flat field, a shallow rise, and a river bank each push the design toward a different relationship between road and track. Comparing those relationships early, before a consultant is hired, keeps a project from chasing an option the ground will not support.
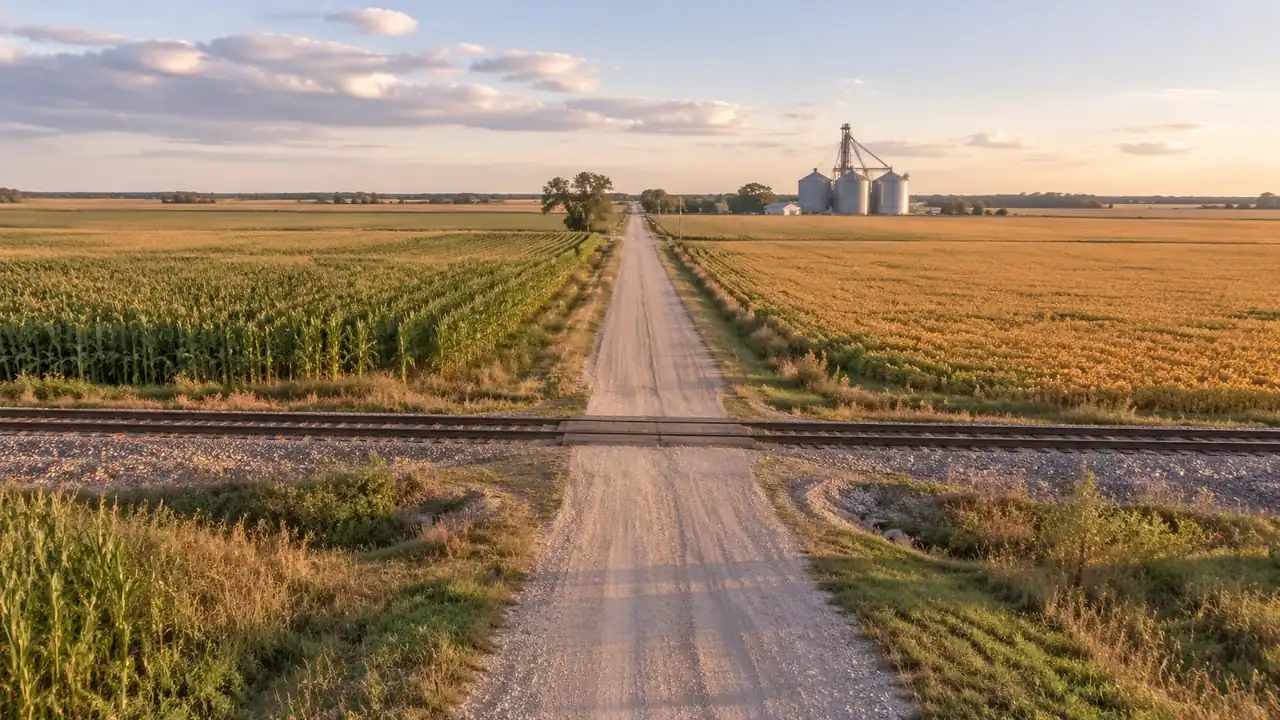
1 Why terrain decides the crossing
A crossing is a negotiation between two lines that want different grades. Rail needs long, gentle changes in elevation, while a road can climb more steeply but still needs a usable approach for trucks and buses. The ground between them sets the price of that negotiation.
1.1 The three basic relationships
The road can meet the track at the same level, pass above it on a bridge, or pass below it in a cut. Each relationship changes the length of the approach, the amount of earthwork, and the land taken from adjacent parcels. Most early debates are really about which of these three shapes fits the site.
The order matters. A team that starts with a preferred structure will spend the meeting defending it, while a team that starts with the ground will test all three before choosing. A terrain model supports the second approach.
1.2 What a map view reveals early
A terrain model shows where the ground already rises or falls enough to help one option. It also shows the buildings, creeks, and roads that would be disturbed by a long approach. That is usually enough to remove one option from the shortlist before any survey work begins.
2 Option one: at-grade on flat ground
An at-grade crossing is the simplest relationship to draw and often the hardest to make safe. The road and track share a surface, so every approach, sight line, and drainage path has to work together.
2.1 Fitting road and track in one plane
Flat ground makes the geometry easy, but it offers little room to hide a bad angle. A road that meets the track at a shallow skew creates a long, awkward crossing, and a nearby intersection can leave a vehicle stranded on the track. The model helps spot those conflicts in plan view before they become a design argument.
Check the crossing from a driver's height as well. A view that looks clean from above can be confusing at eye level, especially when a side road meets the approach at an angle. Simple eye-level views catch that difference early.
2.2 Drainage and sight lines
Water tends to collect where a road meets a rail bed, especially when the track sits on a slight embankment. A terrain view can show the low corner where a culvert or ditch will be needed. It can also show a tree line or a building that would block a driver's view down the track.
At-grade crossings also raise questions about queuing. A road that backs up toward the track during a shift change is a different problem from one that carries a few cars an hour. Traffic counts belong to the traffic engineer, but the model shows where the queue would form.
3 Option two: grade separation over the track
Lifting the road over the track removes the conflict at the crossing, then moves the problem to the approaches. The bridge itself may be short; the ramps that reach it can run for hundreds of feet.
3.1 Embankment and bridge length
A model makes the length of those ramps visible. It shows how much fill would be needed, which properties would lose frontage, and whether the approach would cross a side street or a drainage way. A short bridge can still require a large footprint once the approaches are counted.
3.2 Access and adjacent properties
An overpass can cut a parcel in two or leave a business without a usable driveway. Looking at the surrounding buildings and roads at the same time helps the team see those effects. It also shows whether an alternative alignment would reduce the damage.
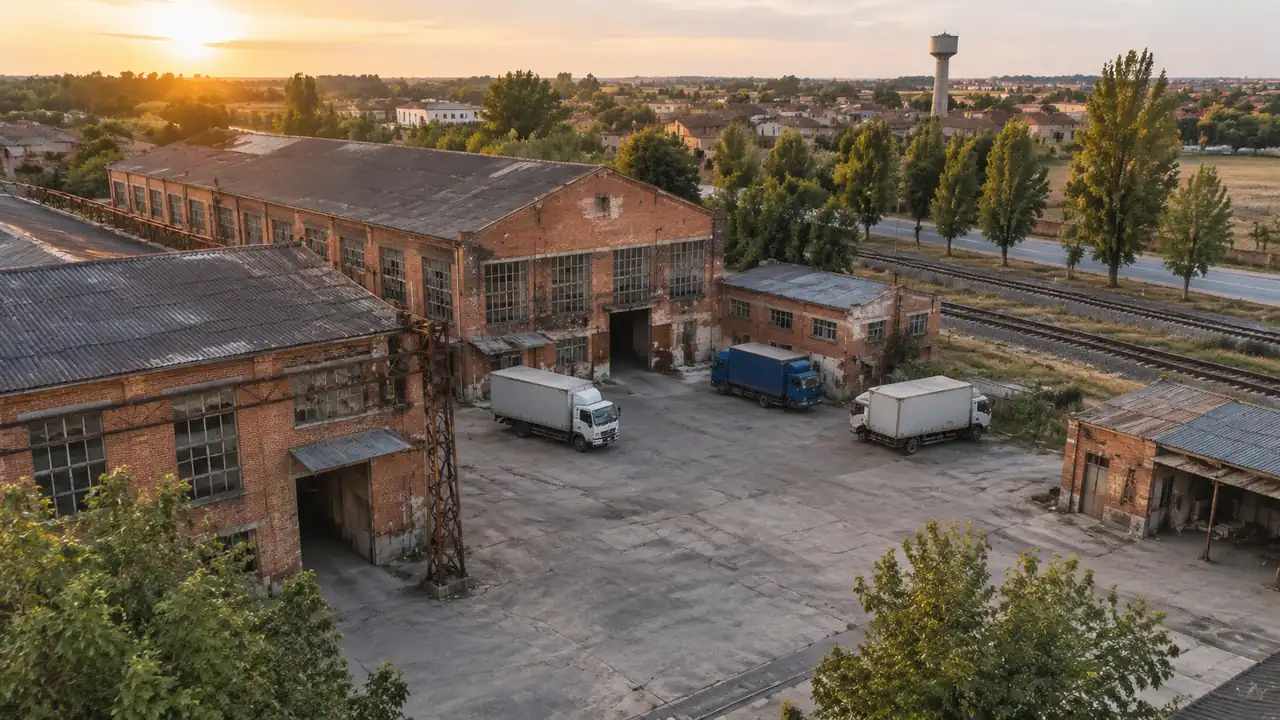
4 Option three: underpass through a cut
An underpass lowers the road beneath the track. It can be the better fit when the rail line already sits on fill or when the surrounding land drops away. It also introduces water and clearance questions that the other options do not have.
4.1 Depth, water, and approach grades
The road has to drop far enough to clear the structure, then climb back to grade. In flat or wet ground, that low point becomes a sump, and pumping or drainage becomes part of the design. A terrain model shows how deep the cut would go and where water would need to leave.
It also shows whether the approaches would cut into a hillside or sit on fill. A short underpass with long, gentle approaches can take more land than a bridge, even though the structure itself is smaller. The model makes that trade visible.
4.2 Construction footprint
An underpass disturbs a narrow band of land but a deep one. The model helps estimate how much room the work area would need and whether adjacent buildings or utilities sit too close. It also shows how the cut would look from the road and from nearby properties.
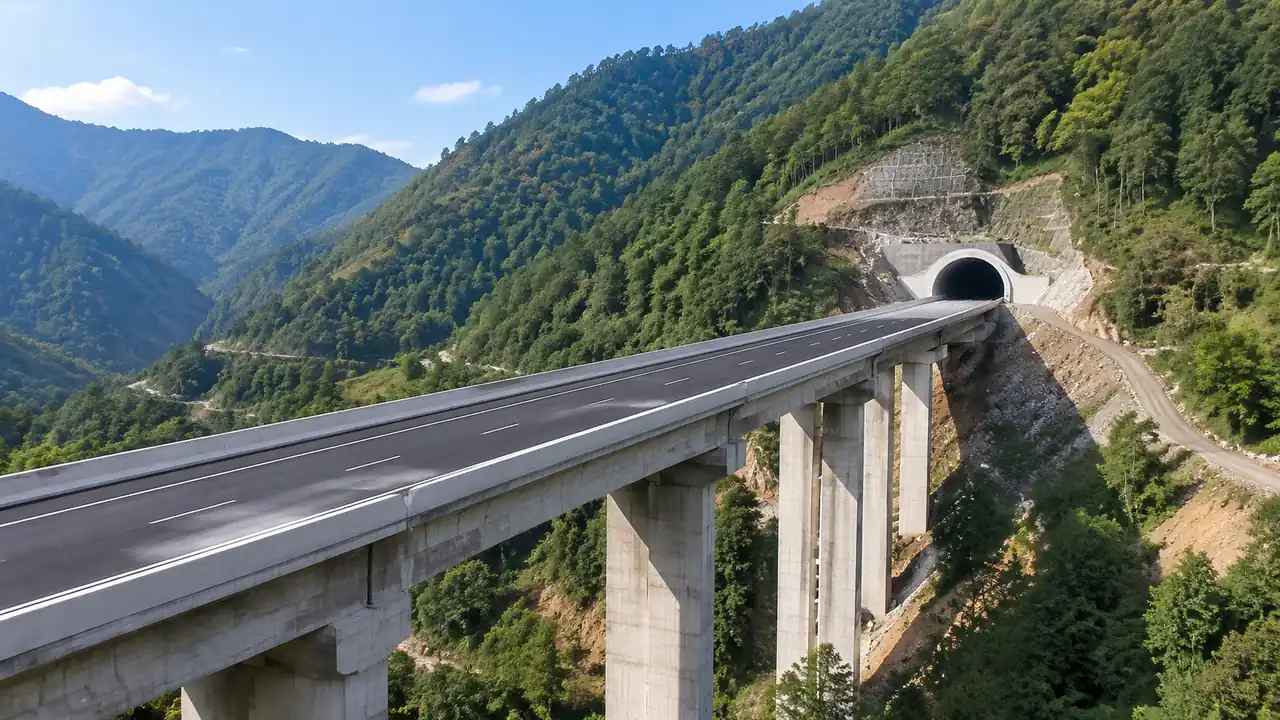
5 Comparing the options in one model
A fair comparison needs the same base scene for all three options. Otherwise the discussion drifts toward whichever drawing looks more finished.
5.1 Building the base scene in GenAnywhere
GenAnywhere builds an editable 3D site model from an area selected on a map, using satellite and map data. It identifies building footprints, estimates heights, infers building types, and reads surrounding vegetation. Terrain, water, buildings, and vegetation sit in separate layers, so a team can hide what it does not need and focus on the crossing corridor.
The model can be previewed in the browser and exported as GLB for 3D, BIM, GIS, or game engine workflows. A planner can use it to make a simple view from the road, a view along the track, and an overhead view. The model is a planning aid, not a survey product, and it does not carry survey coordinates.
5.2 A fair side-by-side
Use the same camera positions and the same level of detail for each option. If the overpass gets a rendered view and the underpass gets a sketch, the meeting will follow the render. Consistency is what makes the comparison useful.
It also helps to show the existing condition beside each option. People react differently when they can see what the crossing looks like today. A before-and-after pair does more work than a polished image on its own.
Keep the labels simple and consistent. Option A, Option B, and Option C are easier to follow than three different names invented by three different presenters. The goal is a decision, not a branding exercise.
6 Choosing what to study next
6.1 When a simple comparison is enough
A simple comparison is enough for an early alternatives screening, a grant application narrative, or a conversation with affected property owners. It gives the team a shared vocabulary for the trade-offs before the engineering scope is written.
GenAnywhere fits that stage because the scene is quick to assemble and the layers are easy to explain. A planner can focus on the crossing corridor and ignore the rest of the map. The tool is less useful once the question turns to structural design or rail operations.
A county or city can also use the model to brief its own public works staff before a formal review begins. That early briefing often reveals a maintenance concern, such as a drainage ditch that already floods, which the applicant has not considered.
6.2 What specialists must confirm
A rail engineer must confirm track geometry, clearance, and the effect of any change on the operating railroad. A traffic engineer must confirm queuing, signal timing, and pedestrian safety. A hydrologist must confirm how the new embankment or cut changes drainage.
The Federal Railroad Administration publishes crossing safety and data resources that help a planning team frame those questions. The model can organize the site, but it cannot replace the studies that follow.
6.3 A next step
Pick one crossing and build a model of the quarter mile on each side. Open GenAnywhere, select the area, and use the export workflow to prepare a file for the next alternatives meeting.
7 FAQ
FAQ-1 Does GenAnywhere design rail crossings?
No. It builds a site model for comparison and briefing, not an engineering design. Track geometry, bridge structures, drainage, and safety treatments require licensed professionals and the operating railroad's review. Use the model to frame the alternatives, then hand the corridor to the design team and its own safety standards.
FAQ-2 Can the model show track alignment?
The model shows the physical scene around a site, including terrain, buildings, water, and vegetation. A track centerline can be added as a reference in a 3D or GIS tool after export. Do not treat the visible rail bed in the imagery as a surveyed alignment or a legal boundary.
FAQ-3 Which option is usually cheaper?
There is no general answer. An at-grade crossing avoids a structure but may need signals and closures. An overpass needs ramps and right of way, while an underpass brings drainage and clearance costs. The balance depends on terrain, traffic, utilities, and property, so compare the options on the actual site.
FAQ-4 Can I export the comparison for a meeting?
Yes. The platform exports a GLB file that can be opened in common 3D, BIM, GIS, and game engine tools. Teams use those files to prepare views, short animations, or stills for a public meeting. Check the current export options before promising a specific format to a partner or a board.
Content and technical notes
This article was prepared by the GenAnywhere team with AI-assisted drafting and human review.
Product features, formats, and availability change as the platform evolves; refer to the official GenAnywhere website for current details.
For technical questions or corrections, contact support@genanywhere.com.
Last reviewed: 2026-11-07.