
Railway track layers: how GenAnywhere shows them
Buildings, terrain and vegetation can be switched on and off separately; the track sits above them as an overlay from the design file.
There is no track layer in GenAnywhere, because the platform does not generate permanent way. What it does generate are three layers you can preview and manage separately: buildings, terrain and vegetation. A rail review uses those three to read the ground along a corridor, while the alignment and the track geometry arrive from the design side and sit above them.
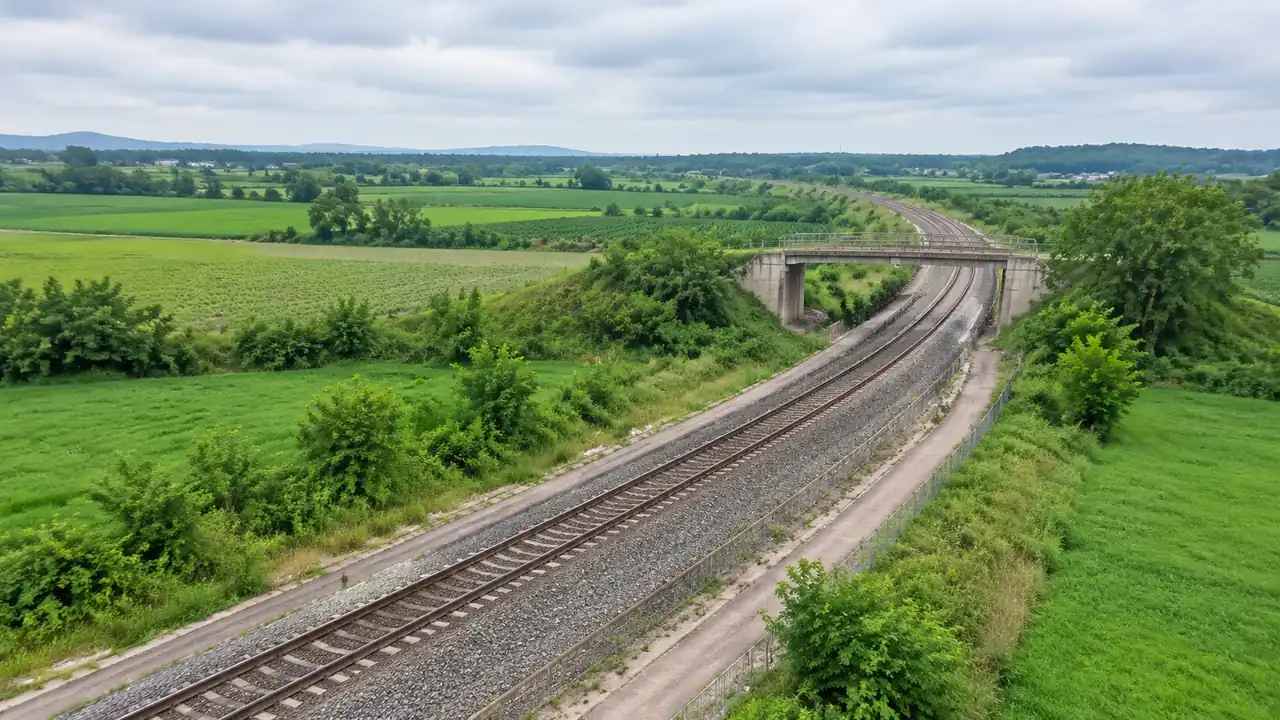
1 Three layers, and no track layer
1.1 What each layer holds
The buildings layer carries every volume with a footprint in the map data, from sheds and depots to houses along the line. The terrain layer carries the ground: slopes, cuttings and embankments as the data describes them, plus water bodies. The vegetation layer carries the trees, hedges and woodland that the analysis picks up around the corridor. Each can be shown or hidden on its own, which turns the layer controls into a way of asking one question at a time rather than a rendering option.
1.2 Why track is not one of them
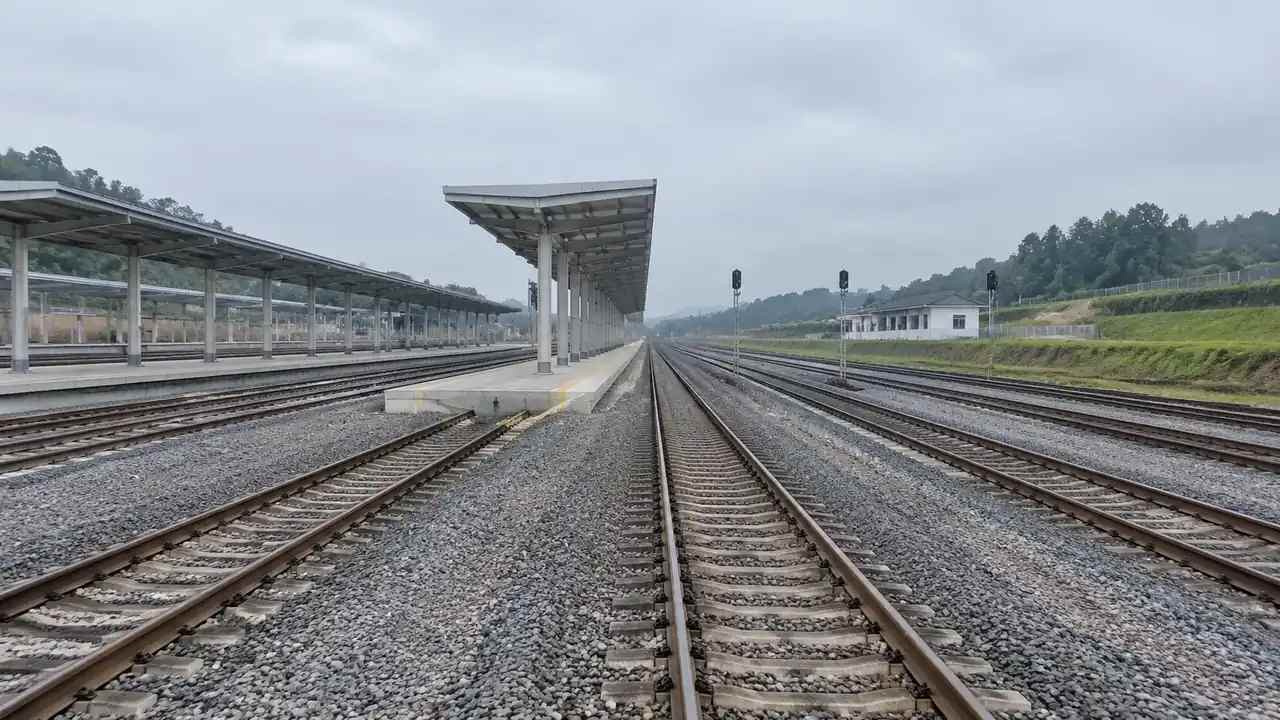
Track belongs to a design model, so it cannot be a layer of a generated site. Rails, sleepers, ballast, overhead line and signals are equipment and permanent way, supplied from the alignment designer or a component library. Once imported into the same scene, they read as geometry floating above the ground rather than as a switchable part of it. That distinction is practical: hiding a layer changes what the site model shows, while hiding an overlay changes what your own design file contributes. Mixing the two in conversation is how a review ends up blaming the site model for an alignment it never held.
2 Reading ground under a corridor
2.1 Terrain layer on its own
Switch the other two layers off and the corridor becomes a landform. You see where the ground falls away from the formation, where a slope would need a retaining structure, and how a route threads between two hills without any buildings to distract the eye. On a corridor with an existing cutting, the terrain shows the shape the data holds, which is often enough to explain why a section looks the way it does. This is the view to use when the argument is about land, drainage direction or the width of a shelf beside the line.
2.2 Vegetation layer as a constraint
Lineside vegetation is a constraint in its own right, and the vegetation layer makes it visible without the buildings competing for attention. Woodland close to the formation, a hedge along a boundary, a stand of trees at a road crossing: these are the features that decide where access is possible and where sight lines are limited. Hiding the buildings makes the pattern easier to read. Keep the vegetation visible when the review concerns the corridor edge, and hide it when the review concerns the ground beneath. Seasonal difference is worth remembering too, because a capture taken in high summer will show fuller growth than a winter walk would find.
3 Working with an overlay on top
3.1 Keeping the ground visible under the track
When the alignment is imported, the temptation is to show everything at once. A cleaner approach is to keep vegetation off, buildings on and the terrain on, so the track reads against bare ground with the built context behind it. That combination shows whether the alignment sits on the ground or floats above it, which is the visual check people miss when a dense scene hides the contact line. Change one layer at a time and the cause of any oddity becomes obvious.
3.2 Buildings for stations and depots
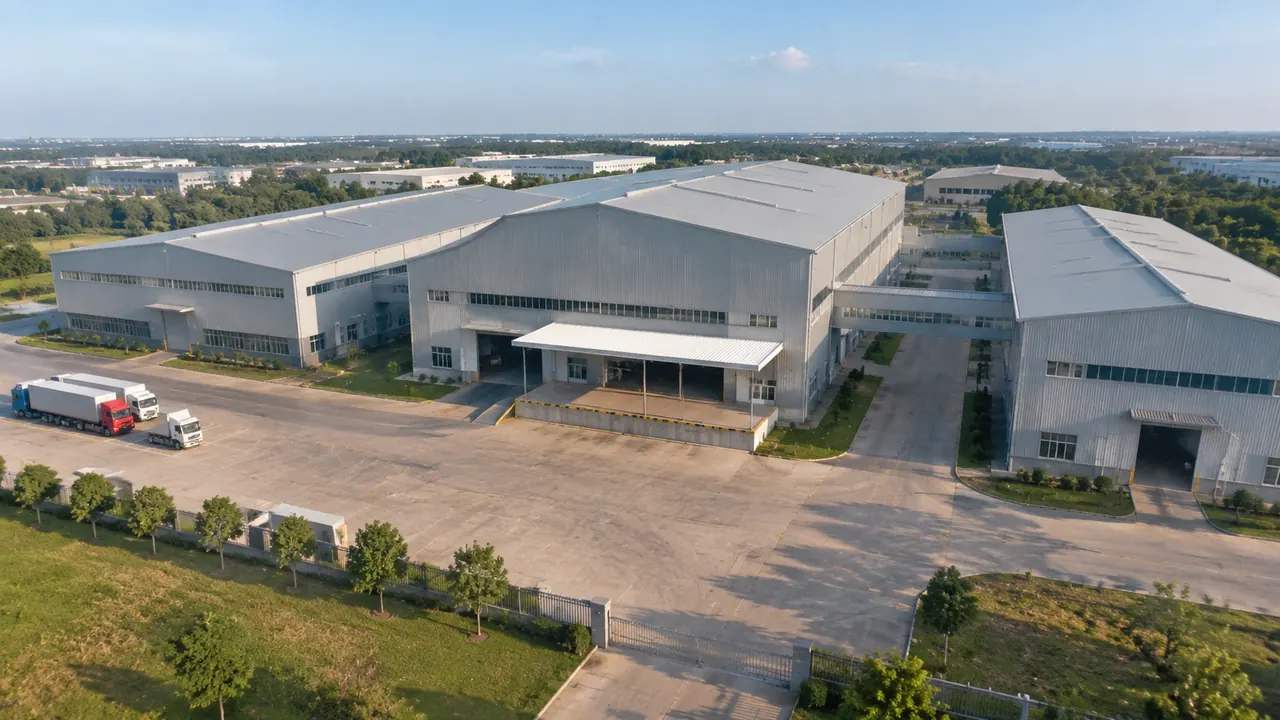
The buildings layer does most of the work at a station or a depot, where the question is usually about sheds, platforms and access rather than open land. Volumes can be replaced, moved, rotated and adjusted in height, so a depot layout can be tested by shifting a shed and seeing what the yard looks like afterwards. Types are inferred, so a workshop may arrive labelled as a warehouse. Correct the few that matter to the argument and leave the rest as context.
4 Layer states in a review
4.1 One state per question
Decide which layer state answers each question before the session: terrain alone for the landform, buildings and ground for the built context, all three for the setting as it exists. Moving between those states during a review is faster than rebuilding the scene, and it keeps the audience on the question rather than on the software. Write the sequence on the agenda. A review that wanders through layer combinations without a plan tends to end with three screenshots nobody can compare.
4.2 Captioning the state
A screenshot with the buildings hidden looks like open countryside to anyone who joins the meeting late. Label each image with the layers that were active, the viewpoint and the date, and the picture keeps its meaning after it leaves the room. This takes ten seconds per image and prevents the most common misunderstanding in a layer-based review. Where the image is going into a report, put the layer state in the caption rather than in a footnote.
5 Limits of a layer view
5.1 No asset-level control
The layers are coarse. You can hide all buildings or all vegetation, not the individual elements inside them, and there is no hierarchy of permanent way assets to toggle. A review that needs to isolate a signal, a bridge or a single track circuit will not get that from the scene. Plan those views in the design tool, where the elements exist as objects. The scene answers questions about ground and setting, and the design tool answers questions about the railway. Saying that once at the start saves a long detour into what the platform ought to do.
5.2 One imagery date behind all three
All three layers come from the same capture, so they share its date. A line commissioned after that date will be missing from the ground and absent from the vegetation, and the buildings will show whatever stood there before. Check the date before the review and say it once, clearly, rather than repeating it per slide. Where a layer looks wrong, the date is the likely reason. Organisations such as the OGC publish material on how geospatial data is dated and described.
Open the GenAnywhere app and read a corridor in layers
6 Handover
6.1 A layer recipe in the note
Record which layer states were used for the images that matter, so the next team can reproduce them without guessing. A short list is enough: buildings and terrain, vegetation off, viewpoint from the north. That recipe is more useful than a folder of screenshots on its own, because it lets someone regenerate a comparable view after the design has moved. The platform overview lists the content each layer holds.
6.2 Export what the layers show
The GLB carries the site as a whole rather than a set of switches. If the review depended on a particular layer state, say so in the handover, because the receiving tool will show everything the file contains. Teams importing the export often hide elements themselves to reach the same view. Naming the state saves them the trial and error, and it keeps the exported file and the screenshots describing the same thing. Where the file will be opened by a team that has never seen the review, a two-line note on what is visible from which angle is worth more than another image.
6.3 Keep the comparison honest
If two options were reviewed, keep the layer state and the camera position identical between them. Changing the layers between screenshots introduces a difference that looks like a design change and is not. Store the pairs together with a short caption for each, and note the imagery date once for the set. The comparison then stands on the design difference alone, which is what the audience was asked to judge.
7 FAQ
FAQ-1 Are there track layers in the model?
No. The layers cover buildings, terrain and vegetation. Track, ballast, overhead line and signalling come from a design model and are overlaid, so they are not part of the generated site and cannot be switched on or off with the platform's layer controls. The scene gives the corridor its ground; the railway arrives from the alignment side of the workflow.
FAQ-2 Can I hide vegetation to see the alignment better?
Yes, and it is often the right move. Hiding vegetation exposes the ground along the corridor, which makes the contact between an imported alignment and the terrain easier to judge. Keep the buildings visible if the review also concerns sheds or stations, or hide them too when the landform is the subject. Caption the image with the layer state so the view can be read later.
FAQ-3 Do the layers export as separate files?
No. The export is a single GLB containing the site: terrain, water, vegetation and the buildings you kept or edited. Layers are a preview and management feature rather than an export format. Receiving tools can hide parts of the scene themselves if they need a comparable view. If a specific layer state matters to the handover, describe it in the note that goes with the file.
FAQ-4 Does hiding a layer change the file?
No. Layer visibility is a way of looking at the scene during a review, not a setting that alters what the model contains. Hiding the buildings does not delete them from the export, and showing the terrain on its own does not produce a reduced file. If the receiving team needs a reduced scene, they can hide or remove elements in their own tool after import.
See how a layered corridor view becomes a GLB
Content and technical notes
This article was prepared by the GenAnywhere team with AI-assisted drafting and human review.
Product features, formats, and availability change as the platform evolves; refer to the official GenAnywhere website for current details.
For technical questions or corrections, contact support@genanywhere.com.
Last reviewed: 2026-11-13.