
Aircraft placement: how GenAnywhere sets a plane on site
The generated scene supplies the apron, the terminal and the neighbours; the aircraft itself arrives from your own asset library.
GenAnywhere does not put an aircraft on an apron. It builds the apron, the terminal behind it and the ground around the airfield, and the plane arrives later as a design asset in whichever tool opens the exported GLB. Placement therefore splits in two questions: what the site gives an aircraft to stand on, and what your team has to supply from elsewhere.
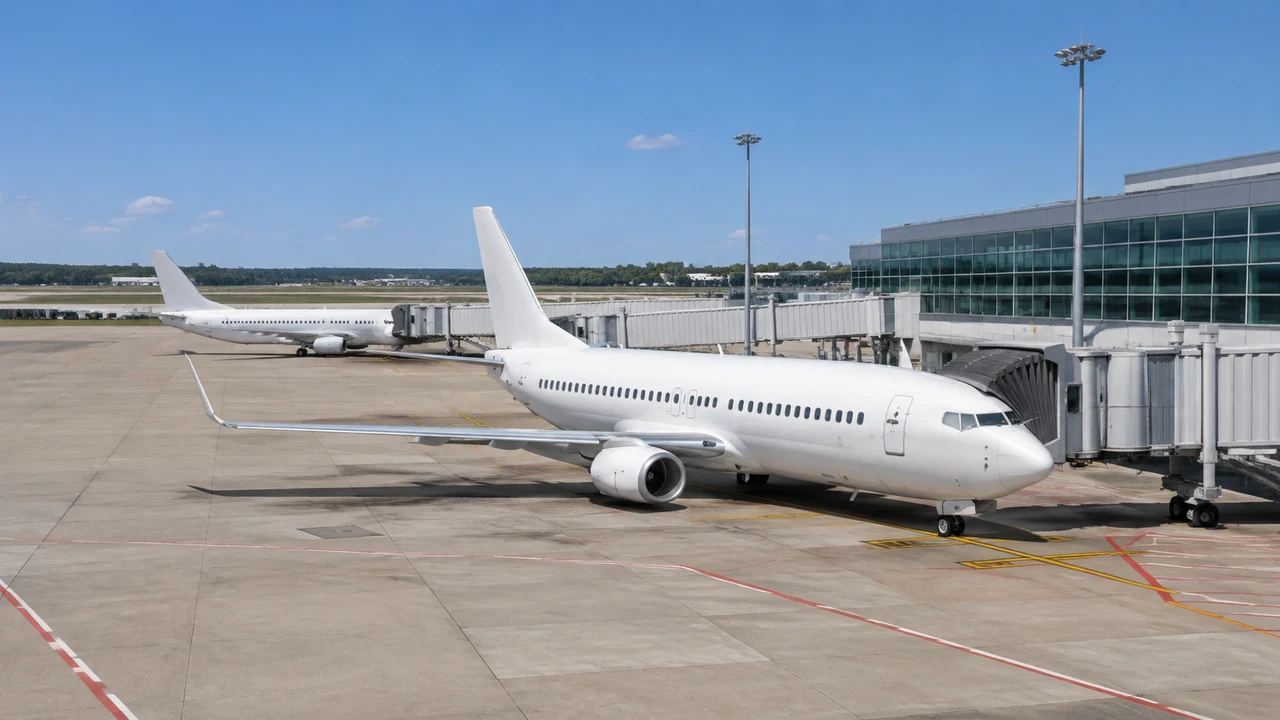
1 The ground a plane sits on
1.1 Apron surface and terrain
The apron starts as mapped ground. Terrain is generated to follow the surrounding surface, so the paved area reads as a flat shelf against taxiway and grass, and a step down to a drainage channel or perimeter road appears without anyone modelling it. Markings, stand numbers, lighting and painted lead-in lines are not generated objects, so the apron looks emptier than the real one. Treat it as a stage, and check pavement joints and stand geometry in an airfield drawing before placement is fixed. If the apron looks tilted against the terminal, look at the terrain before you blame the building.
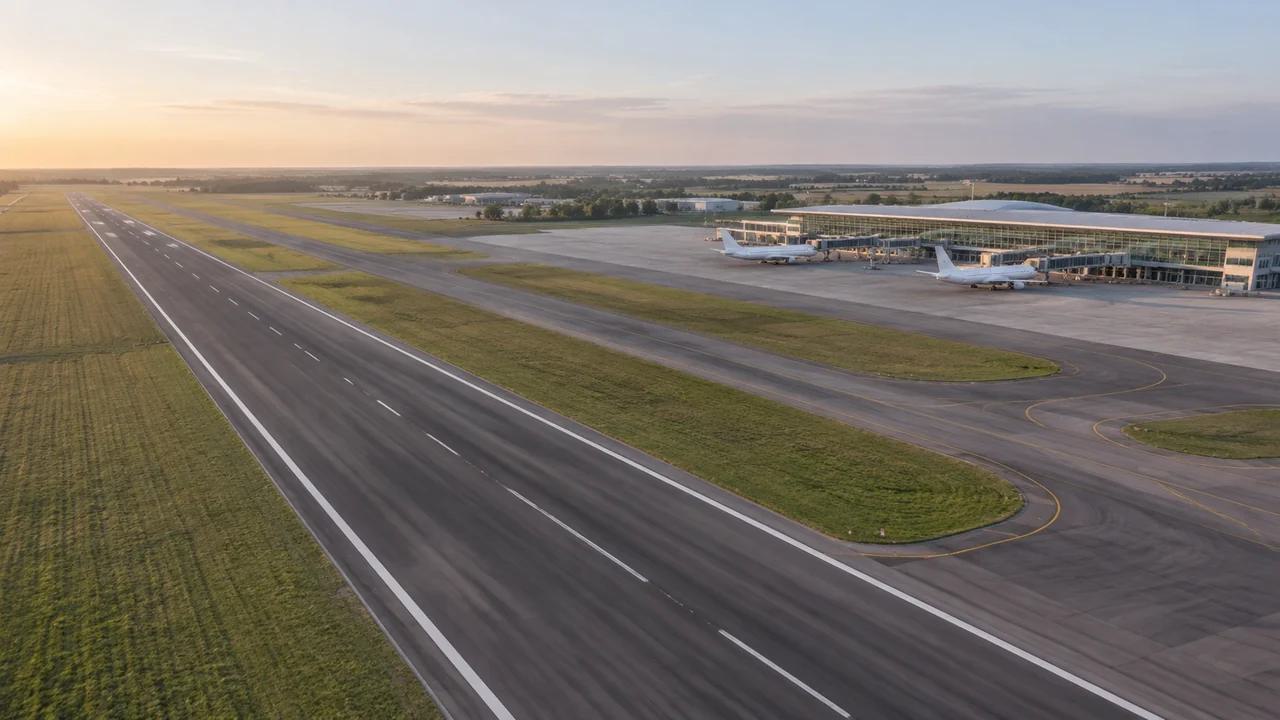
1.2 Terminal frontage and support buildings
Terminal blocks, hangars, cargo sheds and car parks usually appear because mapping carries their footprints. Heights are estimated, which is why a low hangar can arrive slightly tall and a glazed frontage can read as a solid mass. Types are inferred as well, so a maintenance hangar may be tagged as a warehouse, and a fire station may carry no label at all. Correct the buildings you know, and the frontage becomes a usable reference for where an aircraft nose stops. One corrected warehouse footprint often changes how the whole apron reads.
2 Where the aircraft comes from
2.1 Assets, libraries and block models
Aircraft geometry is not part of the generated set. Teams take it from a manufacturer file, a library subscription or a rough block built to the right length and wingspan, then position it in Blender, a game engine, a BIM tool or a GIS scene. The choice matters less than the label. A block tagged with type and scale is honest and quick, while a detailed model invites an audience to read engineering into a picture that holds none. Whatever you use, keep the file beside the exported scene so the next person can rebuild the view.
2.2 Scale checks before placement
Check three things before a plane goes down: stand length against the aircraft, tail height against the nearest building, and wingtip against whatever sits beside the stand. Two of those you can judge by eye in the scene, and the third needs a dimension from a drawing. Write the numbers into the review notes, because a viewer will assume the picture was checked whether or not it was. A short list of stand, aircraft and dimension sources is more persuasive than a paragraph of reassurance.
3 Edits that change the setting
3.1 Terminal and hangar adjustments
Buildings can be replaced, moved, rotated, retyped and raised or lowered. That is useful when a stand is being added beside a terminal that has since been extended, or when a hangar is due for demolition and you want to see the apron without it. Make one change at a time and capture each state. Three screenshots explain a phasing argument better than a paragraph, and they are easy to date. Clear out the states nobody chose once the option closes, or the folder becomes unreadable within a month.
3.2 Layer views for placement review
Terrain, buildings and vegetation can be shown or hidden as layers during preview. Hiding vegetation clears the approach side, and hiding buildings leaves the ground and the stand line. For placement work the useful pair is ground alone, then ground with buildings, since the difference tells the audience how much of the apron is enclosed. Note which layers were on when a view was captured, because a stripped view can look like a different airfield to someone joining late. Two frames also make a good opening slide, since they explain the site without an aircraft in it.
4 Limits
4.1 No clearance, pavement or stand analysis
Nothing in the scene computes obstacle limitation surfaces, wingtip clearance, pavement loading or stand serviceability. Those need survey data, airfield rules and the tools that hold them. A plane drawn at a stand illustrates intent, not fit. If the review has to answer whether an aircraft can use a stand, that answer belongs in the airfield drawing and with the team that maintains it. The FAA airport pages cover the regulatory side of that question. Keep the drawing open beside the model so a visual check is never mistaken for an approval.
4.2 Imagery date and apron changes
Imagery has a date, and airport work moves faster than imagery does. A stand resurfaced two winters ago may still show old markings, and a new hardstand may be missing altogether. Look up the date for the tile you used, put it on the slide, and ask the airport team what has changed since. A dated scene beside a current layout drawing works; the scene on its own does not. Ask which projects finished in the past two years and mark those areas in the notes.
5 Running a placement review
5.1 A sequence that holds
Open wide, with the airfield in its landscape, then move to the terminal frontage, then to the stand under discussion. The wide view settles orientation and access, the middle view shows how buildings frame the apron, and the close view is where the aircraft appears. Keeping the plane out of the opening frames avoids an argument about the asset before the ground has been understood. If the audience is mixed, hold the wide frame a little longer than feels necessary.
5.2 Passing the scene on
Preview, export a GLB, and send it with a note. The receiving team will drop the aircraft in and may need the ground at a known origin, so agree that before the export rather than after. Ask which application will open the file, because import behaviour differs between engines, BIM authoring tools and GIS viewers. Two lines on extent and imagery date prevent most follow-up questions, and both are faster to write than to answer twice. If the receiving team cannot open the file, send it again rather than editing copies by hand.
Open the GenAnywhere app and frame an apron for review
6 Before the file leaves
6.1 Agree the extent
Decide how much airfield the file needs. One terminal and its apron keeps the review focused and the file light, while the whole field shows runway relationships but flattens the detail you wanted. Frame to the question, write the extent into the agenda, and name the boundary features so the receiving team can recognise the area without a coordinate. If two questions need two frames, generate both rather than stretching one past its useful range. Write the extent in the words the team already uses, whether that is metres or named areas.
6.2 List what is missing
List the absent pieces: aircraft, ground support vehicles, jet bridges, lighting masts, signage. That list tells the receiving team what to add and tells the audience which parts of the picture are context. It also guards against a common misreading, where a realistic image is filed as a record of the airfield. One line per asset, with the source of the geometry, is enough. If a receiving team will add the assets itself, note the library and format its pipeline expects.
6.3 Name the next step
Say who receives the scene and what they will do with it. A planning team may want the terminal and the land beyond the boundary, while an engineering team may want the ground under a stand design. Naming the next step keeps the export purposeful and shows which layers matter. If nobody can name a next step, the file can wait until someone can, and the platform overview is a quicker answer for a casual question. That question usually reveals whether the model is needed at all.
7 FAQ
FAQ-1 Is there an aircraft in the generated scene?
No. The platform generates the site: terrain, water, vegetation and building masses. Aircraft, ground vehicles and jet bridges are equipment and design assets, so they come from your library or a block model in the downstream tool. That split is deliberate, and it is worth saying at the start of a review so nobody waits for geometry that will not arrive. A named owner for the assets keeps the list honest.
FAQ-2 Can I choose where the aircraft stands?
Not inside the platform. Placement happens after export, in whichever tool receives the GLB, and it means positioning an asset against the apron you generated. What you get from the platform is a consistent ground plane and building context to place against. Bring a stand layout drawing and use the scene to show how the aircraft reads from the terminal and from the perimeter road. A plan view and an eye-level view answer different halves of the same question.
FAQ-3 Does the export keep the aircraft position?
The GLB carries the site and the edits you made to it. Aircraft positions are there just when you add them after import and save that work in the receiving tool. Teams that want a repeatable arrangement keep a small placement file beside the export, with stand names and offsets, so the next person can rebuild the same picture. Relying on memory across a two-week review rarely works.
FAQ-4 What if the apron is new and not in the imagery?
Then the scene shows the ground before the work. You can still use it, because the terrain, the terminal and the access roads give placement context, and a new apron can be discussed against them. If the stand is central to the meeting, ask for a layout drawing and mark the intended area in the notes. A scene that shows the site before construction is honest, as long as the caption says so.
See how a generated airfield moves into a GLB workflow
Content and technical notes
This article was prepared by the GenAnywhere team with AI-assisted drafting and human review.
Product features, formats, and availability change as the platform evolves; refer to the official GenAnywhere website for current details.
For technical questions or corrections, contact support@genanywhere.com.
Last reviewed: 2026-11-13.