
VR asset export: what teams send to Unity from GenAnywhere
What a GLB site export carries into a Unity project, and the checks that decide whether it helps the level or gets in its way.
GenAnywhere exports a drawn site as a general GLB file, and that file carries geometry, layer structure and simple materials into Unity. What it does not carry is a VR level: no collision, lighting, interaction or shaders arrive with it. Teams use the file as a blockout and a scale reference, then rebuild the parts a headset actually needs.

1 What the export contains
1.1 What arrives in the GLB file?
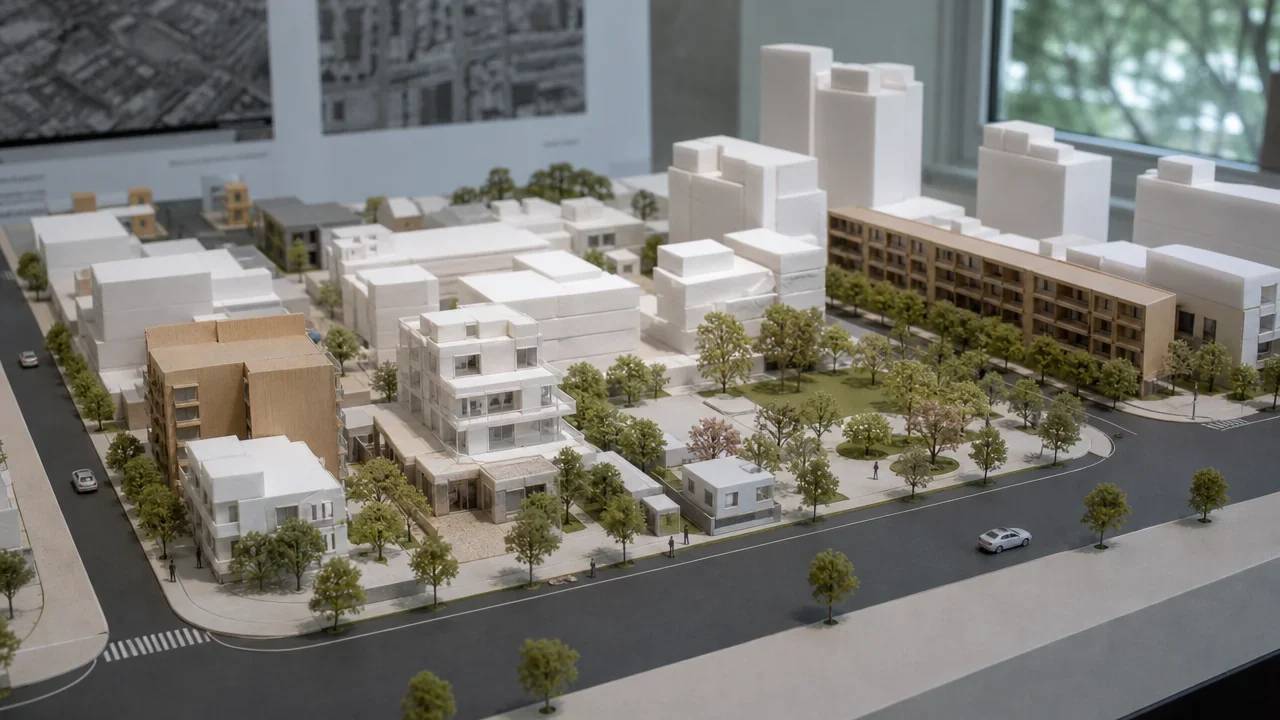
The export is geometry produced by AI 3D generation over the map area you drew: buildings with estimated heights and inferred types, terrain matched to them, water bodies and vegetation, each kept on its own layer inside the platform. Preview comes before download, which is the moment to reject a boundary that caught half a car park. The GLB is a general format that Unity, Blender and other tools read, so one file can serve the art team and the level team at the same time.
Treat the file as a snapshot of a place rather than a finished asset. It has the shape of the site and the arrangement of the buildings. It does not have the detail a player will stand next to.
None of that is a shortcut for hero assets. A blockout at this level of detail tells the team where things are, and the art pass decides what they look like. The two are separate jobs with separate schedules, and confusing them is how a prototype gains a month of work it did not need.
1.2 How are layers named and kept apart?
Layers are managed inside the platform, where buildings, terrain, vegetation and water can be switched on and off for review. Keeping that structure readable after export takes a little discipline: name the scene for the site and the date, and note which objects are terrain, which are buildings and which are water before you download. A receiving team that can tell a roof from a riverbank spends its time on the level instead of on the hierarchy.
Say the same thing in the file name. A folder of files called site_final and site_final2 teaches nobody anything by the second month.
2 Scale, origin and orientation
2.1 Why does the model arrive at the wrong size?
Most scale surprises are unit errors. A file authored in metres and imported as centimetres arrives a hundred times too small, and the same swap in the other direction buries the camera inside a wall. Unity exposes a scale factor on import for exactly this reason, and it is worth setting once and writing down.
Orientation is the other half of the problem. A site that sits far from the model origin can appear behind the camera, and an axis swap turns a north-south street into an east-west one. Compare two landmarks rather than one before deciding the import is correct.
2.2 How do you set up the import in Unity?
Bring the GLB into the project, check the scale factor, then place it against a reference object of known size: a capsule at human height or a door frame. Unity's guide to importing models covers the options for scale, normals and materials, and the same panel is where a wrong import gets fixed.
Agree the project unit convention before the import, not after. Changing it later moves every object that references the blockout, including the ones an artist has already placed by hand.
3 Materials and what is missing
3.1 What do the materials look like on arrival?
Expect flat colour assignments. The platform generates geometry and basic material groupings from map data, and it does not deliver texture sets, normal maps or shader graphs. In Unity the imported materials are placeholders that tell one surface from another, and the art team replaces them with its own shaders when the blockout is approved.
Placeholder materials still earn their place in review. A grey mass and a blue plane communicate a building and a river faster than an unfinished material setup with nothing assigned to either.
3.2 Which assets does the export leave out?
Collision, lighting, reflection probes, audio, interactive objects, characters and effects are all authored downstream. So are the things a player touches: doors, ladders, vehicles, props. A site model can show where a doorway belongs in a wall. It cannot show how the door opens or what is behind it.
Write the missing list at handover. It becomes the estimate, and it stops anyone assuming the blockout is the level.
4 Rebuilding a level around the blockout
4.1 Which parts must be authored in the engine?
Reducing triangle counts, joining meshes, building levels of detail and setting up occlusion are engine jobs, and they follow the target headset rather than the site. Interaction, navigation, audio and lighting come after that. Each depends on decisions a site file cannot make: how fast the player moves, how far they can see, what the scene has to teach them.
Keep the blockout in the scene as a static reference. When a wall moves during production, the reference still shows where the real one stood, which settles most arguments about fidelity.
Draw calls tell the same story from another angle. Every separate building and tree in the blockout is something the engine has to submit, and merging or instancing that geometry is work the level team owns. Plan it with the artist who will do it rather than discovering it during a build review.
4.2 How much geometry should reach the headset?
Aim for what the player can see and reach. A blockout that includes every building in a district is useful for sightlines and wasteful as a mesh to draw. Cut it into the playable area plus a distant shell, then replace the shell with a cheaper stand-in once the view is fixed.
Make that cut with the level designer. The answer depends on where the player is allowed to go, and that is a design decision rather than an art one.
5 Handover and what the file carries
5.1 What should travel with the GLB as a note?
Exports carry a permanent commercial licence for use in projects, with limits worth stating plainly: raw files are not for resale, the model is not for AI training, and third-party data rights still need checking for the area you drew. Add the imagery date, the boundary, the units and the name of whoever reviewed the scene.
A note of that length saves a meeting. It also answers the question a new artist asks in week three, when the person who exported the file has moved to another project.
5.2 How do you keep a site file usable over months?
Keep the source scene as the master and the GLB as a dated copy. When the site changes, re-export and compare the two files rather than editing the old one by hand. Store both beside the level so production can see which version the build uses.
Name files with the site and the month. Version numbers stop meaning anything once three people are exporting and two of them are guessing.

6 Get the file through the door without guesswork
6.1 When is a direct import the right move?
When the level needs the whole site as a backdrop, or when the blockout stands in for a place the team sees through windows. Import it, scale it, and use it as a massing reference while the art pass runs. Context does not have to survive to the final build.
6.2 When should the blockout be rebuilt by hand?
When the player can walk through it. Interiors, doorway widths, stair geometry and window positions need an artist once the camera goes inside, because estimated heights and simple extrusions fall apart at close range. Rebuild those walls and keep the streets around them.
6.3 What does a handover note need to contain?
Units, origin, imagery date, licence terms, what was replaced and what is still placeholder. Two paragraphs is enough. Add the name of the person who checked the import, so the next question has somewhere to go.
Keep that note in the repository rather than in an email thread. The next person to import the file will look for it once, and then work from guesses if it cannot be found.
Export a test site from the GenAnywhere app and import it into Unity before the level meeting, not after it.
7 FAQ
FAQ-1 Is there a Unity package or plugin to install?
No plugin is needed. The export is a general GLB that Unity opens through its usual model import path, so the site file joins whatever pipeline the project already uses for external assets. That also means the import behaves like any other model: check scale, orientation and materials yourself. If a project has a naming standard for imported assets, apply it at import time rather than renaming objects later.
FAQ-2 Which unit should we import in?
Set the project unit and the import scale factor to match the file, then confirm with a measurement. Place a capsule at human height or check a doorway against a known width, because the number in the import panel can be right while the scene is still wrong. Write the setting down. A second import made by someone else is where scale drift usually starts.
FAQ-3 Can we re-export after the site changes?
Yes. The platform keeps the source scene, so a new export replaces the old file with a newer one. Re-export rather than editing the imported model, because hand edits vanish the moment someone refreshes the asset. Keep the previous file until the team confirms the new version, then tell everyone which one the level is built on.
FAQ-4 What licence comes with the exported model?
A permanent commercial licence for use in your projects, with limits: do not resell the raw files, do not use the model for AI training, and treat third-party data rights in the mapped area as a separate question. Keep the licence note with the project files. If a client asks for the source scene, that is a different request from the exported model, and it deserves a written answer rather than a forwarded file.
See how a map boundary becomes an exported file in the GenAnywhere workflow overview.
Content and technical notes
This article was prepared by the GenAnywhere team with AI-assisted drafting and human review.
Product features, formats, and availability change as the platform evolves; refer to the official GenAnywhere website for current details.
For technical questions or corrections, contact support@genanywhere.com.
Last reviewed: 2026-11-06.