
VR level design: what to verify in GenAnywhere before blockout
Four checks that decide whether a generated site is ready to carry a level.
A VR level design team should verify four things in a generated site before committing to a blockout: that the boundary covers the playable area, that footprints and heights match a reference the team trusts, that units and scale survive import, and that the scene is dated well enough to review later. Each check takes minutes inside the platform and hours to repair once art has started. The order below follows the way a level actually gets built.

1 Define the blockout question before the map
1.1 What decision will the blockout settle?
A blockout exists to settle one or two questions, such as whether the street is wide enough for a chase or whether a courtyard can hold eight players. Write the question down before you generate anything, because it decides how much site you need and how closely you check it. A blockout with no question attached turns into a modelling exercise with no finish line.
Keep the question short enough to repeat in a review. When someone asks why the team spent a day on one corner, the question answers for you.
1.2 Which part of the site does that decision touch?
Draw the playable area on a plan and mark the edges where the decision lives. A chase needs the full length of the street plus the corners where it turns, while a courtyard scene needs the buildings that enclose it and the route players use to reach it. Everything outside that band can stay coarse context.
Narrow the map selection to that band plus a margin. A generous selection looks impressive in a flythrough and slows every later review of the scene.
2 Check the footprint layer against a reference
2.1 Do the outlines match what the team already knows?
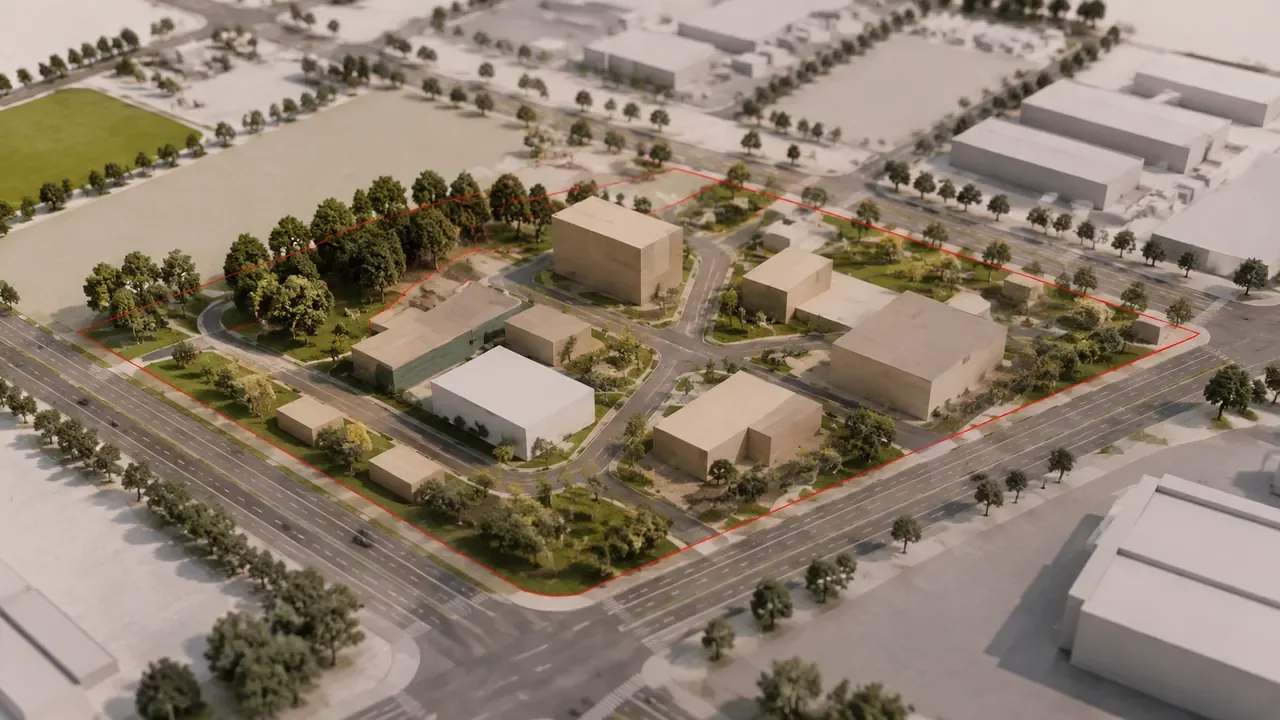
Put the generated plan beside a source the team trusts: a site plan, a planning drawing, a recent aerial photograph or a survey the client supplied. Look at the corners, the party walls and the gaps between buildings, since those are the places where a mapped footprint drifts. Two or three obvious errors tell you how much of the rest needs checking.
Check the plan at the same orientation as the reference before you compare anything. A scene rotated a few degrees produces offset outlines that look like modelling errors, and an hour disappears before anyone notices the rotation.
2.2 What do you do with a building the model gets wrong?
GenAnywhere lets a designer replace a single building, move or rotate it, and adjust its height and type, so a wrong block can be corrected without rebuilding the district. The platform infers building types and estimates heights from mapped data, and it keeps buildings, terrain and vegetation in separate layers that can be previewed and edited before export. Treat those tools as a way to make the context usable, not as a way to make it authoritative. What arrives is AI 3D generation for site context, and it earns trust through the checks in this article.
Correct the buildings the level depends on and leave the background alone. A street corner players will fight over deserves attention, while a block three streets away can stay approximate.
3 Test heights and ground before trusting the massing
3.1 How do estimated heights change the feel of a level?
Height drives the mood of a street more than most designers expect. Six storeys of continuous frontage reads as a canyon, and a vacant lot between two tall blocks opens a gap that changes where a player looks. Estimated heights come from mapped data, so check the blocks that set the skyline and the ones that frame the play space.
Rooflines do similar work at the top of the frame. A flat parapet and a pitched roof give the same street two different characters, and a massing study should decide which one the level needs before the art team commits.
3.2 Where does the ground plane need a second look?
Slopes, retaining walls, ramps and water edges are where generated terrain meets its limits. Walk the ground in the engine at player height and watch for steps a map could not resolve, such as a loading dock or a bank of grass above a wall. VR level design depends on a floor the player trusts underfoot, and a small discontinuity is felt before it is seen.
Check where the site meets its neighbours as well. A boundary that cuts through a building leaves a half shell that reads as a mistake in the headset, and trimming it takes longer than choosing a cleaner edge.
4 Confirm units, origin and import behaviour
4.1 Which settings does the receiving engine expect?
Unity treats a unit as a metre and Unreal treats it as a centimetre, and both expect a scene origin that suits their world settings. Set the import scale before you place anything, then verify with a human-height reference and a known dimension. The Unity XR manual covers camera and tracking setup for headset projects, which is worth reading before anyone judges the blockout in a device.
Write the settings down for the next person who imports the file. Scale factors and origin offsets are the kind of detail that gets rediscovered painfully when a new artist joins halfway through production.
4.2 What arrives in the exported file?
The platform previews the scene and exports a general GLB for 3D, BIM, GIS and game engine workflows. Geometry arrives with whatever layer structure the receiving tool keeps, so check grouping and naming after import. Materials, lighting and collision are yours to build, and interior detail is not part of the output.
Test one real site end to end rather than a prepared demo file. Import problems tend to surface in the opening minutes when the file is real.
Open the GenAnywhere app and run the four checks on a site from your own shortlist.
5 Write the review note before blockout starts
5.1 What belongs in the note?
Record the area selected, the date the scene was generated, the reference used for the footprint check, the buildings corrected and the person who signed. Add one line on what the scene may support and one on what it may not. Five lines and a date beat a long template nobody reopens.
Store the note with the blockout file rather than in a message thread. The person who needs it will be looking at the model, not at last month's chat.
Add the reference images themselves to the folder. Footprint checks are argued about with pictures, and the aerial photograph you used is harder to find six months later than the model it produced.
5.2 Who repeats the check when the scene is regenerated?
The same person who signed the earlier note, or someone reading it. Regeneration is a new output from new imagery, and the earlier corrections may no longer apply. Compare the two scenes, reapply the edits that matter and update the date, so the blockout never rests on an unrecorded change.
6 Decide whether the site base is good enough
6.1 When is close enough acceptable?
Close enough means the errors left in the scene do not touch the blockout question. If players never leave one courtyard, a loose outline across the river costs nothing. If the question concerns a doorway, a metre of drift in the wall decides the answer, and the team should fix it before massing continues.
Get agreement on that threshold in writing while the scene is still casual. A reviewer who accepts an outline in week two will ask for a rebuild in week six if nobody recorded the reasoning.
6.2 What should stop the blockout?
Stop when the playable area is missing, when a footprint error changes the route, or when the ground cannot be walked without repair. Stop as well when the reference materials disagree with each other, because the team will argue about the source instead of the design. A day of delay here costs less than a rebuild after the art pass.
Say what would restart the blockout, too. A new survey, a client change of use or a route decision can reopen a question the team thought it had closed, and knowing that in advance keeps the note honest.
6.3 How do you compare two candidate sites?
Generate both, run the same four checks on each, and score them on one sheet. Silhouette, route length, the number of corrections needed and the effort to reach the play area tell you which site carries the level with less work. A shared sheet also records why the team chose one location over the other.
7 Verification questions level designers ask
FAQ-1 Does a generated scene include interiors?
No. The output describes the outside of buildings, the ground and the vegetation, and it carries no floors, stairs or rooms. Interior layout is level design work, and the site model fixes where the shell sits and how large it is. Plan the interior from drawings or the design brief, then use the exterior geometry as the constraint it has to fit.
FAQ-2 How current is the mapped imagery?
The scene reflects the imagery the platform held when the area was processed, and that date is not the date you generated the file. Ask what the source shows when a recent change matters, such as a new footbridge or a closed street. For anything time-critical, confirm with the site owner or a recent survey.
FAQ-3 Can the massing be edited before export?
Yes. Buildings can be replaced, moved, rotated and retyped, heights adjusted and layers toggled for preview before export. Edits stay inside the platform's model, so they arrive in the engine as geometry rather than as editable BIM objects or ready-made level actors. Use the platform to settle composition, then plan structural changes in the engine.
FAQ-4 What does the commercial licence cover?
An export carries a permanent commercial licence for use in projects. It does not permit resale of the source files or use of the data for AI training, and it does not convey ownership of the imagery behind the model. Third-party data rights may add terms of their own, so have the licence read before a title ships.
Walk through the site-to-export path on the GenAnywhere workflow page.
Content and technical notes
This article was prepared by the GenAnywhere team with AI-assisted drafting and human review.
Product features, formats, and availability change as the platform evolves; refer to the official GenAnywhere website for current details.
For technical questions or corrections, contact support@genanywhere.com.
Last reviewed: 2026-11-06.