
Getting Started
GenAnywhere is a lightweight tool that generates 3D site models with one click using AI — no aerial photography required, just draw a selection box on a map. It streamlines BIM modeling and offers a cost-effective alternative to traditional oblique photogrammetry. Simply selecting an area on the map automatically produces a 3D model complete with buildings, terrain, water bodies, roads, and trees. By combining AI recognition with fine-grained manual editing, it enables rapid construction from raw map data to a deliverable 3D model. The resulting models can be imported into multiple platforms and are widely used across digital twins, GIS, game engines, BIM, and beyond.
1. Open GenAnywhere
GenAnywhere requires no download or installation — simply enter the GenAnywhere URL in your browser to open the official website.
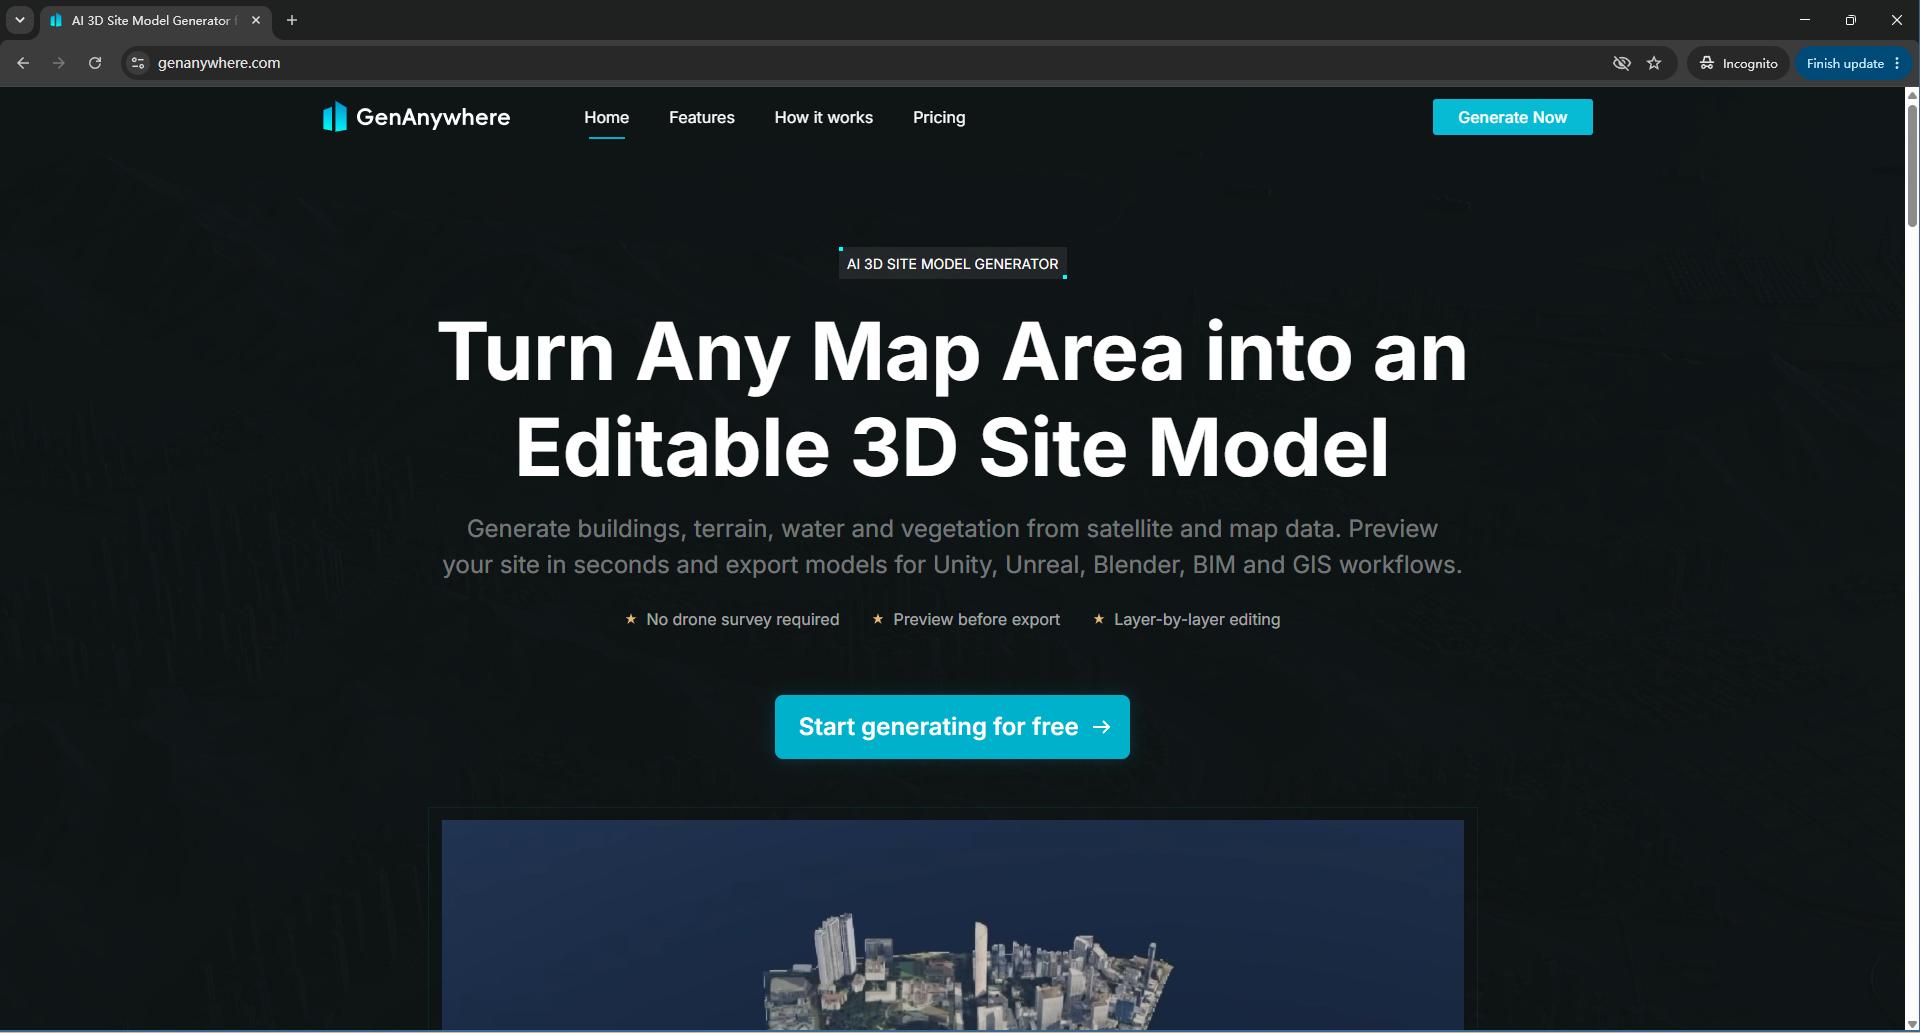
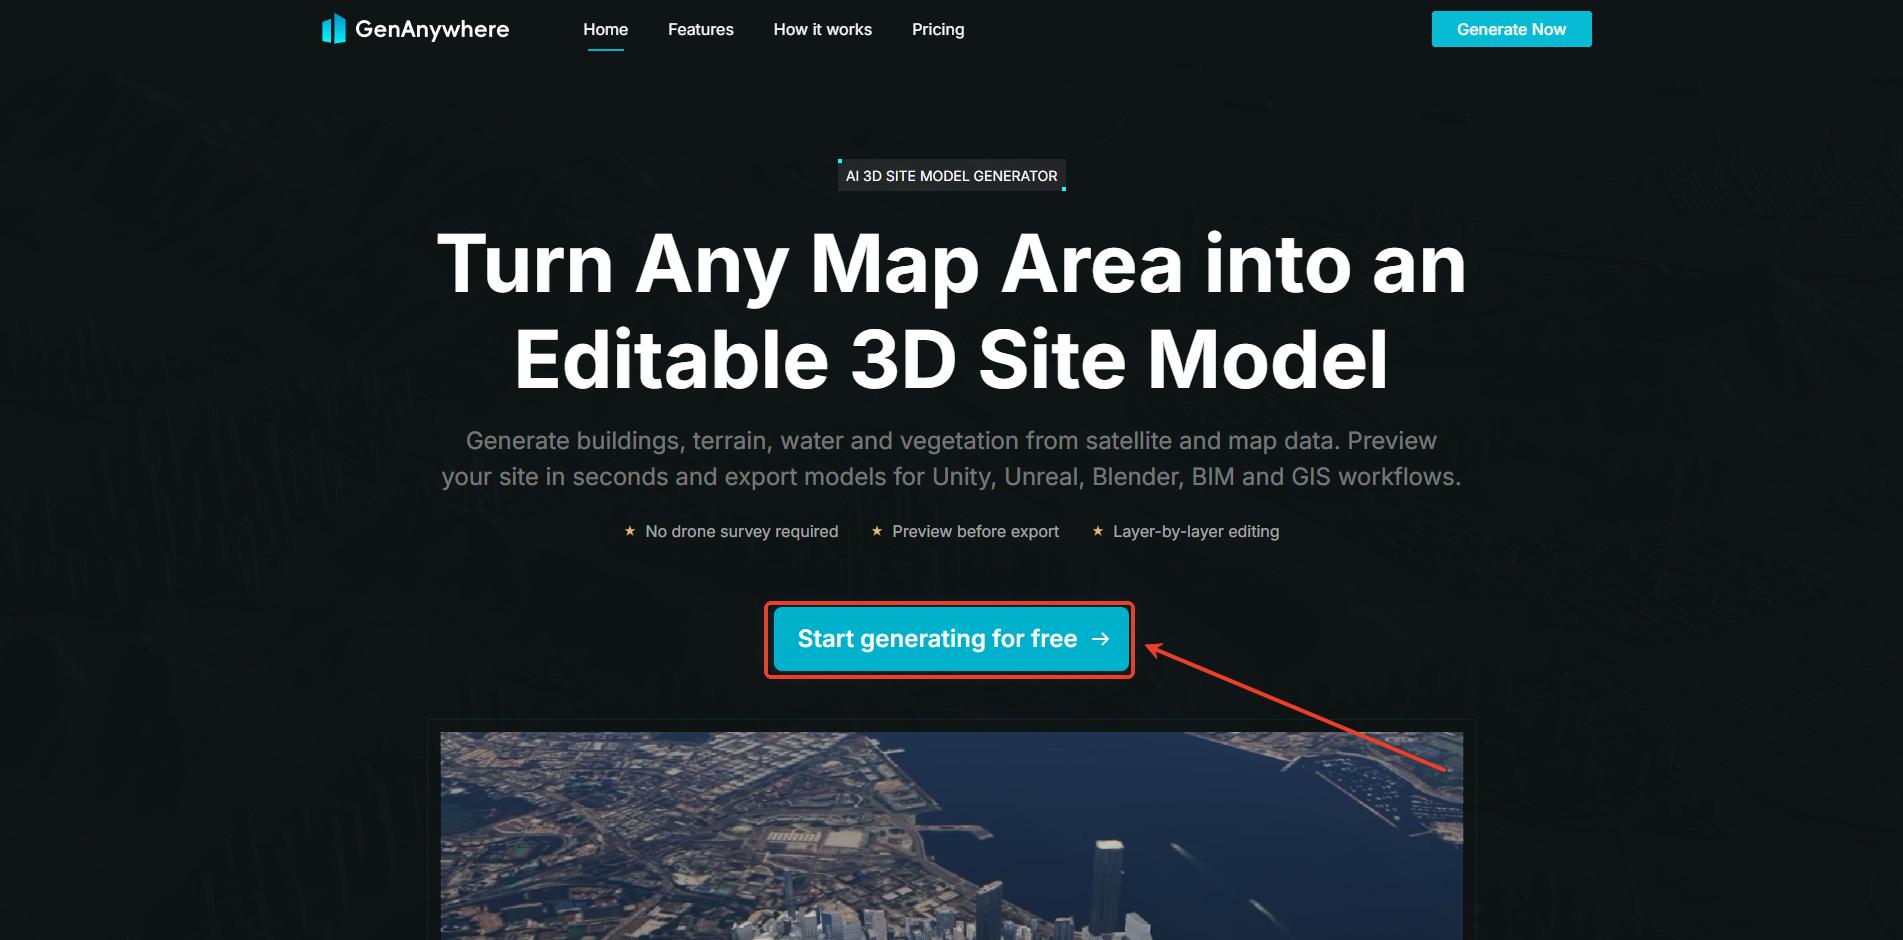
Click the "Start generating for free" button on the official site, and the interface will immediately take you to the GenAnywhere workspace.
2. Account Registration & Login
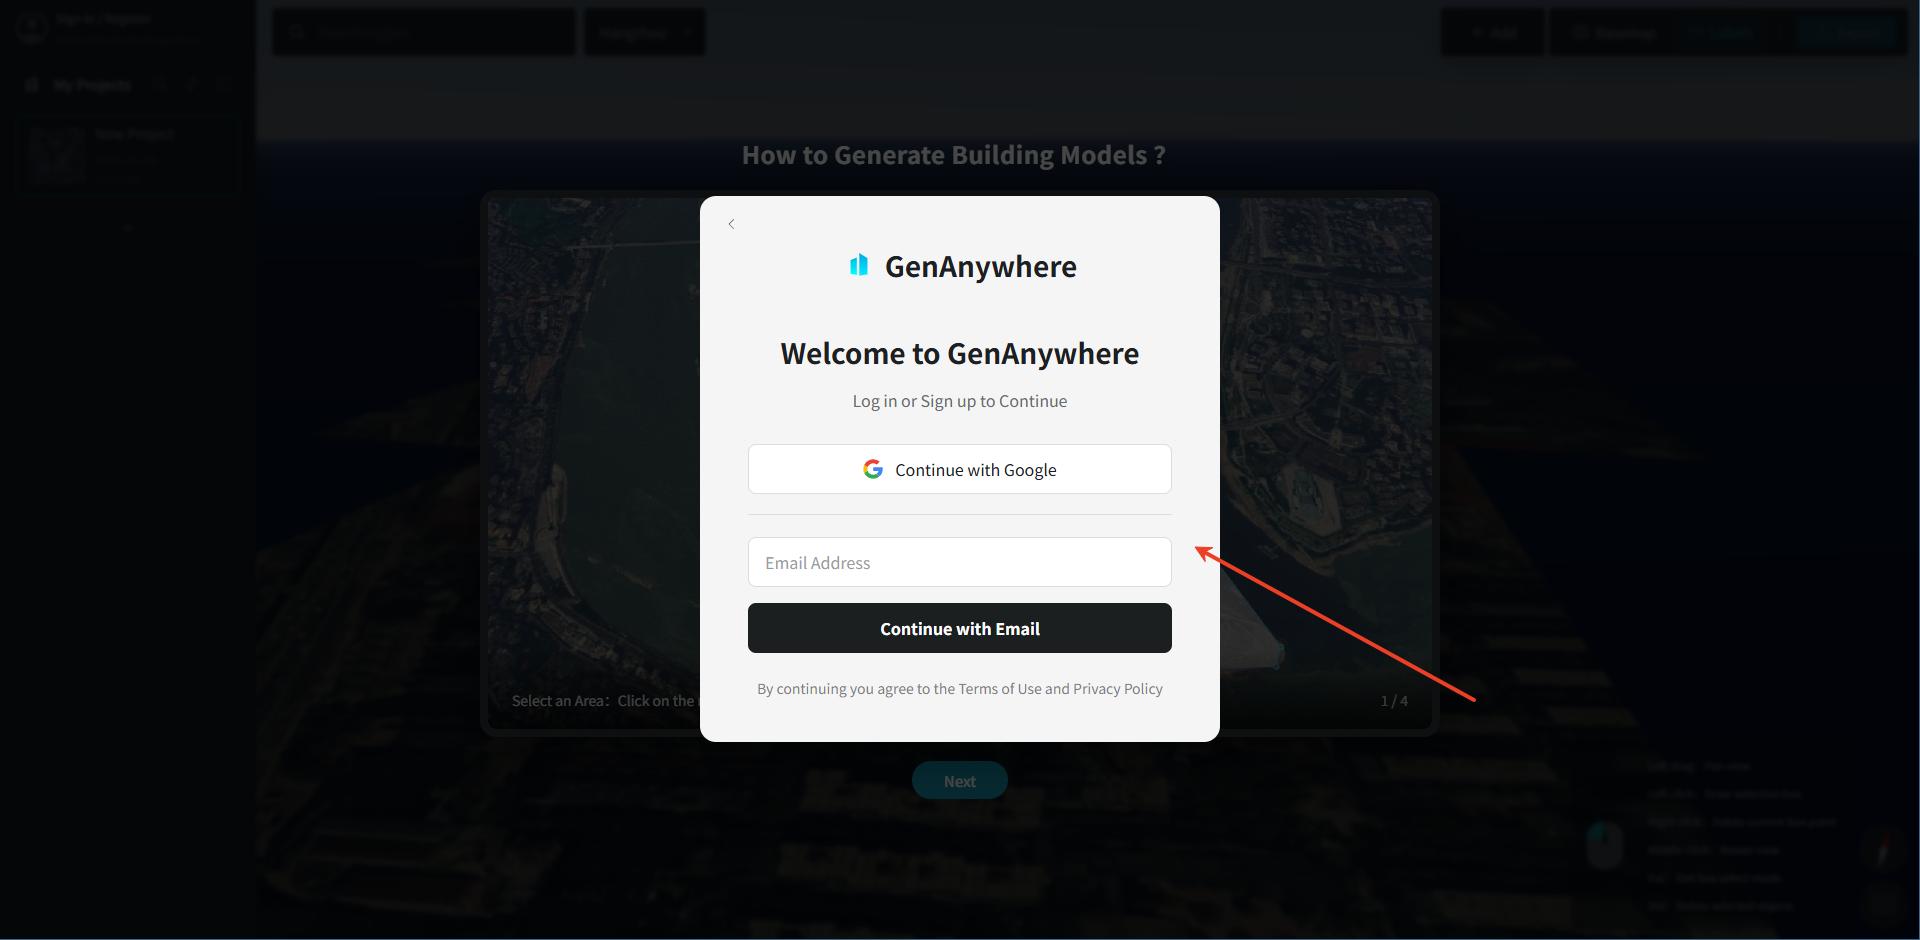
A "Login/Register" popup appears in the workspace. You can sign up or log in with a Google account or email address.
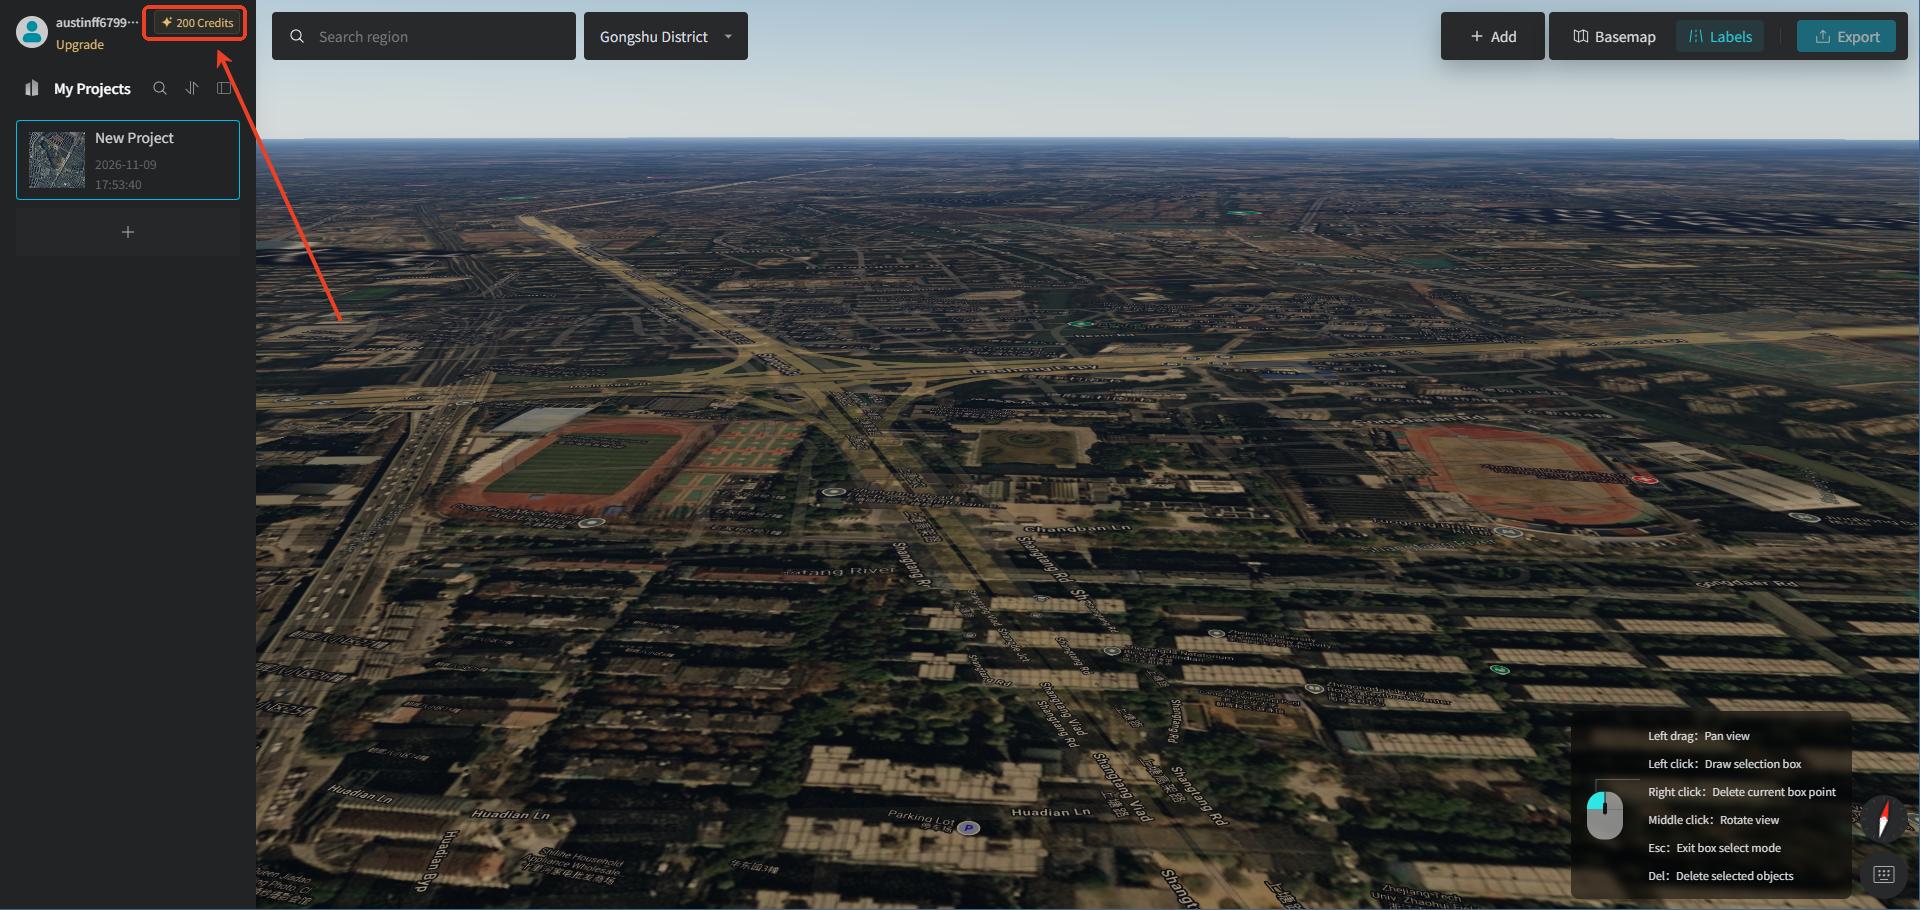
After logging in, new users receive 200 free credits for model generation. Users who have purchased a plan receive the daily refreshed credits included in their plan, plus a one-time bonus credit grant for model generation.
3. Core Interface Features
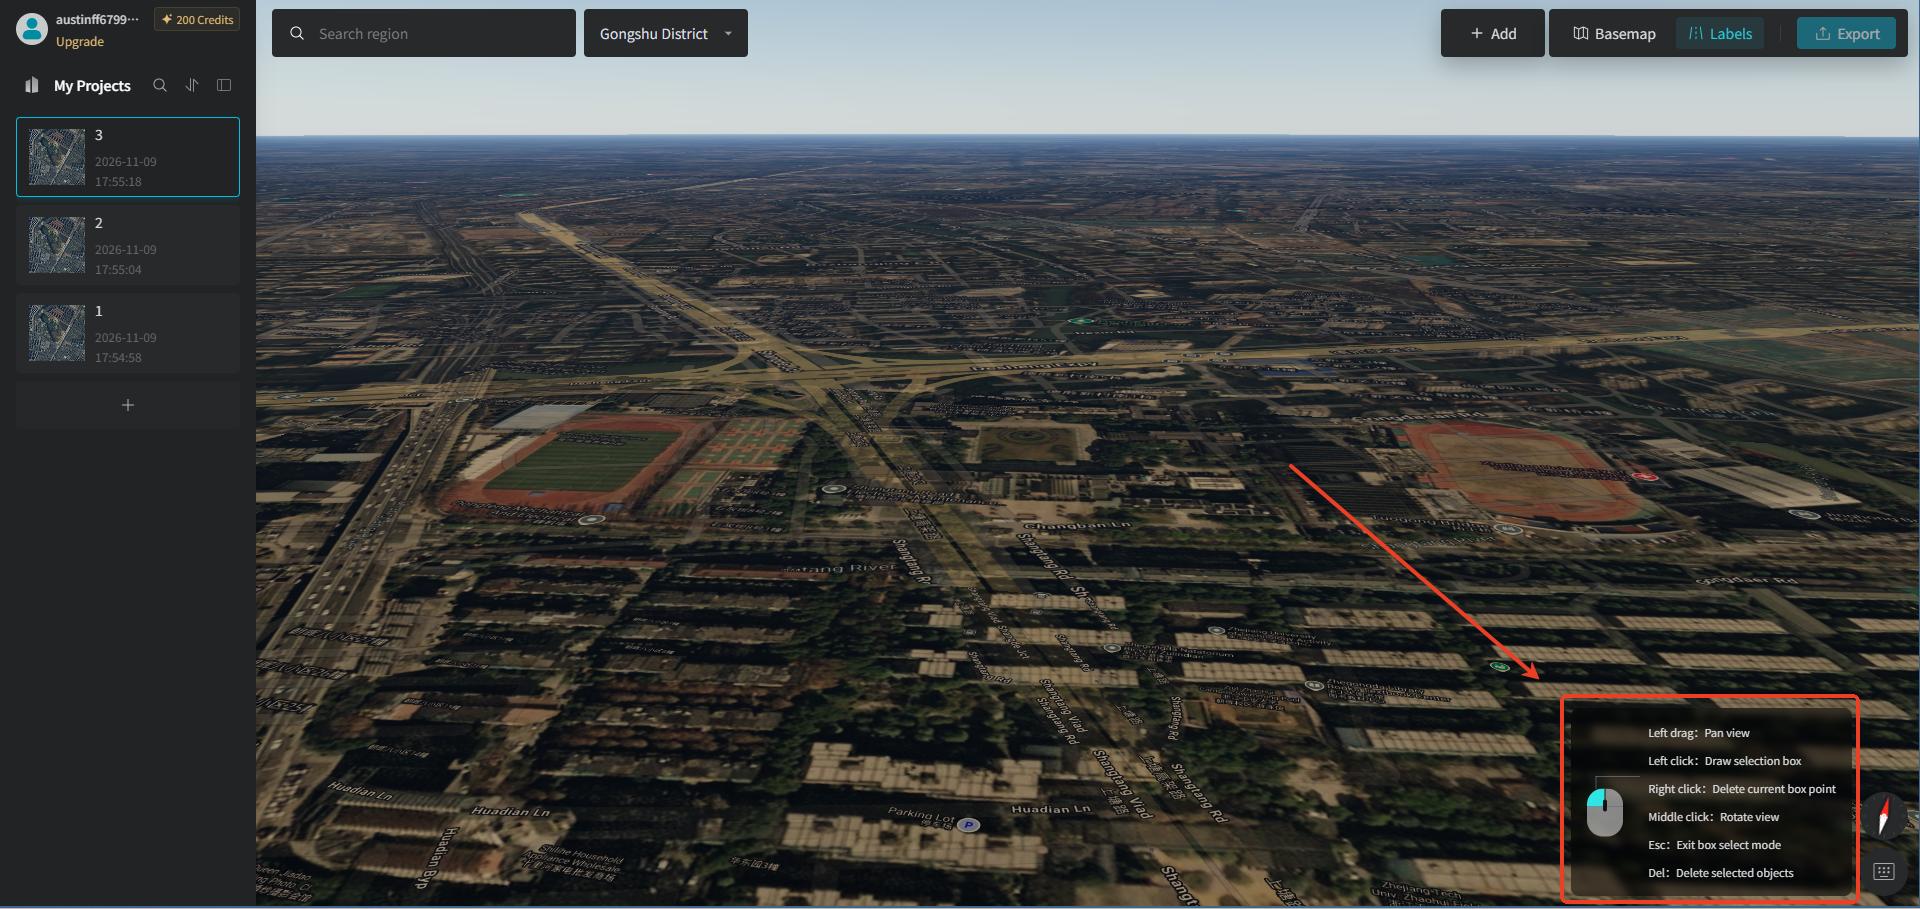
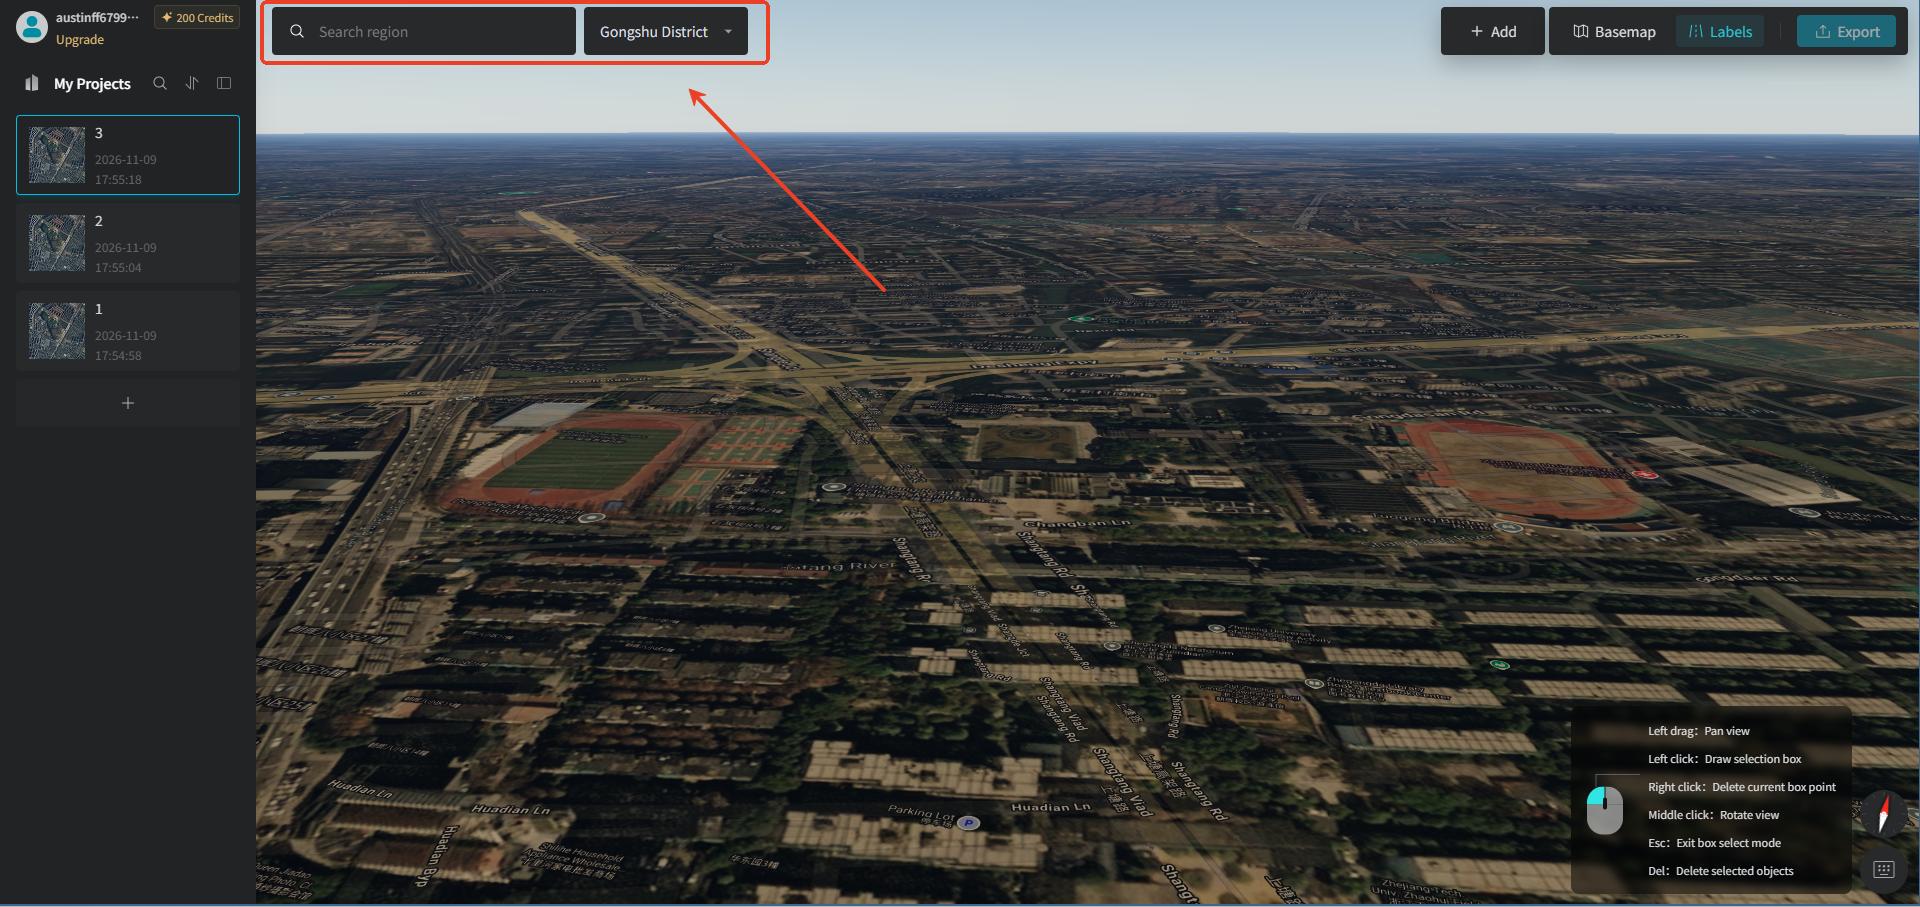
Once logged in, you enter the workspace. The left panel contains the Personal Center and My Projects modules. The toolbar at the top of the map preview window contains Search Area, Basemap Settings, and Export Model. Mouse operation tips are shown in the bottom-right corner of the map preview window. Beginners only need to master the core functions — there's no need to dig into complex parameters.
3.1 Left Account Information Panel
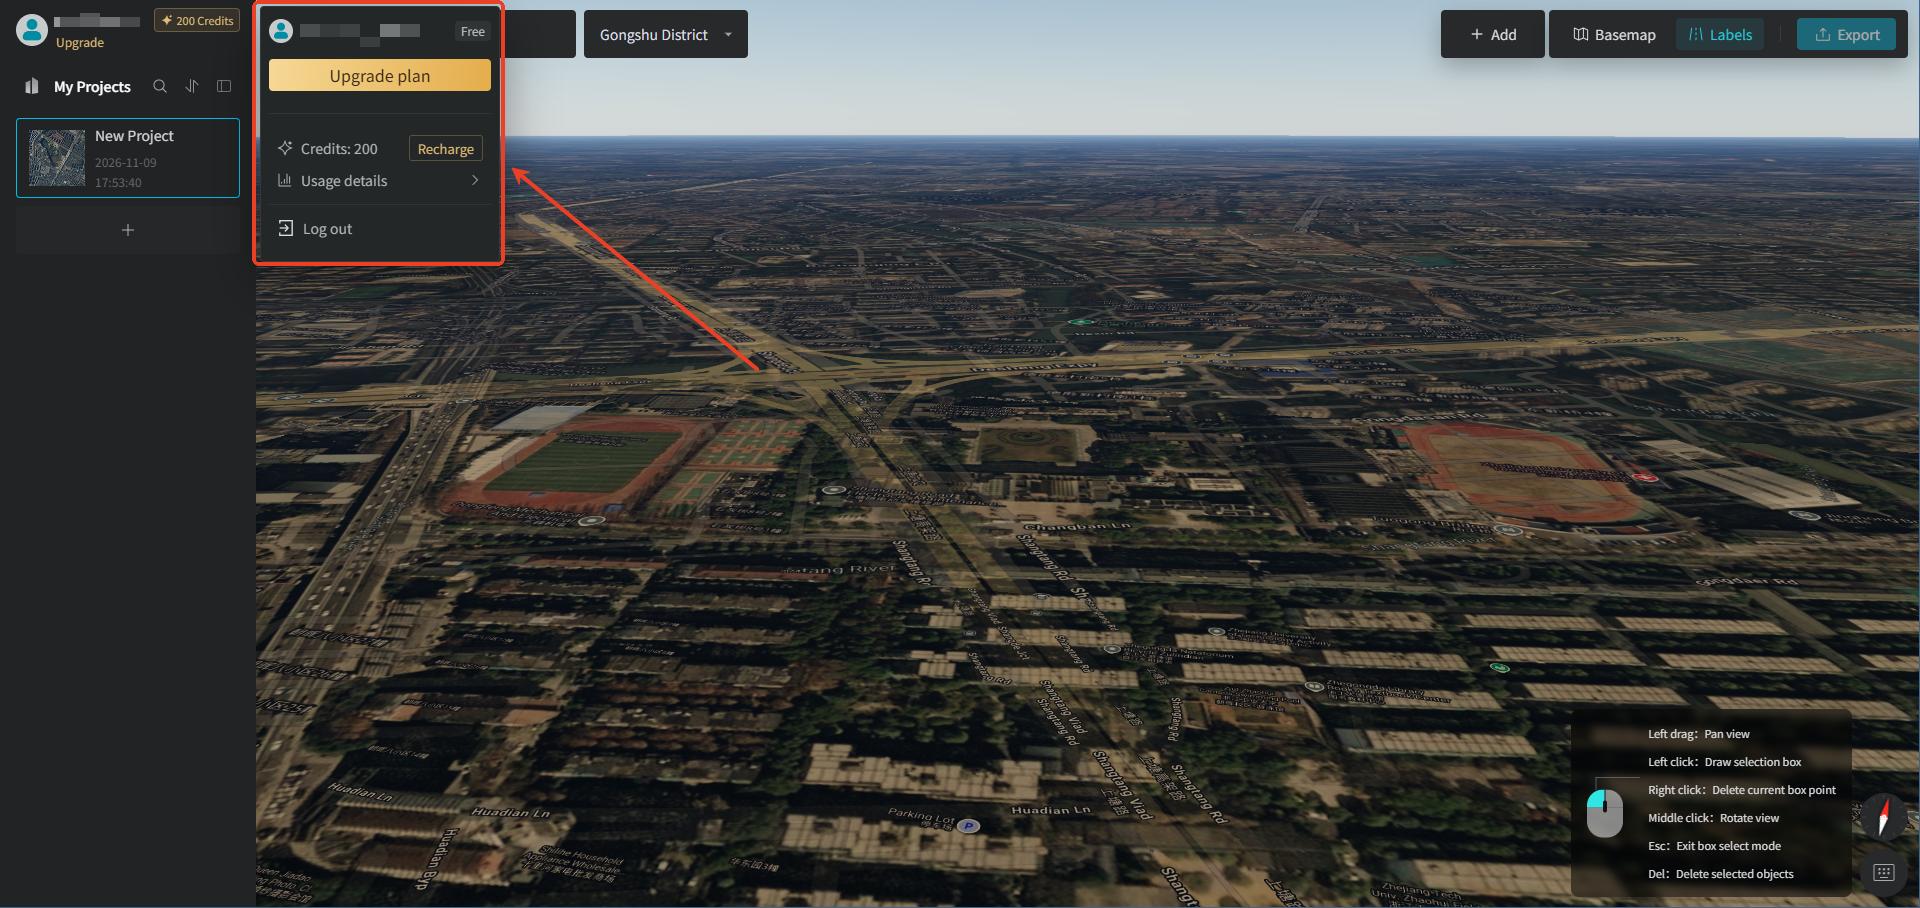
The left side is the "Personal Center"; click to expand it into the user account dropdown panel. The panel displays the account username and plan version tag, and provides entry points for service renewal, credit top-up, resource usage details, and account logout.
- Avatar + Username + Plan: user identity module, including avatar, account name, and plan version, marking the authorized version type of the current account
- Renew: subscription service renewal control, used to renew the plan service period
- Credits (credit number + top-up button): resource quota module — displays the account's consumable credit balance; Top-up is the entry point for recharging credit resources
- Usage Details: view details of credit top-ups and consumption
- Log Out: account logout control; clicking it logs out of the current account.
3.2 My Projects
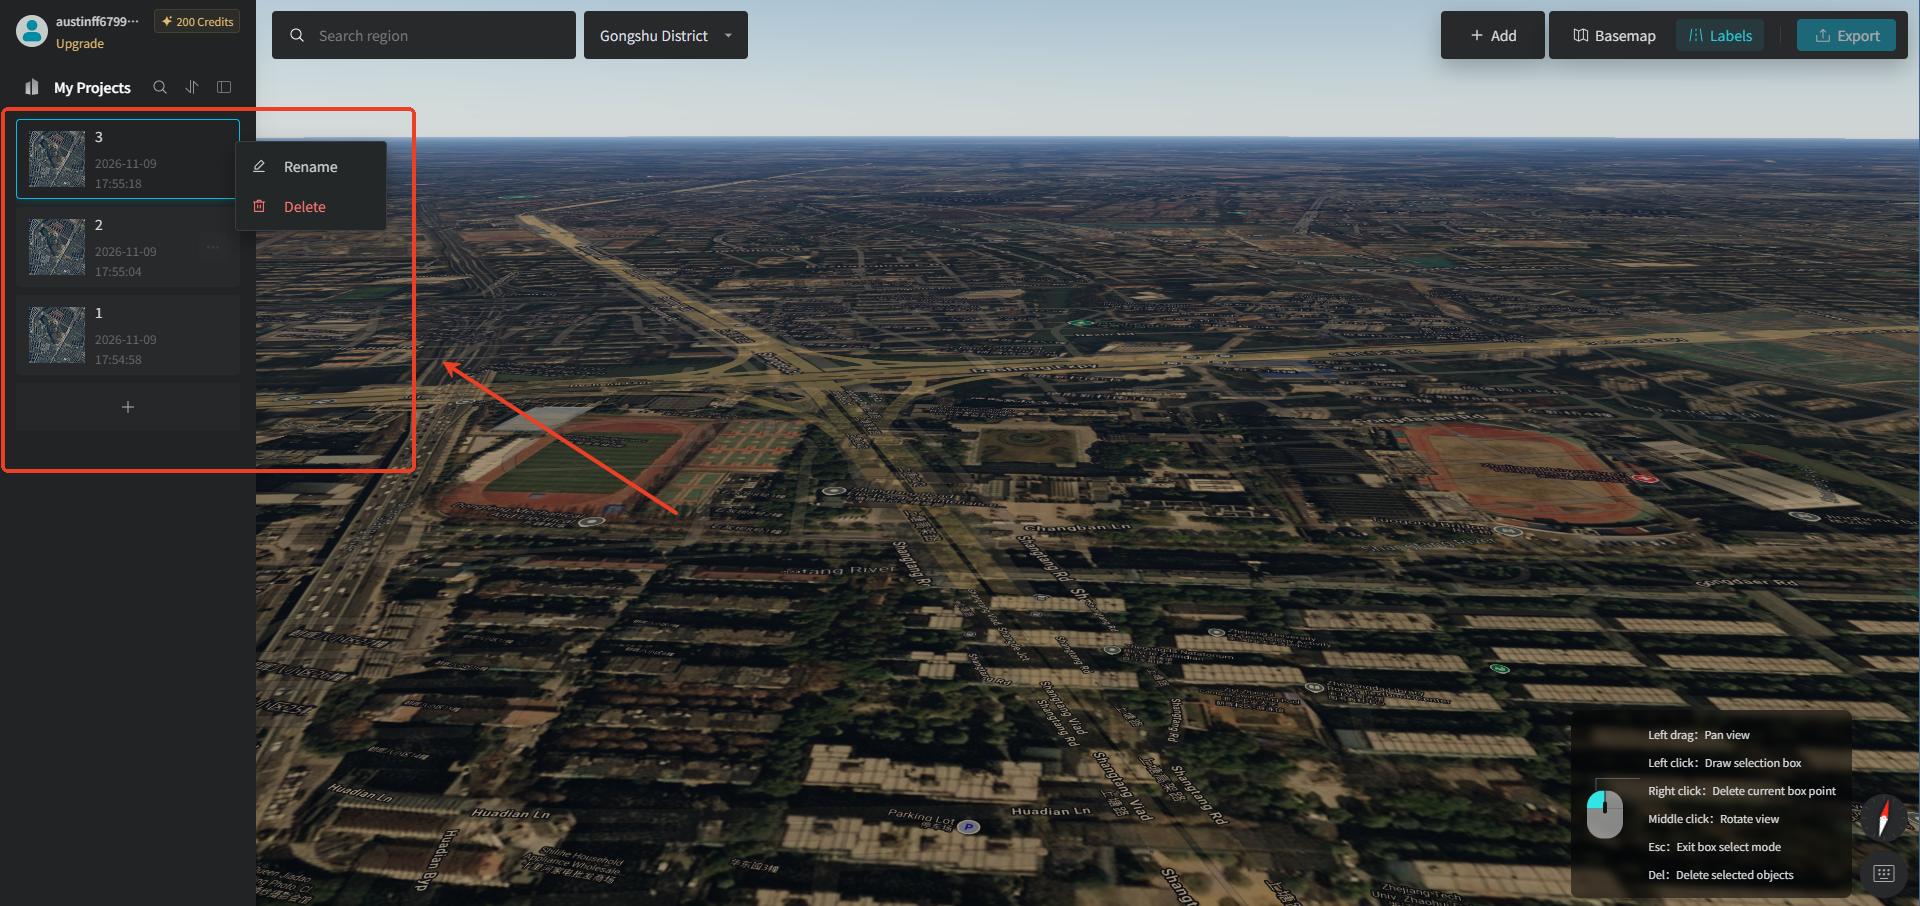
The "My Projects" module is used to manage projects created under different task scenarios. On each project card you can see the corresponding project name and creation time; you can open historical projects for further editing, and click the "+" button at the bottom to create a new project. When you move the mouse over a project card, you can click the "Project Menu" icon to "Rename" or "Delete" the project.
3.3 Top Toolbar
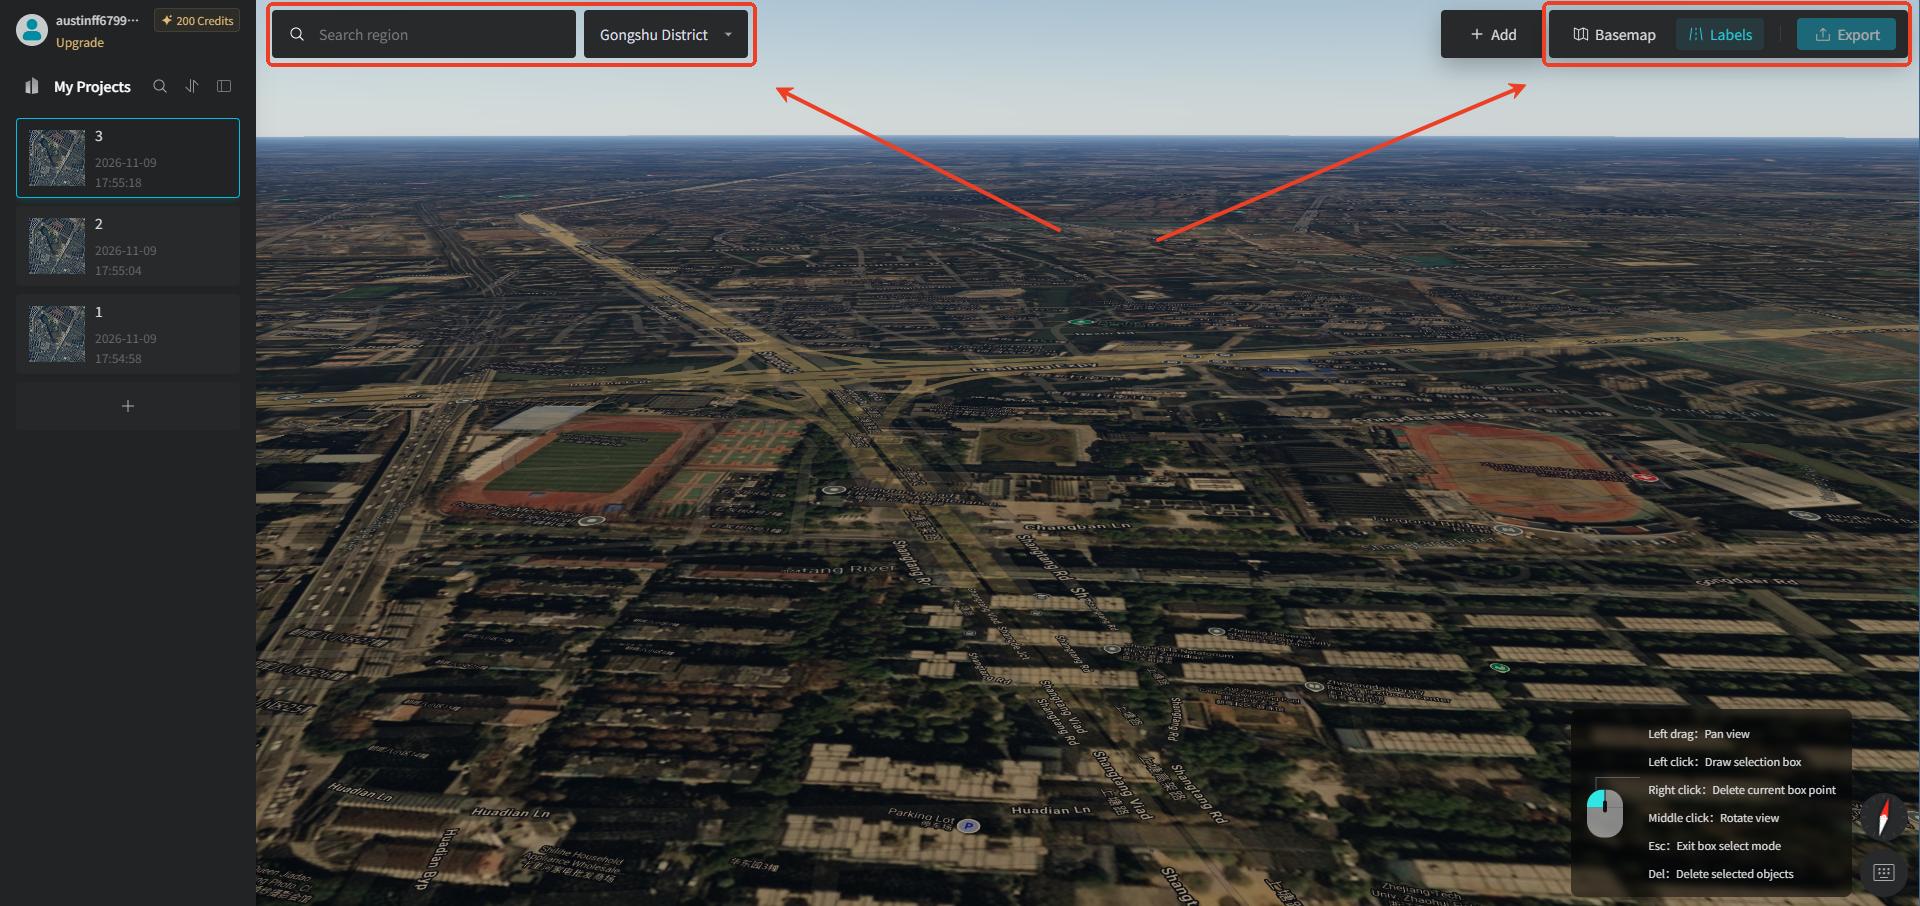
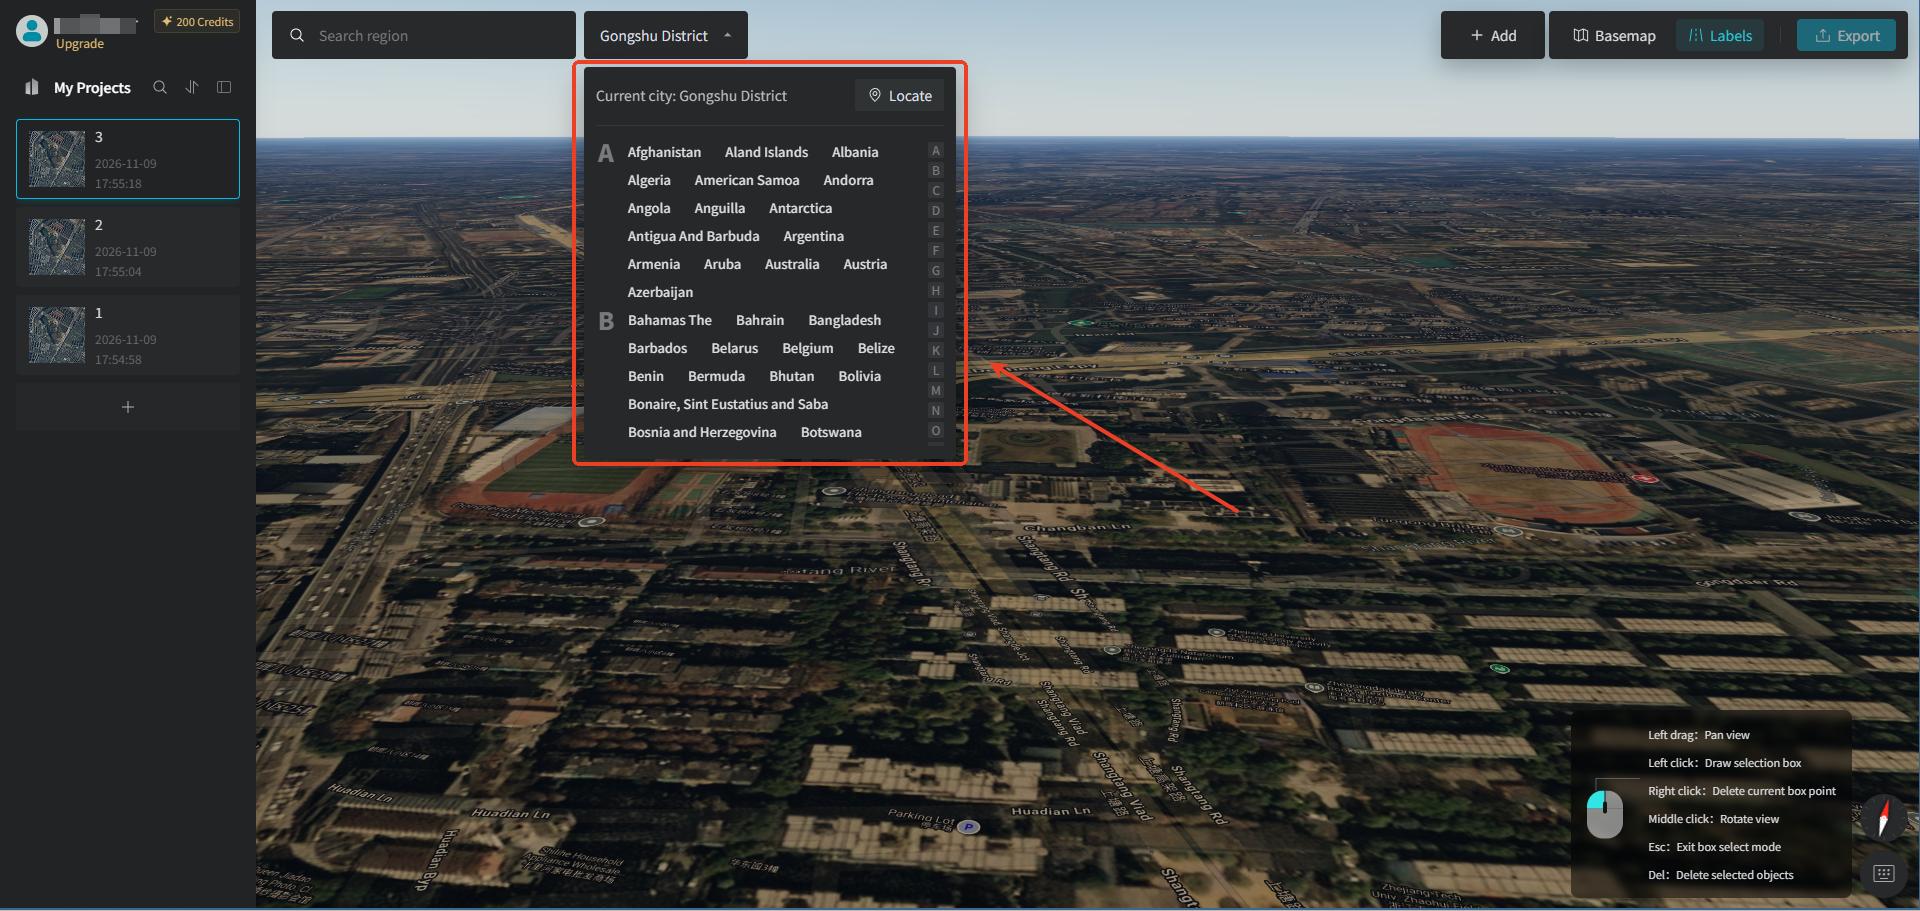
- Search Area: search a city name directly in the search bar / select by region to quickly locate the target position. If the preview map position is offset from your actual geographic location, you can click the "Locate" button to locate to your position. Generally, when we open this tool, GenAnywhere will directly locate to our current area.
- Basemap: switch to a satellite basemap or configure Geovis Earth, and it also supports custom uploading of satellite imagery.
- Labels: the road network is on by default; when making a selection, having the road network on makes it easier to see parcel boundaries. Click the "Road Network" button to turn off the display of the road network on the basemap.
- Export: after the model is generated, click the "Export Model" button to export the model file.
3.4 Main Map Preview Window
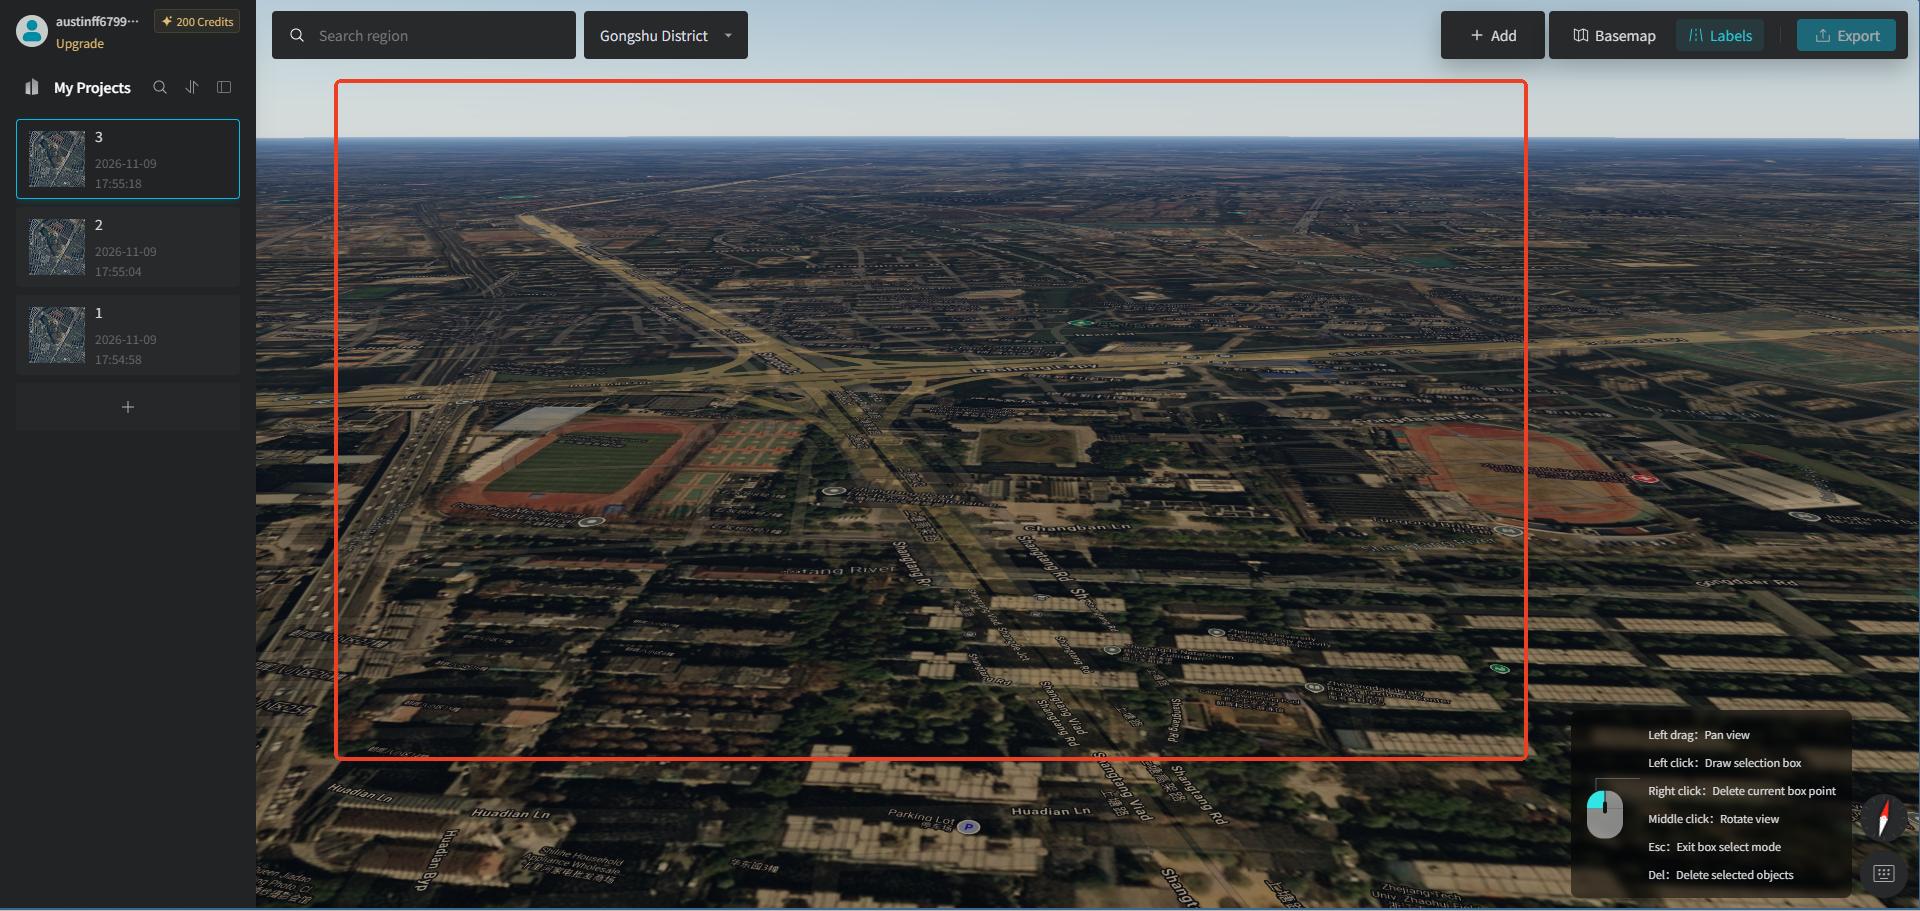
We need to draw a selection box on the map in the main window to generate a 3D model.
3.5 Mouse Operation Tips in the Bottom-Right Corner
- Left drag: Pan view
- Left click: Draw selection box
- Right click: Delete current box point
- Middle click: Rotate view
- Esc: Exit box select mode
- Delete: Delete selected objects
4. Select the Target City and Draw a Selection Area
Enter the corresponding place name in the search box at the top left, and the map will locate to that area. Use the scroll wheel to zoom and the middle mouse button to rotate, and place the parcel you want to model in the center of the screen. One tip: don't turn off the "Labels" — this way the parcel and road boundaries are clearer and easier to trace.
You can also click the "Dropdown" button to the right of the search box to directly select a city area. If, after choosing a city, you want to return to the city or area where you are currently located, just click the "Locate" button to jump to your own area.
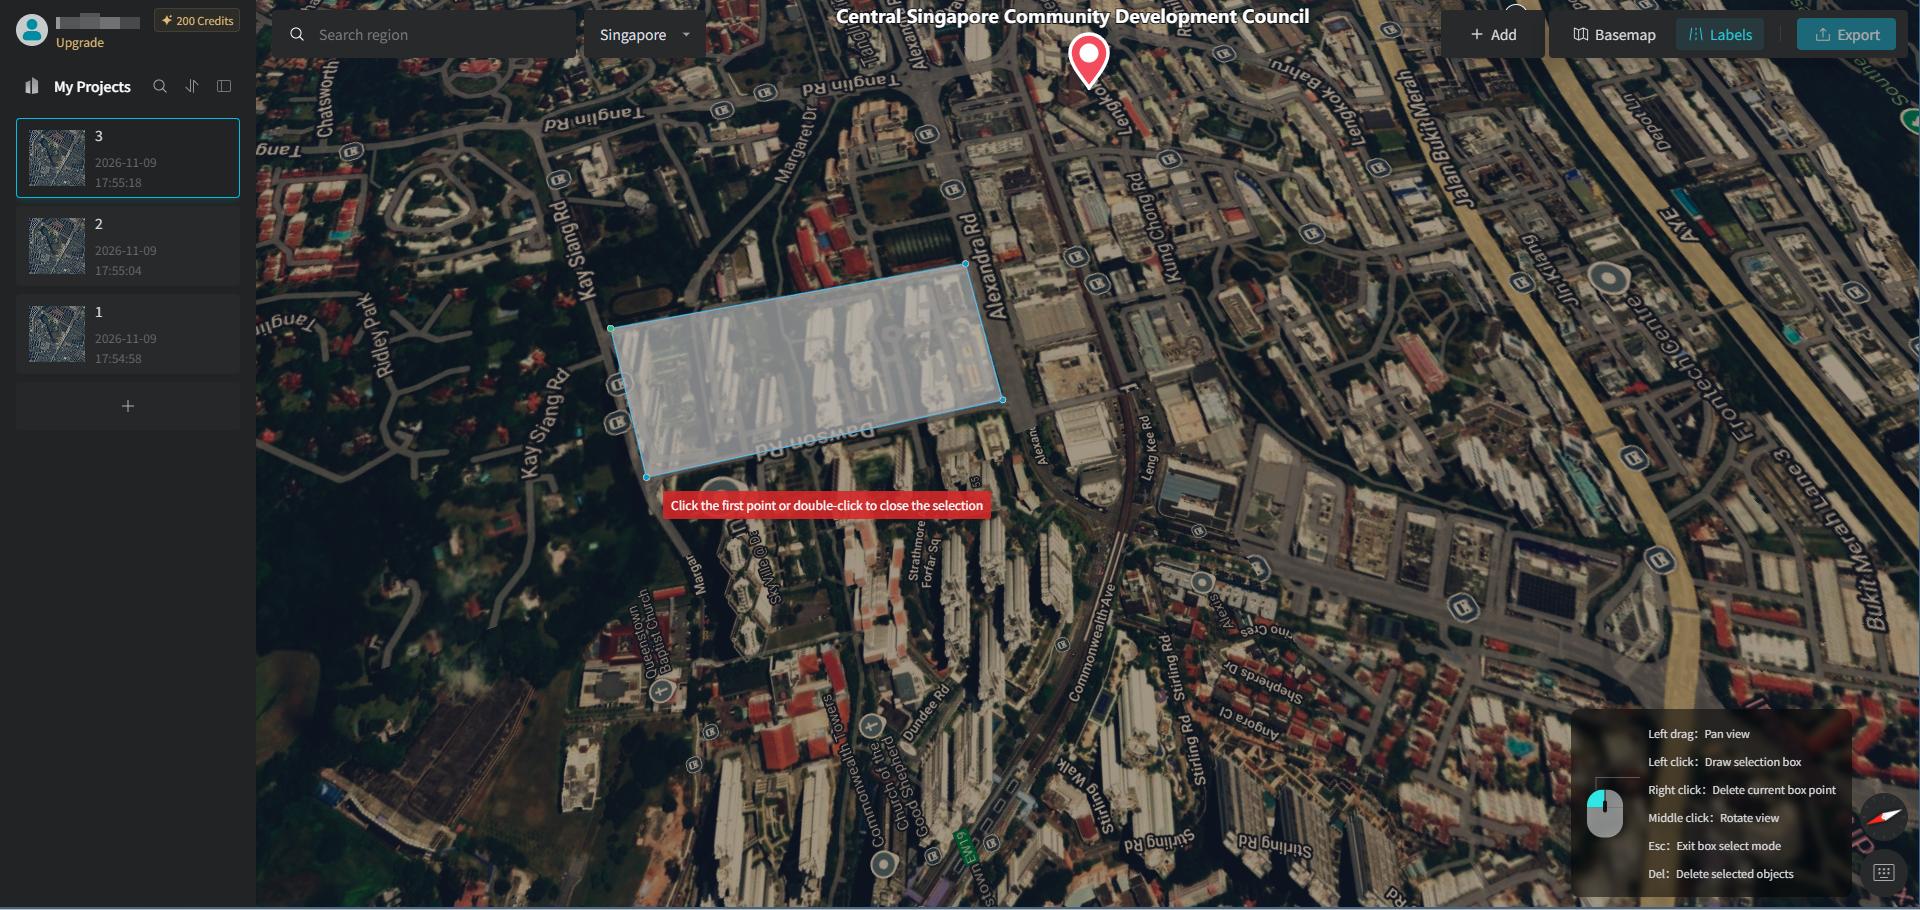
On the map, "click the left button point by point" and trace along the boundary of the area. Once the range is confirmed, left-button double-click / connect back to the starting point to close the shape, selecting the area you want to model.
- You can select a single building, a residential community, or an entire city block.
- Wrong point: right-click to delete the previous point.
- Press Esc to exit drawing mode at any time.
5. Generate the Site Model and Fine-Tune Locally
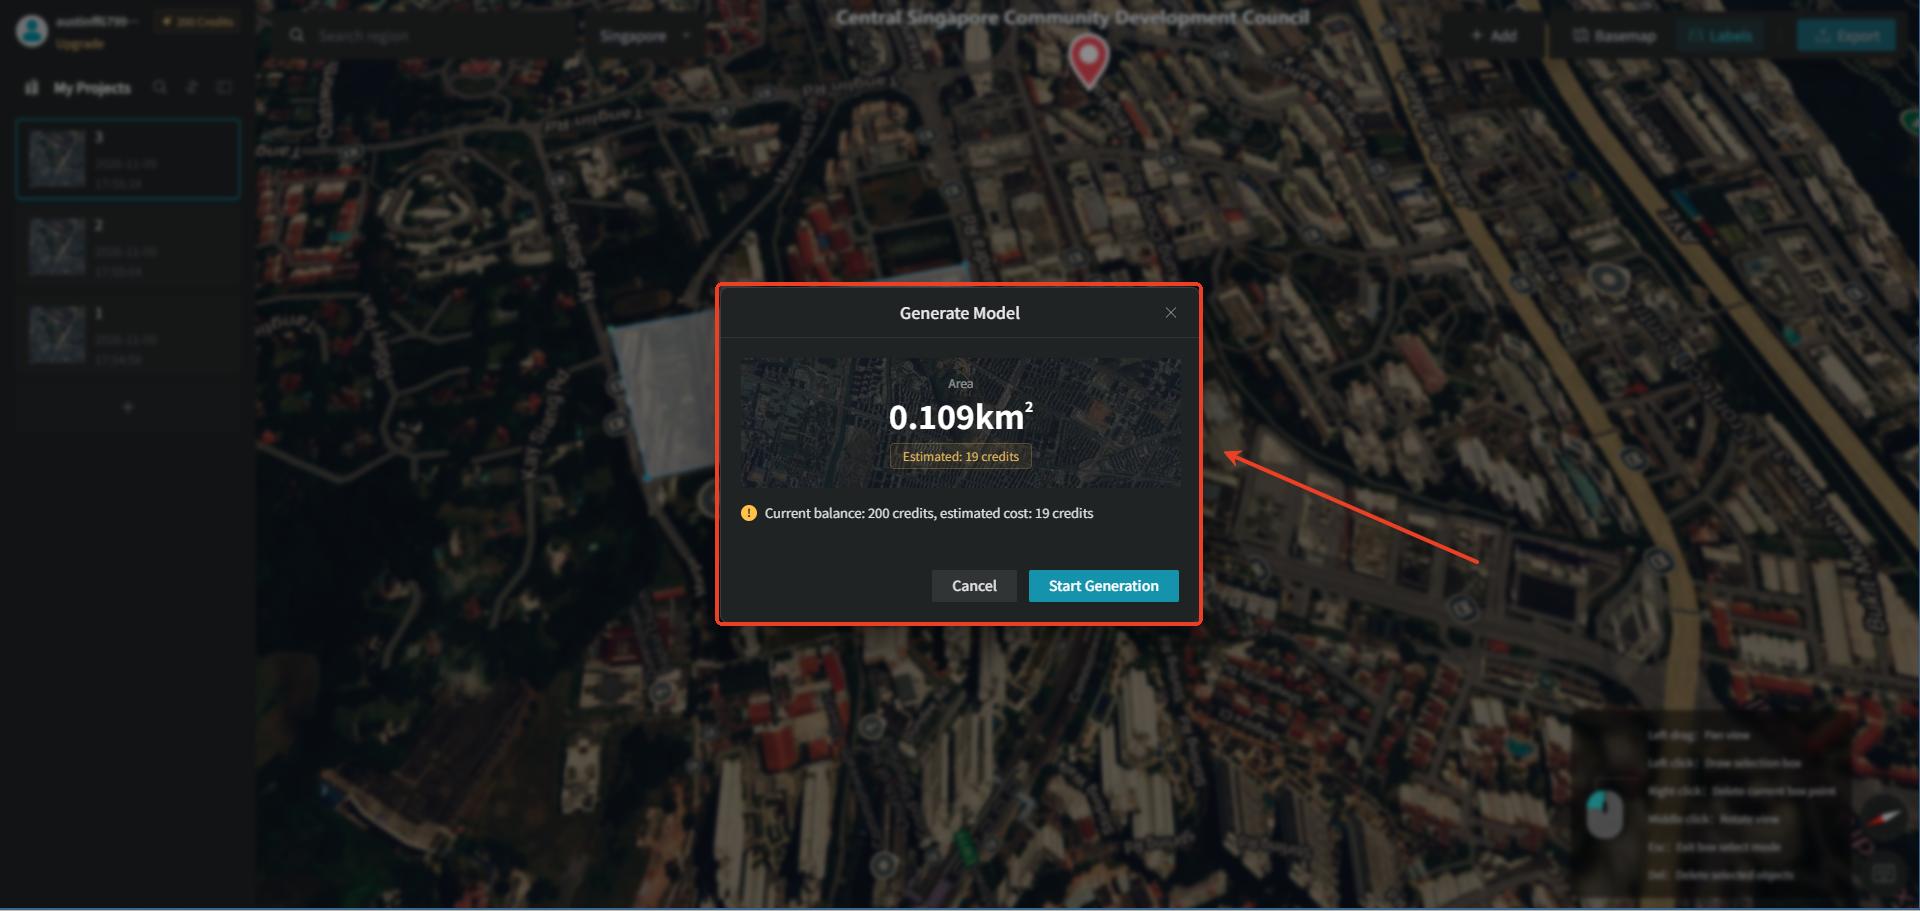
After the selection is complete, a "Generate Model" popup will appear, showing the area of the region you selected and the credits consumed by the generated area. Once everything is confirmed, click "Start Generation." The building generation process takes a little patience.
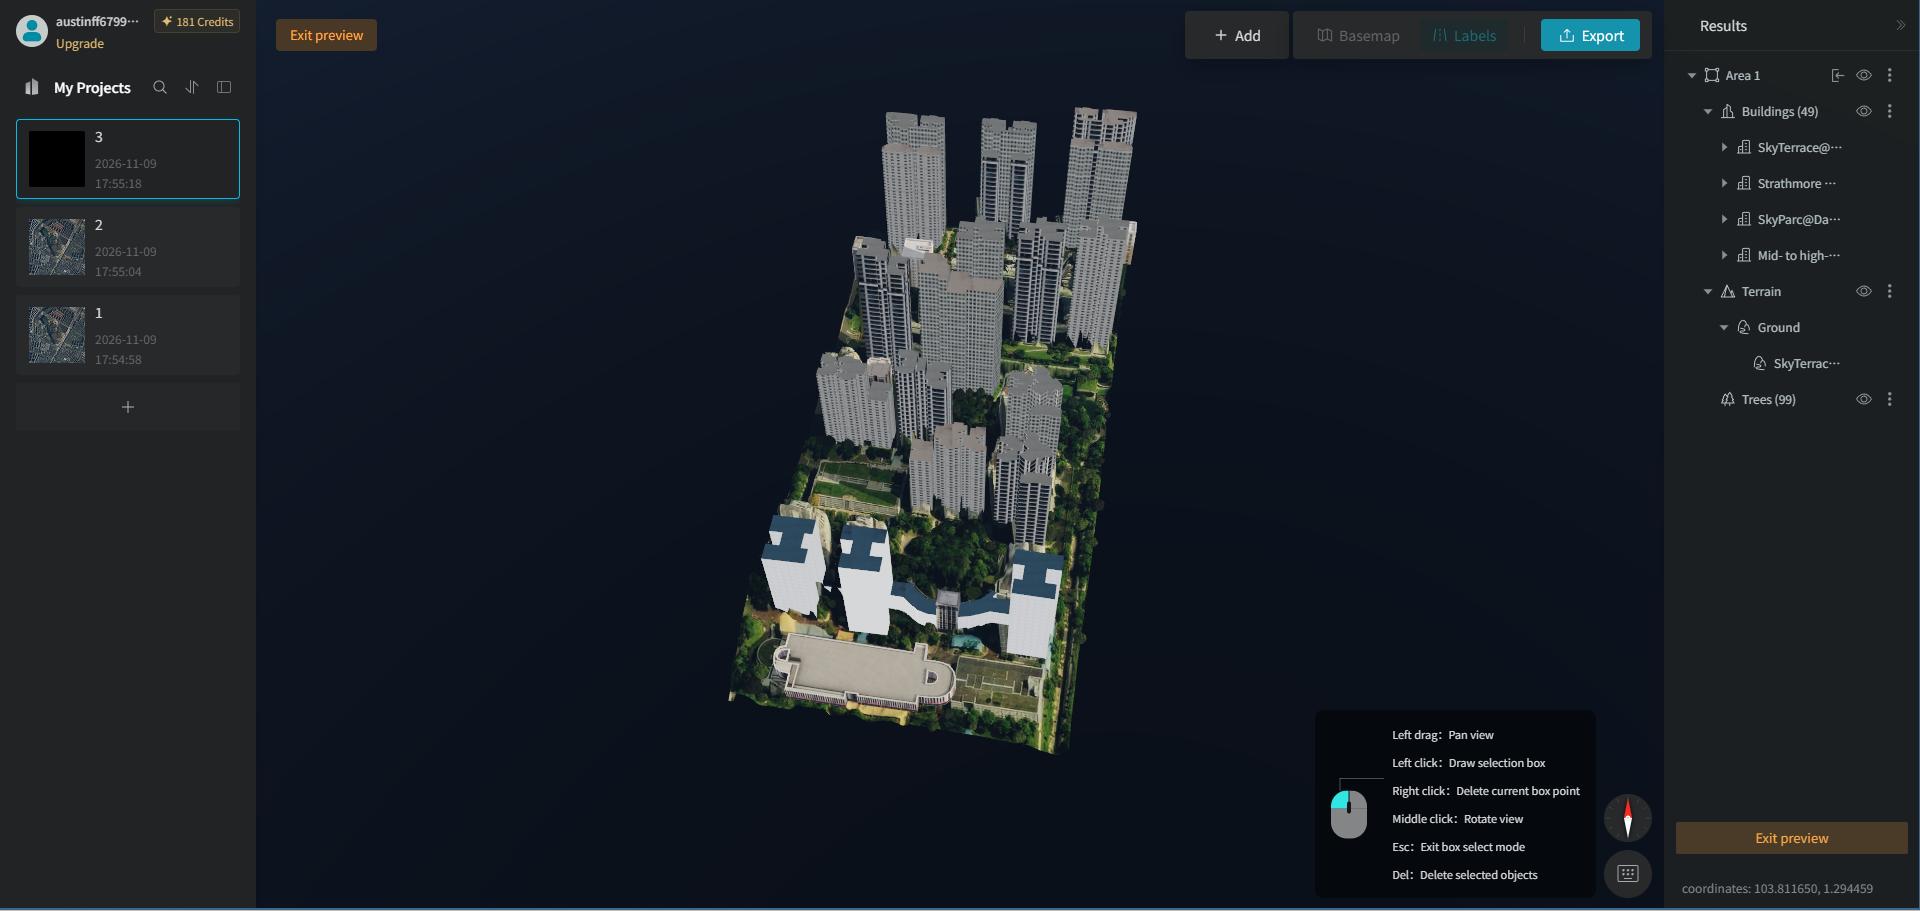
After the buildings are generated, you will enter "Preview" mode by default. You can hold the middle mouse button to rotate the view and inspect the model from multiple angles.
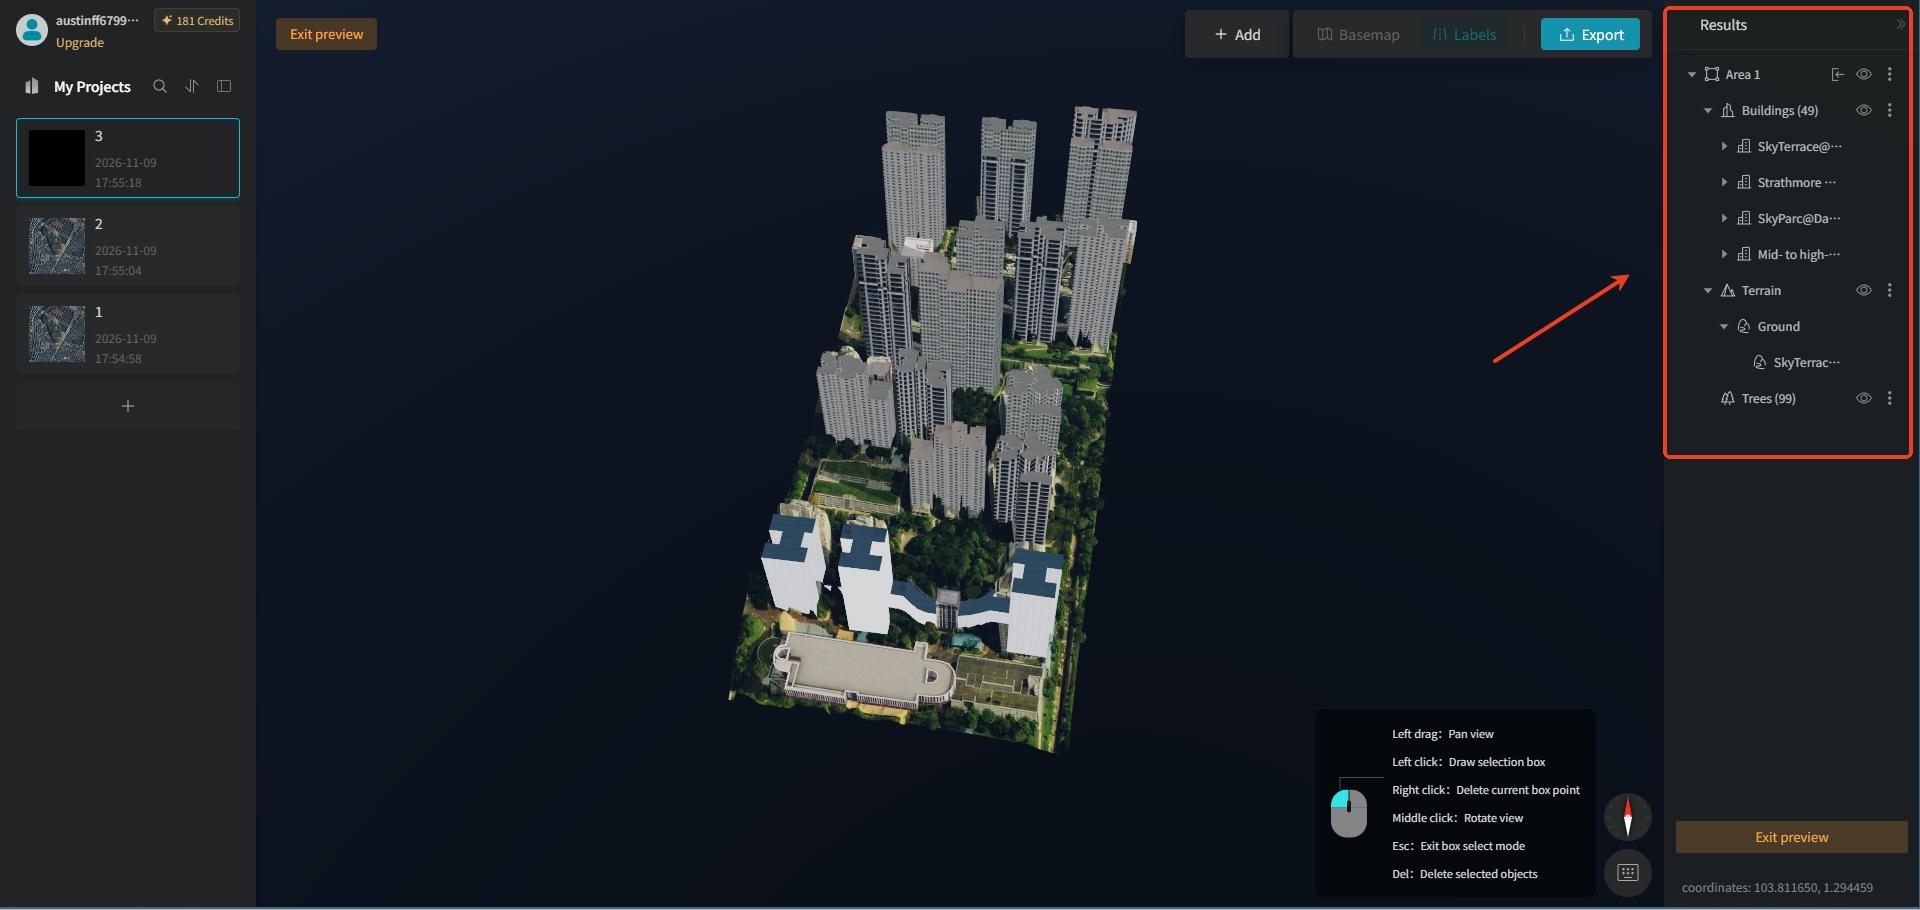
Click the "Exit Preview" button in the top-left or bottom-right corner to return to the Earth preview mode, where you can preview on the map how the model blends with the surrounding environment. Once the model is successfully generated, a "Results" panel appears on the right, containing the generated building, terrain, water body, road surface, and tree layers. Each layer supports show/hide and delete operations.
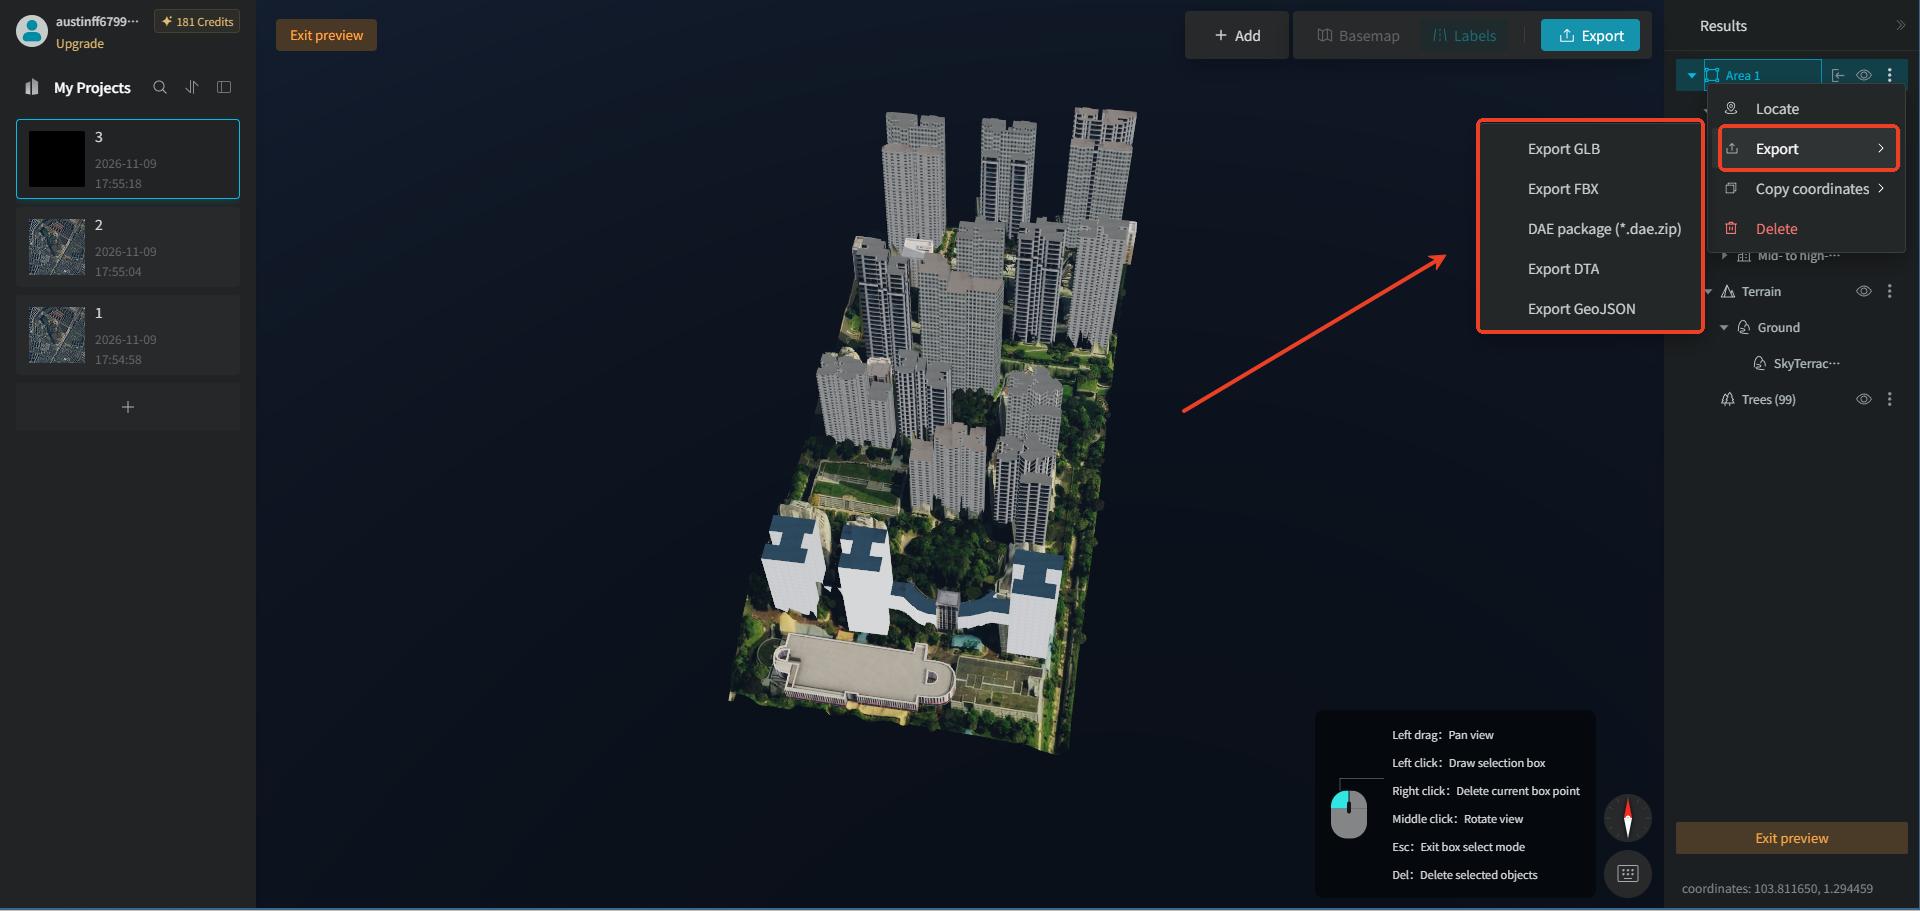
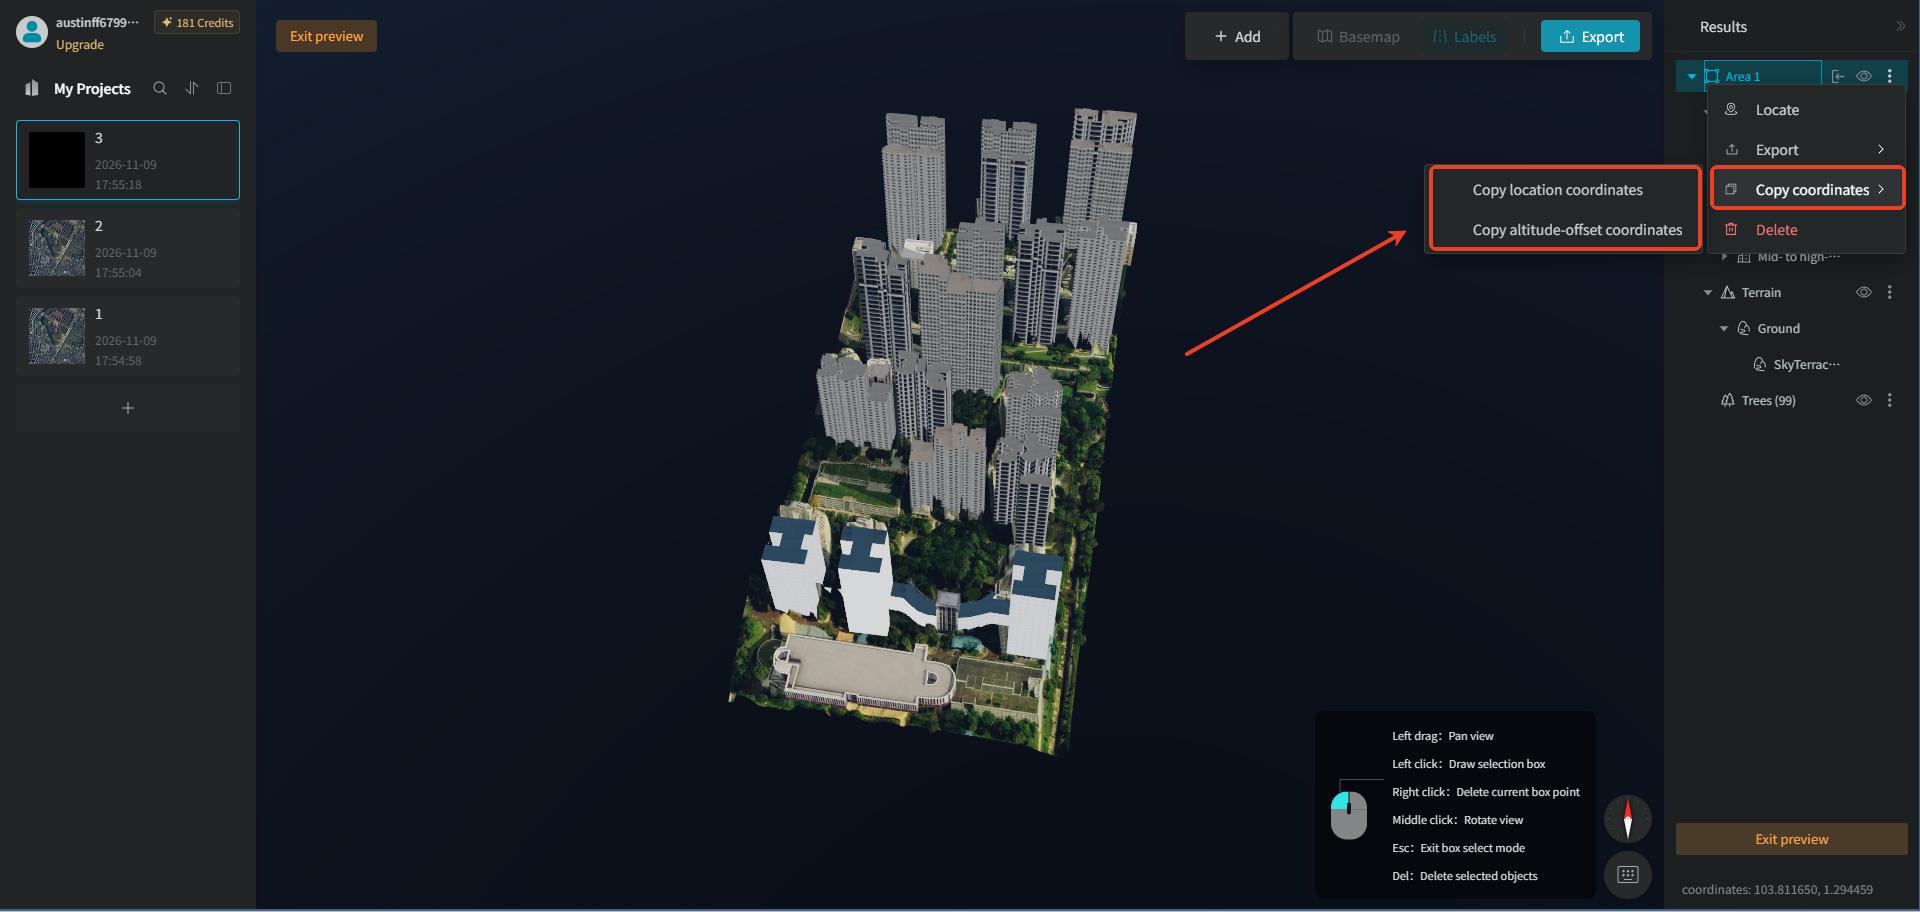
Right-click the model's "Selection Area" layer to access "Locate," "Export," "Copy Coordinates," and "Delete." "Export" supports exporting to "GLB," "FBX," DAE package, "DTA," and "GeoJSON." "Copy Coordinates" supports copying "Location Coordinates" and "Altitude-Offset Coordinates."
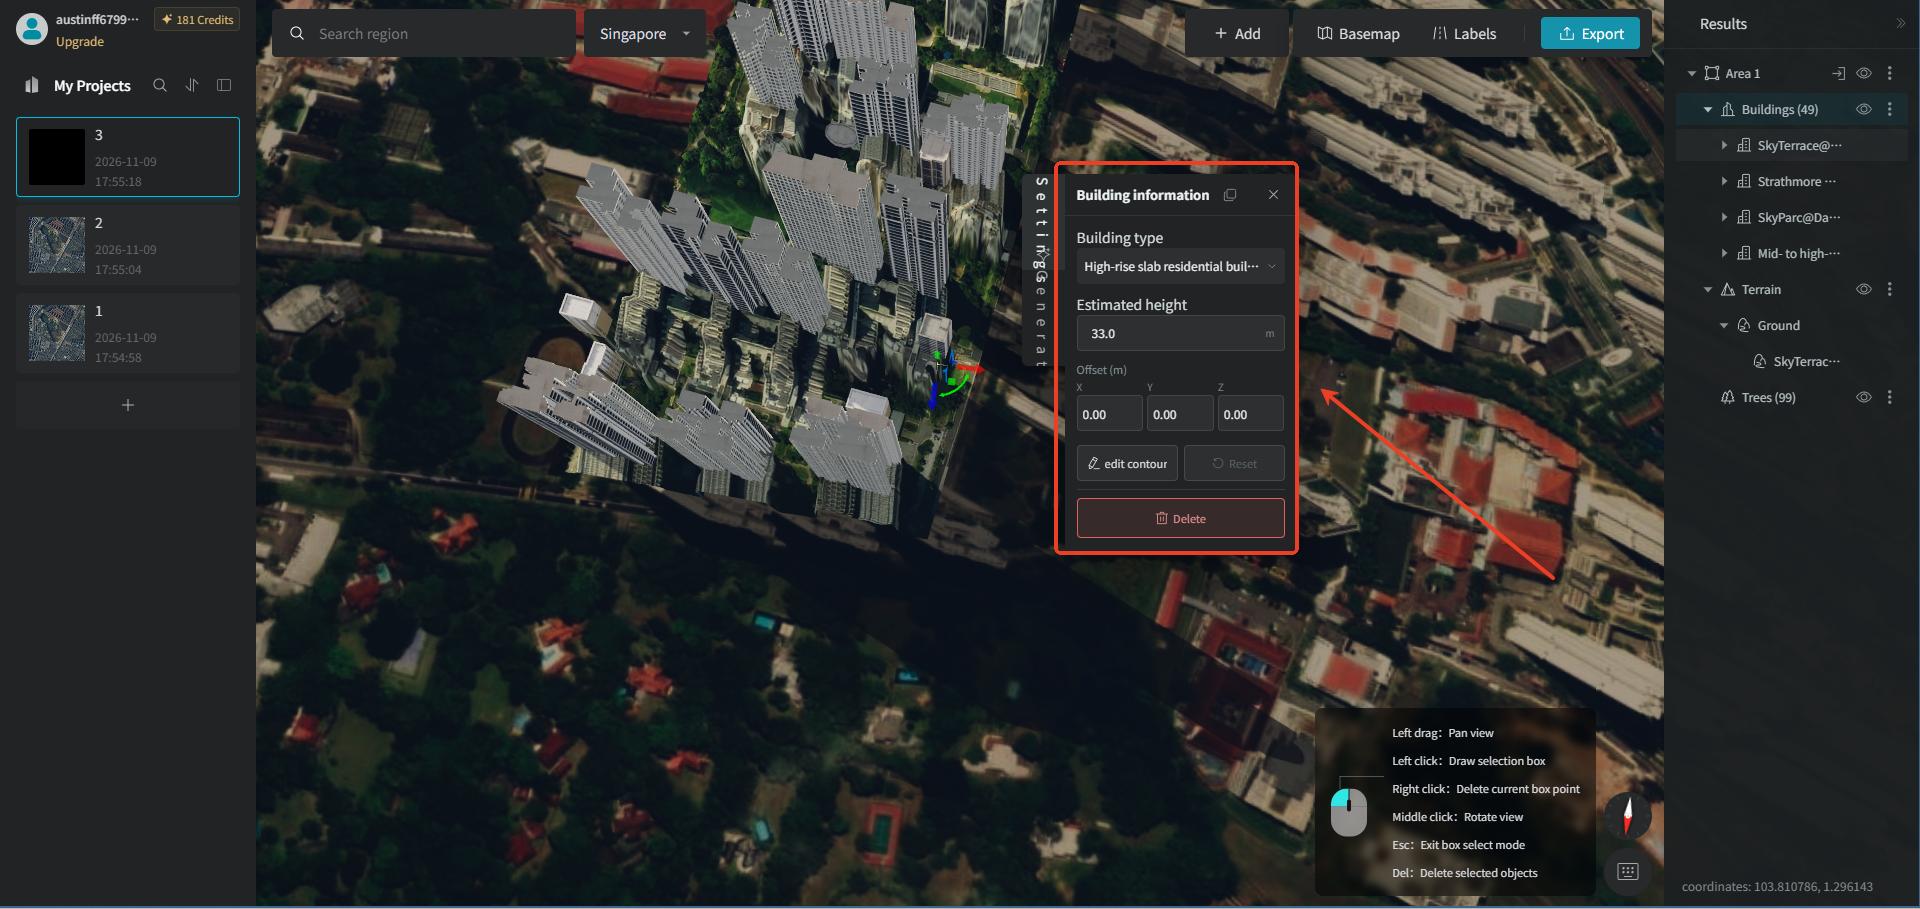
If you are not satisfied with the generated building height or style, you can left-click to select an individual building and, in the "Building Info" popup, manually modify the floor height, building style, or delete the model. You can also manually adjust the building's position and rotation angle.
6. Export the Model
There are two ways to export the model: the first is to click "Export" at the top directly; the second is to right-click the model's "Area" layer to export the model. In the corresponding popup, you can customize the export format and the model content to be exported, and it also supports exporting a single-area model individually and merging multiple-area models for export.
Right-click the model's "Area" layer, select the "Export" option in the popup, and choose the target format in its corresponding secondary popup. Then, in the export popup, you can switch the export format and check the model content to be exported. The exported model can be imported into a variety of mainstream platforms to meet the application needs of different scenarios.
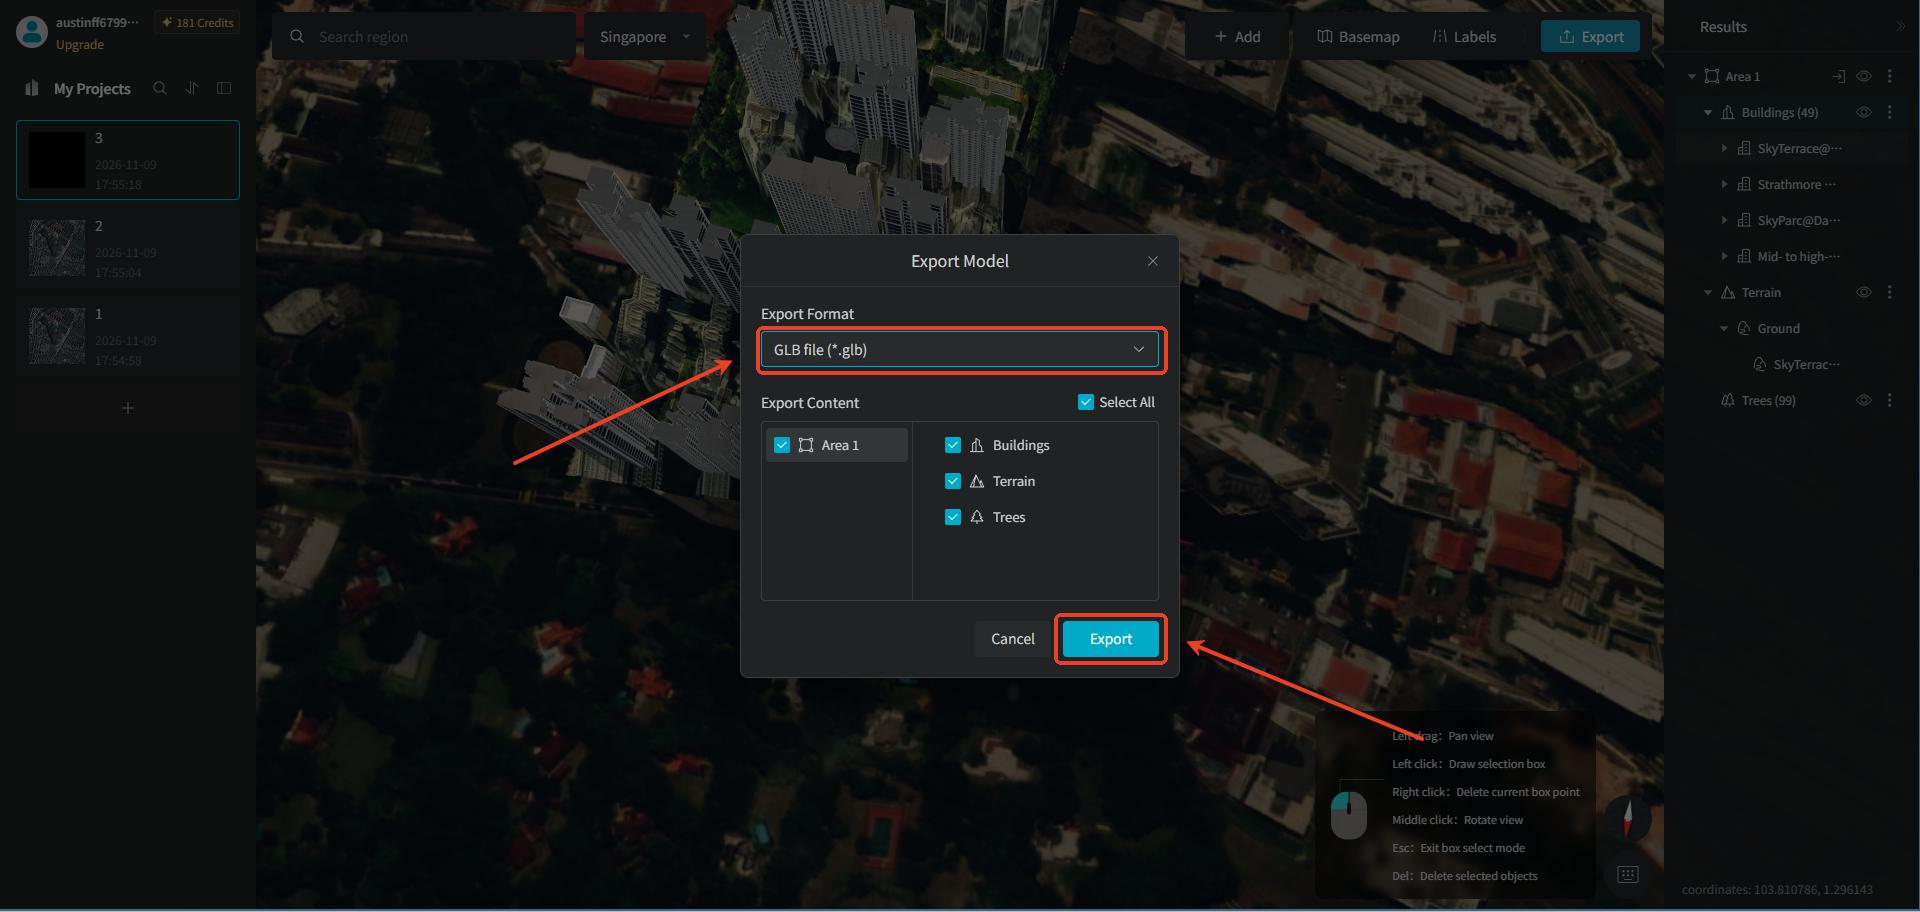
【Note】If you need to export as "DTA", you must choose this second model export method.